How to install plantation shutters yourself
Install Plantation Shutters DIY Window: Complete Guide for Perfect Results
Learning how to install plantation shutters DIY window projects can transform your home’s aesthetic while saving you hundreds on professional installation costs. Plantation shutters add elegance, improve energy efficiency, and enhance privacy—all qualities that make them a popular choice among homeowners seeking to upgrade their windows. This comprehensive guide will walk you through every step of the installation process, from measuring your windows to securing the final louver, ensuring you achieve professional-quality results on your first attempt.
Table of Contents
- Why Install Plantation Shutters DIY Window Matters
- Step-by-Step Install Plantation Shutters DIY Window Guide
- Best Install Plantation Shutters DIY Window Options
- Pro Tips for Install Plantation Shutters DIY Window
- Common Mistakes to Avoid
- Key Takeaways
- Frequently Asked Questions about Install Plantation Shutters DIY Window
- Conclusion
Why Install Plantation Shutters DIY Window Matters
Installing plantation shutters yourself offers numerous advantages that extend beyond simple cost savings. When you install plantation shutters DIY window style, you gain complete control over the timeline, customization options, and overall aesthetic of your project. Rather than waiting weeks for an installer’s availability, you can work at your own pace and complete the installation when it suits your schedule best.
The financial benefits are substantial and often underestimated. Professional installation typically adds 40-60% to the total cost of plantation shutters, a significant expense that you eliminate through DIY installation. A pair of professional-grade plantation shutters can cost $800-$2,000 per window, with installation adding another $300-$1,200 per window depending on your location and the complexity of your windows.
Beyond cost and convenience, completing this project yourself provides a deep sense of accomplishment and pride in your home. You’ll develop valuable skills applicable to other home improvement projects, from window treatments to cabinet installation. Additionally, understanding exactly how your shutters are installed means you can easily perform maintenance, adjustments, or repairs without calling a professional. DIY installation also allows you to choose premium materials and customization options that might otherwise be cost-prohibitive when combined with professional labor fees.

Step-by-Step Install Plantation Shutters DIY Window Guide
Materials and Tools You’ll Need
Before beginning your install plantation shutters DIY window project, gather all necessary materials and tools to ensure a smooth workflow. Essential tools include a power drill with bits, a level, a tape measure, a stud finder, a screwdriver set, a caulking gun, and safety glasses or goggles. You’ll also need shims, wood filler, screws (typically 2.5-inch hinges screws), and a saw if you need to adjust shutter width.
Step 1: Measure Your Windows Accurately
Accurate measurements are the foundation of successful shutter installation and cannot be overstated in importance. Measure your window opening in three places—top, middle, and bottom—as windows are often not perfectly square or level. Record both the width and height measurements, and note any obstructions like electrical outlets, radiators, or window hardware that might affect installation.
For interior mounting (which is most common), measure the inside dimension of the window frame itself. For exterior mounting, measure the outside frame including any trim. Write down all measurements and double-check them before ordering or beginning installation, as ordering shutters with incorrect dimensions results in costly errors.
Step 2: Prepare Your Installation Area
Clear the area around your windows of furniture, decorations, and obstacles that might impede your work. Lay down drop cloths or protective coverings to catch dust, debris, and any tools that might fall. Close nearby doors to prevent dust from spreading throughout your home, and ensure adequate lighting in your work area with task lights or natural sunlight.
If you’re installing interior shutters, remove any existing window treatments like curtains or blinds. For exterior installations, check weather forecasts to avoid installation during rain or extreme heat. This preparation stage might seem minor but significantly impacts both safety and work quality.
Step 3: Locate Studs and Mark Installation Points
Use your stud finder to locate the wood studs behind your drywall, as these provide the strongest mounting points for shutter hinges. Mark stud locations with a pencil and note them on your measurements before beginning drilling. Most shutter installations require mounting hinges into studs for maximum stability and load-bearing capacity.
For windows without convenient studs, you can use heavy-duty wall anchors or toggle bolts, though stud mounting is always preferable. Mark your hinge locations according to manufacturer specifications, typically placing hinges about 8-12 inches from the top and bottom of the shutter frame.
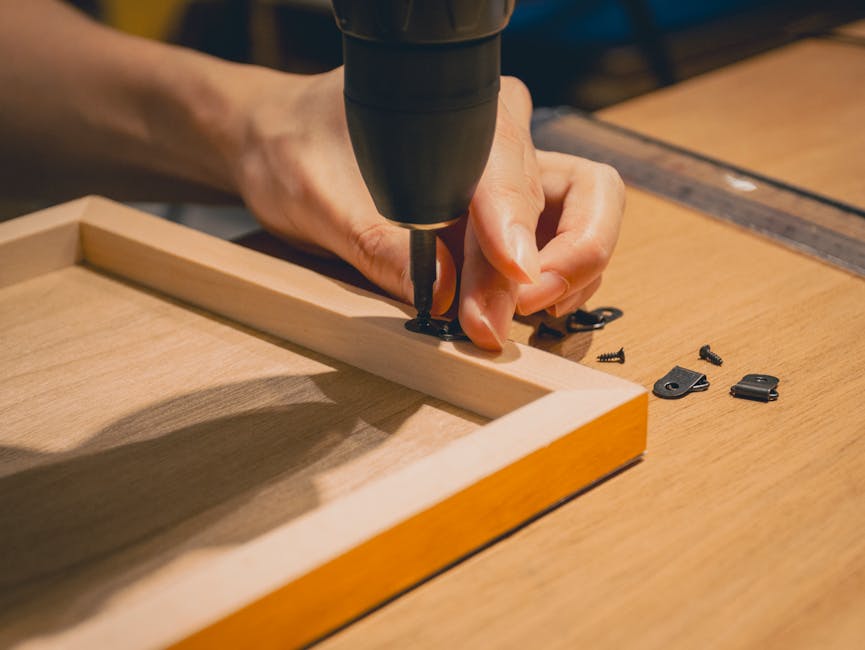
Step 4: Install the Mounting Bracket
Attach the mounting bracket to your window frame using the appropriate fasteners for your wall type. For drywall, use wall anchors; for direct stud mounting, use wood screws. Ensure the bracket is perfectly level using your level tool, as even slight angles affect shutter operation and alignment.
Test fit the shutter against the bracket to ensure proper alignment before fully tightening all screws. Make any necessary adjustments at this stage, as correcting bracket position becomes significantly more difficult once fully installed. Once you’re satisfied with bracket placement and levelness, tighten all fasteners securely.
Step 5: Hang the Shutter Panels
Carefully lift your shutter panel and align the hinge with the mounting bracket. Gently lower the shutter onto the bracket, ensuring the hinge pins seat completely in the bracket slots. The shutter should hang freely without dragging or binding against the window frame or surrounding walls.
If the shutter doesn’t hang smoothly, remove it and check the bracket alignment again. Shimming behind the bracket can resolve alignment issues caused by uneven walls or frames. Once hanging properly, secure the hinge fasteners and test the shutter’s swing through its full range of motion.
Step 6: Adjust Shutter Depth and Clearance
After hanging, verify that your shutter panel opens and closes without obstruction, maintaining proper clearance from the wall, window trim, and any surrounding obstacles. Some shutters include adjustable depth brackets that allow fine-tuning of how far the shutter extends from the wall, typically adjustable in half-inch increments.
Take time to test shutter operation from both fully open and closed positions. Open shutters should sit flush against the wall without angling outward, and closed shutters should meet cleanly at the window’s center line. Make any depth adjustments now, as these are typically your last opportunity to refine the installation.
Step 7: Secure All Fasteners and Add Final Touches
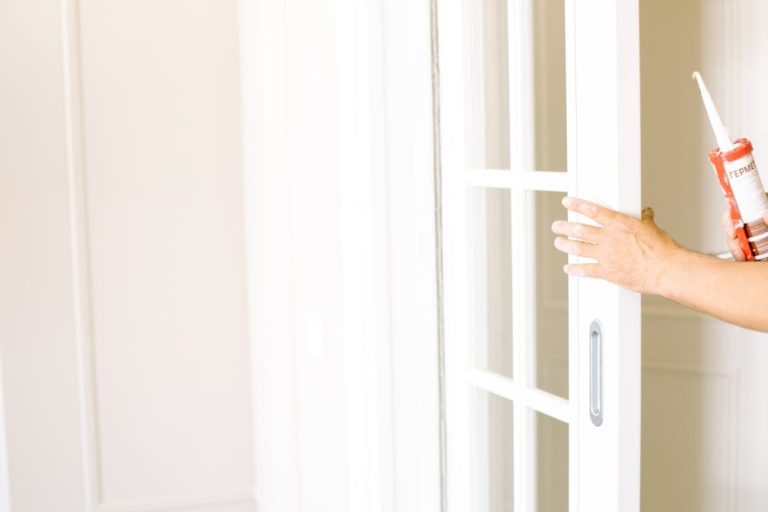
Once you’re completely satisfied with shutter positioning, operation, and appearance, perform a final tightening of all fasteners. Use a caulk gun to apply paintable caulk around mounting brackets and hinges, creating a finished appearance while sealing gaps that might allow dust infiltration.
Allow caulk to dry per manufacturer recommendations (typically 24 hours) before painting or staining, if desired. Touch up paint around installation areas and inspect your completed work from multiple angles and distances to ensure professional appearance.

Best Install Plantation Shutters DIY Window Options
Interior Vinyl Plantation Shutters
Interior vinyl plantation shutters represent the most popular choice for DIY installation, offering excellent durability, moisture resistance, and low maintenance requirements. Vinyl shutters resist warping, fading, and moisture damage, making them ideal for bathrooms, kitchens, and humid climates where wood shutters might struggle. They’re lighter than wood alternatives, reducing physical strain during installation while remaining sturdy and long-lasting.
Vinyl shutters typically cost $150-$400 per window, significantly less than wood alternatives while offering comparable aesthetic appeal. They come pre-finished in numerous colors and styles, eliminating the need for staining or painting after installation. However, vinyl cannot be stained to match custom wood tones, which might be a consideration if your home features particular wood finishes.
Wood Plantation Shutters
Wood plantation shutters offer classic elegance and the ability to stain or paint them to match any décor. High-quality hardwood shutters develop beautiful patinas over time and provide superior sound insulation compared to vinyl alternatives. Wood shutters generally cost more ($400-$1,200 per window) but provide an investment-quality appearance that many homeowners find worth the premium.
Installation of wood shutters requires additional care to prevent damage to the finish during mounting. You must take precautions to protect the wood during drilling and fastening, and wood shutters require occasional maintenance including re-staining or painting every 5-7 years depending on environmental conditions.
Composite Plantation Shutters
Composite shutters blend characteristics of vinyl and wood, offering the durability and moisture resistance of vinyl with the aesthetic appeal of wood. They can be painted or stained to match custom wood finishes while resisting warping and moisture damage. Composite options cost $250-$600 per window, positioning them as a middle-ground alternative.
These shutters work excellently in transitional style homes and provide excellent durability in challenging environments. However, they’re slightly heavier than vinyl and may require stronger mounting hardware, adding minimal cost but improving overall stability.

Pro Tips for Install Plantation Shutters DIY Window
Invest in Quality Tools
Using proper tools makes installation dramatically easier and produces superior results with fewer frustrations. A power drill with variable speed settings allows precise control when driving fasteners into various materials, while a quality level ensures perfect horizontal and vertical alignment critical to shutter operation. Quality tools also improve safety by reducing slipping and accidents that can damage your home or cause injury.
Create a Installation Template
Before beginning installation, create a cardboard or plywood template matching your window dimensions and mounting requirements. Test fitting this template allows you to identify potential problems before cutting, drilling, or mounting expensive shutter panels. This simple step prevents costly mistakes and eliminates guesswork during the actual installation process.
Work with a Helper
While not absolutely necessary, having a second person significantly improves both safety and result quality during shutter installation. A helper can hold shutters perfectly level while you drive fasteners, steady panels during hinge installation, and provide an extra set of eyes for spotting alignment issues. This is particularly valuable when installing shutters on upper floors where falling tools or materials present safety risks.
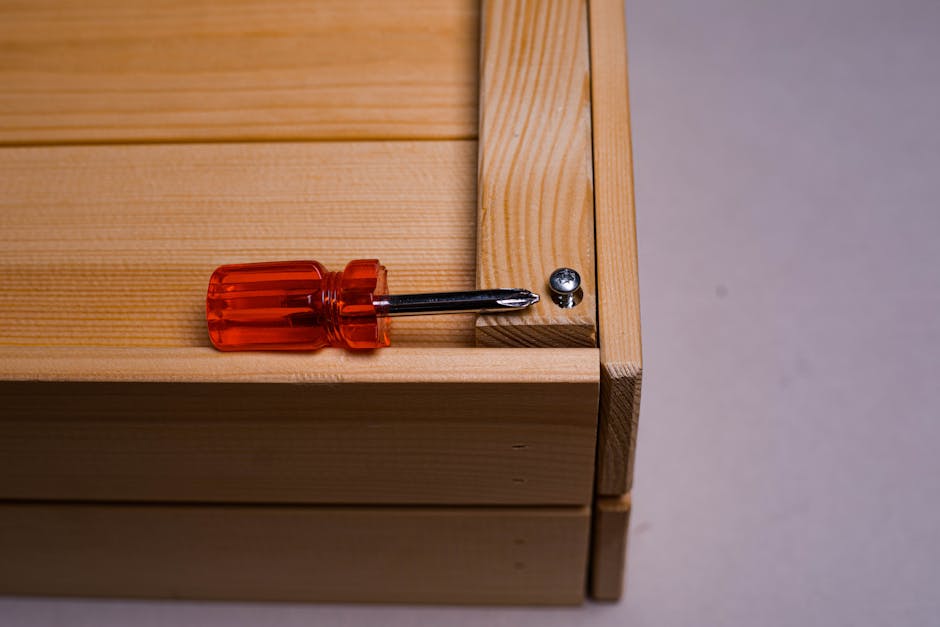
Use Quality Fasteners and Hardware
Don’t compromise on fastener quality to save a few dollars—cheap screws strip easily, anchors fail, and low-grade hinges bind or sag over time. Stainless steel fasteners resist corrosion and provide superior holding power compared to standard steel options. Quality hardware ensures your shutters remain secure and operate smoothly for decades.
Take Before and After Photos
Document your installation process with photos from multiple angles, creating a reference record of how your shutters were installed. These photos prove invaluable when troubleshooting issues, explaining installation to future homeowners, or guiding anyone helping with maintenance or adjustments. Before photos also make aesthetic changes dramatically visible to family and friends.
Common Mistakes to Avoid
Measuring Only Once
The single most common installation error is measuring once and assuming measurements are accurate. Windows are frequently not perfectly square, and failing to check measurements in multiple locations results in shutters that don’t fit properly or hang crooked. Always measure at least three points (top, middle, bottom) and verify measurements match manufacturer specifications before proceeding.
Installing Without Checking for Studs
Mounting shutters exclusively into drywall without hitting studs is a recipe for eventual failure as shutters sag and hinges pull loose over time. Always use a stud finder to locate wood framing and prioritize stud mounting for at least 50% of your fasteners. For windows with poor stud location, combine stud mounting with heavy-duty toggle bolts or molly bolts rated for shutter weight.
Skipping the Level Check
Installing shutters without constantly verifying level and plumb creates a visually wrong appearance that catches the eye immediately, even if you can’t consciously identify the problem. Take multiple level readings during installation and make micro-adjustments as needed to achieve perfect alignment.
Forcing Shutters to Close
If shutters don’t close smoothly, don’t force them—something is misaligned. Remove the shutter, check mounting bracket position, and verify the frame isn’t warped or damaged. Forcing closure damages the mechanism and creates alignment problems that worsen over time.
Neglecting Caulking
Skipping the caulking step leaves visible gaps around mounting hardware that collect dust and create an unfinished appearance. Paintable caulk seals these gaps, creates a polished appearance, and prevents dust infiltration. This single step dramatically improves the professional appearance of your finished installation.

Key Takeaways
- Accurate measurements are absolutely critical—measure multiple points and verify before ordering or installing shutters
- Using a stud finder and prioritizing stud mounting ensures long-term stability and prevents sagging or failure
- Quality tools and fasteners eliminate frustrations and produce superior results worth the modest investment
- A helper significantly improves both safety and result quality, particularly on upper-story windows
- Final caulking and touch-ups transform good installations into professional-looking results worthy of expensive custom work
Frequently Asked Questions about Install Plantation Shutters DIY Window
Q: What is the best install plantation shutters DIY window material for moisture-prone areas?
A: Vinyl plantation shutters excel in high-moisture environments like bathrooms and kitchens, resisting mold, mildew, and warping that plague wood alternatives. Composite shutters also perform well in these conditions, offering wood-like aesthetics with vinyl-like durability. Wood shutters require protective finishes and maintenance to survive humidity exposure, making them less ideal for bathrooms despite their beauty. For maximum longevity in moisture-heavy spaces, vinyl offers unbeatable value and dependability.
Q: How do I use install plantation shutters DIY window techniques for uneven or sloped windows?
A: Uneven windows require additional shimming and adjustments beyond standard installation procedures. Use shims behind mounting brackets to achieve perfect level on angled or irregular window frames, taking care to distribute shims evenly. Test fit shutters at multiple points and make adjustments to bracket position or depth settings to ensure proper operation on sloped surfaces. For severely irregular windows, consult with the shutter manufacturer about custom solutions or modifications.
Q: How long does install plantation shutters DIY window installation typically require?
A: A single window installation typically requires 1-3 hours depending on complexity, mounting surface, and your experience level. Straightforward interior installations with accessible studs progress quickly, while exterior mounting or difficult-to-reach windows take longer. Plan for the full day on your first window installation, with subsequent windows progressing more quickly as you develop proficiency with the process.
Q: Can I install plantation shutters over existing window trim or molding?
A: Installing over existing trim is possible but generally not recommended, as trim creates uneven surfaces preventing proper bracket mounting. If trim is unavoidable, use shims liberally to create a level mounting surface, and verify the shutter clears trim edges during the full range of motion. Many installers prefer removing trim for cleaner installation, though this adds complexity and drywall patching.
Q: What warranty coverage typically applies to DIY-installed plantation shutters?
A: Most shutter manufacturers honor warranties on DIY installations provided you follow their installation guidelines precisely. Failure to mount to studs, improper fastener use, or installation errors might void warranty coverage. Review warranty details before purchasing and retain documentation of your installation process, including photos and measurements, to support any future warranty claims.
Conclusion
Learning how to install plantation shutters DIY window projects empowers homeowners to achieve beautiful, professional-quality results while saving thousands in installation labor. Following this comprehensive guide—from precise measurement through final caulking and inspection—ensures successful installation regardless of your prior experience level. Take your time with each step, verify measurements and alignment multiple times, and don’t hesitate to consult manufacturer specifications when questions arise. Your completed shutters will provide decades of beauty, improved energy efficiency, and enhanced privacy while delivering the deep satisfaction that comes from completing a successful home improvement project with your own hands. Start planning your installation today and discover how dramatically these elegant window treatments transform your home’s appearance and functionality.
Recommended Products on Amazon
As an Amazon Associate I earn from qualifying purchases.