How to install solar path lights in yard
How to Install Solar Path Lights in Your Yard: Ultimate DIY Garden Guide
Learning how to install solar path lights yard DIY garden transforms your outdoor space into a beautifully illuminated landscape while reducing energy costs and environmental impact. Solar path lights are an excellent investment for any homeowner looking to add both functionality and aesthetic appeal to their yard without the hassle of complex wiring or electricity bills. These innovative lighting solutions harness the power of the sun during the day and automatically illuminate pathways, gardens, and patios at night. In this comprehensive guide, we’ll walk you through everything you need to know about selecting, installing, and maintaining solar path lights. Whether you’re a seasoned DIY enthusiast or a complete beginner, our step-by-step instructions will help you create a stunning outdoor lighting display that enhances your home’s curb appeal and safety.
Table of Contents
- Why Installing Solar Path Lights in Your Yard Matters
- Step-by-Step Guide to Installing Solar Path Lights in Your Yard and DIY Garden
- Best Solar Path Light Options for Your Garden and DIY Yard Installation
- Pro Tips for Installing Solar Path Lights in Your Yard and DIY Garden
- Common Mistakes to Avoid When Installing Solar Path Lights in Your Yard
- Key Takeaways
- Frequently Asked Questions About Installing Solar Path Lights in Your Yard and DIY Garden
- Conclusion
Why Installing Solar Path Lights in Your Yard Matters
Installing solar path lights yard DIY garden projects offers numerous advantages that extend beyond simple aesthetics. First and foremost, solar lights provide an eco-friendly lighting solution that reduces your carbon footprint while eliminating monthly electricity expenses associated with traditional outdoor lighting systems. These lights operate independently, meaning you won’t need to hire an electrician or run expensive underground wiring throughout your property.
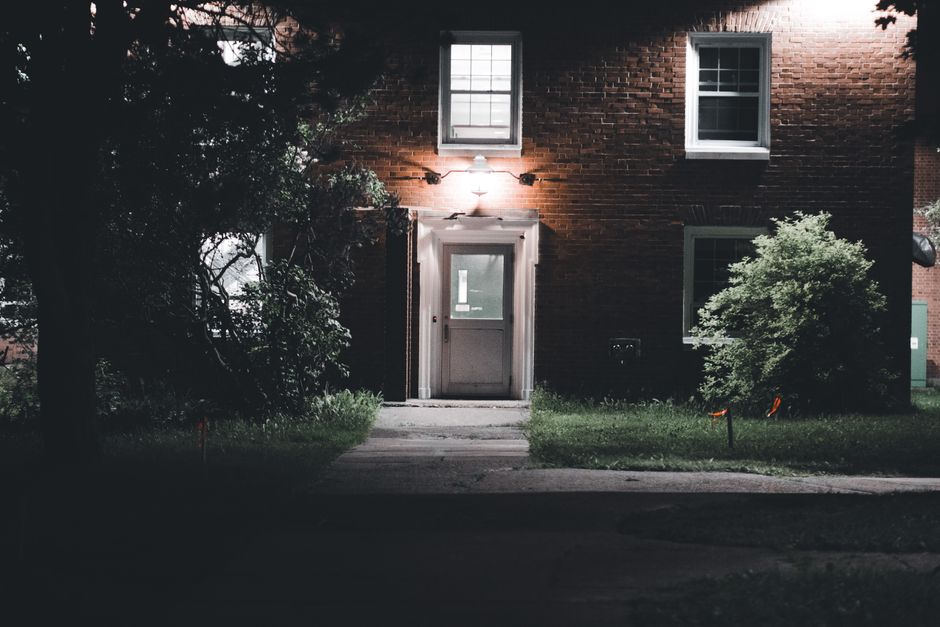
Safety is another critical benefit of adding solar path lights to your landscape. Properly illuminated pathways, driveways, and garden areas reduce the risk of trips, falls, and accidents during evening hours. Visitors and family members can navigate your outdoor spaces with confidence, and potential intruders are less likely to approach a well-lit property, enhancing your home security.
The aesthetic transformation solar lights bring to your yard is equally impressive. During the day, these lights are virtually invisible, and at night, they create an enchanting ambiance that makes your outdoor space more inviting. Solar path lights yard DIY garden installations allow you to highlight landscaping features, define walkways, and create focal points that showcase your home’s architecture beautifully.
Additionally, solar lights require minimal maintenance compared to traditional outdoor lighting. Once installed, they automatically charge during daylight and illuminate at dusk without any manual intervention. The LED bulbs last significantly longer than incandescent alternatives, and most units are weatherproof, designed to withstand rain, snow, and extreme temperatures.
Installation is remarkably straightforward, making solar path lights perfect for DIY projects. You won’t need special tools, technical expertise, or professional help, saving you hundreds of dollars in installation fees. Most homeowners can complete a full yard lighting project in an afternoon, making it an accessible improvement for anyone.
Step-by-Step Guide to Installing Solar Path Lights in Your Yard and DIY Garden
Planning Your Layout
Before purchasing any lights, take time to plan your solar path lights yard DIY garden layout strategically. Walk through your yard during evening hours to identify dark areas that need illumination, such as pathways, steps, and garden beds. Consider your home’s architectural style and existing landscaping when deciding on light placement and style. Take measurements of your yard and sketch a simple diagram showing where you want lights positioned, keeping in mind that lights should be spaced 4-6 feet apart for optimal coverage.
Gathering Materials and Tools
Most solar path light installations require minimal equipment beyond the lights themselves. You’ll need a flat-head screwdriver for battery installation, a small hammer or mallet for pushing lights into soil, and potentially a shovel if you’re working with hard ground. Gather all your solar path lights, ensuring they’re fully charged before installation by placing them in direct sunlight for several hours. This initial charge ensures your lights will function optimally on the first night.
Installing Your Solar Path Lights
Begin installation in the late afternoon, allowing your lights time to charge before darkness falls. Start with the most visible areas, such as the main pathway to your front door or driveway entrance. Remove the light from its packaging and check that the battery compartment is properly sealed, as any water infiltration will damage the internal battery and solar panel.
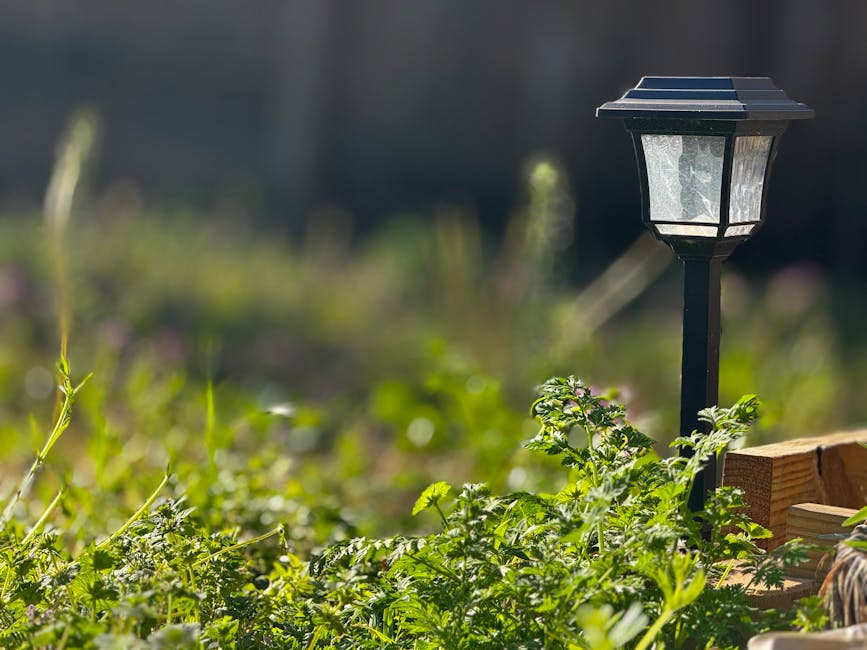
For most solar path lights, installation is incredibly simple. Push the stake firmly into the ground at your predetermined location using your foot or a small hammer for leverage. If your soil is extremely hard or compacted, create a small pilot hole with a screwdriver or thin rod before inserting the light. Ensure the light sits upright and stable; any tilting will affect charging efficiency and light distribution.
Optimizing Light Positioning
The placement of your solar path lights yard DIY garden significantly impacts their performance and effectiveness. Ensure each light receives at least 6-8 hours of direct sunlight daily for optimal charging. Avoid placing lights under tree canopies, near walls, or in shaded areas where they won’t accumulate sufficient solar energy. If your yard has limited direct sunlight, consider using solar lights with larger solar panels or higher lumen outputs to compensate.
Testing and Adjustments
After installation, monitor your lights over the first few nights to evaluate their brightness and coverage. If certain areas seem darker than expected, you can easily relocate lights by removing them from the ground and repositioning them. This flexibility is one of the greatest advantages of DIY solar path light installation.
Best Solar Path Light Options for Your Garden and DIY Yard Installation
High-Performance Solar Lights
For those seeking maximum brightness and durability, premium solar path lights offer superior performance. High-end models typically feature larger solar panels, more powerful LED bulbs (50-100 lumens), and rechargeable batteries with extended lifespans. These lights are ideal for illuminating larger yards, long driveways, or properties in areas with less consistent sunlight. Premium solar lights often include advanced features like motion sensors, color-changing capabilities, or adjustable brightness settings.
Budget-Friendly Solar Lights
If you’re looking to illuminate multiple areas without breaking the bank, budget-friendly solar path lights offer excellent value. These basic models provide adequate illumination for residential pathways and gardens, typically producing 15-30 lumens. While they may not be quite as bright as premium options, quality budget lights from reputable brands will perform reliably for years. Purchasing in bulk packs allows you to light up larger areas while maintaining affordability.
Specialty Solar Light Options
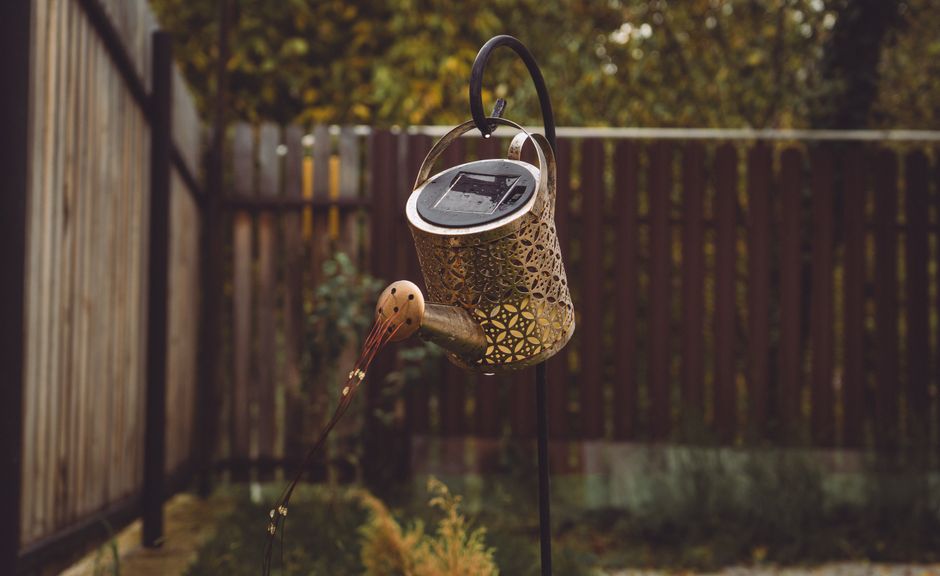
Various specialty solar lights cater to specific needs and aesthetic preferences. Decorative solar lights shaped like lanterns, flowers, or animals add whimsical charm to gardens and children’s play areas. Solar string lights work wonderfully for patios and outdoor seating areas, while solar spotlights effectively highlight landscaping features like trees, shrubs, or water features. Solar stake lights with different colored lenses allow you to create themed lighting schemes throughout your yard.
Durability and Weather Resistance
When selecting solar path lights yard DIY garden solutions, prioritize models with high-quality construction materials. Look for lights with stainless steel or aluminum frames that resist rust and corrosion. Check that solar panels are made from tempered glass that won’t easily scratch or cloud over time. Battery compartments should feature rubber gaskets or sealed designs to prevent water infiltration, ensuring your lights function properly through seasons of rain, snow, and temperature fluctuations.

Pro Tips for Installing Solar Path Lights in Your Yard and DIY Garden
Maximize Solar Charging: Position lights where they receive the most direct sunlight, away from tree canopies and building shadows. Clean solar panels periodically with a soft cloth to remove dust and debris that can reduce charging efficiency. Consider the seasonal sun path in your area; you may need to adjust light positions slightly as seasons change.
Strategic Spacing for Optimal Coverage: While 4-6 foot spacing is standard, adjust based on your light’s lumen output. Brighter lights can be spaced further apart, while dimmer models work better with closer spacing. Create overlapping light coverage in high-traffic areas like front walkways to ensure adequate visibility for safety.
Coordinate with Existing Landscape: Select light styles that complement your home’s architectural style and existing outdoor décor. Group lights of the same style for a cohesive look rather than mixing multiple designs. Consider creating light clusters around garden features, plantings, or water elements for dramatic visual impact.
Plan for Year-Round Maintenance: Establish a simple maintenance schedule to keep your solar lights functioning optimally. In fall, clear debris from solar panels and surrounding ground. During winter, ensure lights aren’t buried under snow or ice. Spring and summer require occasional cleaning and battery replacement for lights that aren’t performing as brightly.
Use Timers and Sensors Strategically: Some advanced solar lights include built-in sensors that activate lights only when motion is detected, conserving battery power. Others offer dusk-to-dawn sensors that automatically turn lights on and off. These features extend battery life and ensure your lights function optimally throughout their operational lifespan.
Common Mistakes to Avoid When Installing Solar Path Lights in Your Yard
Insufficient Sunlight Exposure: The most common mistake is placing solar lights in partially shaded areas. Even partial shade significantly reduces charging efficiency, resulting in dimmer lights or complete failure to illuminate at night. Thoroughly evaluate sun exposure throughout the day before finalizing light placement.
Overcrowding Light Installation: Placing too many lights too closely together creates excessive glare and looks cluttered rather than elegant. Maintain proper spacing and resist the temptation to create an overly bright environment. Strategic placement of fewer, well-positioned lights creates more sophisticated and functional outdoor lighting.
Neglecting Ground Conditions: Installing lights in very hard, compacted soil without proper preparation can damage the stakes. Always loosen soil slightly with a screwdriver or pilot hole before inserting lights. For particularly hard ground, water the area beforehand to soften soil and make installation easier.
Failing to Clean Solar Panels: Dust, pollen, and debris accumulation on solar panels reduces their charging efficiency over time. Regular cleaning with a soft, damp cloth maintains optimal performance. This simple maintenance task takes only minutes but significantly extends your lights’ functional lifespan.
Ignoring Battery Maintenance: Original batteries eventually lose capacity and require replacement. Don’t assume your lights are defective when they simply need new batteries. Keep extra rechargeable AA or AAA batteries on hand and replace them annually or when brightness noticeably decreases.
Poor Initial Placement Planning: Installing lights haphazardly without a plan often results in uneven coverage and wasted lights. Spend time planning before installation to avoid excessive reinstallation and ground disturbance later.

Key Takeaways
- Solar path lights yard DIY garden installations provide eco-friendly, cost-effective outdoor lighting solutions without professional installation costs
- Proper planning and strategic placement in high-sun areas maximize light performance and brightness throughout the year
- Budget-friendly basic models work well for most residential applications, while premium options suit extensive properties or shaded areas
- Regular maintenance including panel cleaning and battery replacement ensures optimal performance for years of reliable service
- Avoiding common mistakes like poor placement, overcrowding, and neglecting maintenance prevents performance issues and maximizes your investment
Frequently Asked Questions About Installing Solar Path Lights in Your Yard and DIY Garden
Q: What is the best solar path light for most homeowners?
A: The best solar path lights balance brightness, durability, and affordability for your specific needs. For most residential applications, mid-range solar lights producing 30-50 lumens work excellently, providing adequate pathway illumination without excessive brightness. Look for models with stainless steel construction, sealed battery compartments, and positive customer reviews. The AMIR and Brightech brands offer reliable performance at reasonable price points, making them popular choices among DIY enthusiasts.
Q: How do I use solar path lights in different areas of my yard?
A: Solar path lights serve multiple purposes throughout your yard. Use them along walkways and driveways for safety and navigation, position them around garden beds and landscaping features for aesthetic appeal, and cluster them near patios or seating areas for ambient lighting. You can also use specialty solar lights to highlight water features, trees, or architectural elements. The flexibility of solar lights allows creative arrangement to suit your specific outdoor space needs.
Q: How long do solar path light batteries last?
A: Quality rechargeable batteries in solar lights typically last 2-4 years before requiring replacement. Battery lifespan depends on charging cycles, ambient temperature, and light usage patterns. Batteries in areas with consistent sunshine last longer than those in regions with cloudy weather. Most solar lights use standard AA or AAA rechargeable batteries, making replacement simple and affordable.
Q: Can solar path lights work during cloudy weather?
A: Solar lights function during cloudy weather but with reduced brightness since they receive less direct sunlight for charging. Extended cloudy periods may result in lights not activating at night if battery charge is insufficient. In regions with frequent cloud cover, consider purchasing lights with larger solar panels or higher lumen outputs to compensate for reduced charging efficiency.
Q: Do solar path lights require any special maintenance?
A: Solar lights require minimal maintenance compared to traditional outdoor lighting. Clean solar panels every few months with a soft, damp cloth to remove dust and debris. Replace rechargeable batteries annually or when brightness decreases noticeably. Clear debris from around lights to prevent soil compaction that could affect stability. Most quality solar lights require no other maintenance and will function reliably for 3-5 years with these simple care practices.
Conclusion
Learning how to install solar path lights yard DIY garden projects is one of the most rewarding home improvement tasks you can undertake. These eco-friendly lighting solutions enhance safety, improve aesthetics, and eliminate electricity costs while requiring minimal installation effort or technical expertise. By following our comprehensive guide, avoiding common mistakes, and selecting quality lights appropriate for your property, you’ll create a beautiful outdoor space that functions perfectly for years to come. Start planning your solar lighting project today, and transform your yard into an inviting, well-illuminated outdoor oasis that you and your family will enjoy every evening.
Recommended Products on Amazon
As an Amazon Associate I earn from qualifying purchases.


