How to replace a shower head yourself
Replace Shower Head DIY Plumbing Easy: Complete Guide for Beginners
Learning how to replace shower head DIY plumbing easy is one of the most accessible home improvement projects you can tackle yourself, requiring minimal tools and just a few minutes of your time. If you’ve been hesitating to upgrade your shower experience due to concerns about plumbing complexity, this comprehensive guide will ease your worries and walk you through every step of the process. Whether you want to install a rainfall shower head, fix a leaky fixture, or simply modernize your bathroom, replacing a shower head is a perfect beginner-friendly project that can save you hundreds of dollars in plumber fees. In this tutorial, we’ll cover everything you need to know to confidently complete this task, from gathering materials to troubleshooting common issues. By the end, you’ll understand why replace shower head DIY plumbing easy projects are essential for any homeowner looking to improve their daily routine.
Table of Contents
- Why Replace Shower Head DIY Plumbing Easy Matters
- Step-by-Step Replace Shower Head DIY Plumbing Easy Guide
- Best Replace Shower Head DIY Plumbing Easy Options
- Pro Tips for Replace Shower Head DIY Plumbing Easy
- Common Mistakes to Avoid
- Key Takeaways
- Frequently Asked Questions about Replace Shower Head DIY Plumbing Easy
- Conclusion
Why Replace Shower Head DIY Plumbing Easy Matters
Understanding the importance of replacing your shower head goes beyond simple aesthetics—it impacts your daily comfort, water efficiency, and home value. Many older shower heads deliver inconsistent water pressure and flow rates, making your morning routine frustrating and wasteful. Modern shower heads are engineered with advanced technology that not only provides superior water pressure but also conserves water, potentially reducing your monthly water bills by up to 40%.
Replace shower head DIY plumbing easy projects matter because they address several critical household issues simultaneously. A deteriorating shower head can harbor mineral deposits, rust, and bacteria that affect water quality and your health. By upgrading to a new fixture, you’re investing in better water flow, improved hygiene, and a more refreshing shower experience every morning.
The environmental impact of shower head replacement cannot be overstated. Modern low-flow shower heads maintain excellent pressure while using significantly less water than their predecessors. The average household can save up to 2,900 gallons of water annually by upgrading just one shower head, which translates to lower utility bills and reduced environmental footprint.
Beyond practical benefits, replacing your shower head is an excellent confidence-building project for homeowners. Successfully completing replace shower head DIY plumbing easy tasks demonstrates that home maintenance isn’t as intimidating as it seems, potentially encouraging you to tackle other household projects independently. This newfound confidence often leads to greater engagement with home improvement, saving money and time in the long run.

Step-by-Step Replace Shower Head DIY Plumbing Easy Guide
What You’ll Need Before Starting
Before beginning your replace shower head DIY plumbing easy project, gather all necessary materials and tools. You’ll need an adjustable wrench or pipe wrench, your new shower head, plumber’s tape (PTFE tape), and optionally, a cloth or towel for grip. Most modern shower heads come with installation instructions, which you should review before starting.
Ensure you have adequate lighting in your bathroom and clear space to work comfortably. Having a bucket nearby is helpful to catch any residual water that may drip during removal. If your current shower head is extremely old or stuck, you might also want penetrating oil like WD-40 on hand.
Step 1: Turn Off Water Supply (Optional But Recommended)
While not absolutely necessary, turning off your water supply is a safety precaution that prevents unexpected water spray during removal. Locate your shower’s shut-off valve, typically found under the sink or in the basement near your water meter. Turn it clockwise until water stops flowing through the shower.
If you can’t locate an individual shut-off valve, you can turn off the main water supply, though this affects your entire home. Alternatively, simply turn the shower to the coldest position and proceed carefully—you’ll experience minimal water splashing.
Step 2: Remove the Old Shower Head
Grab your adjustable wrench and position it around the connection point where the shower arm (pipe) meets the shower head. Hold the shower arm steady with your other hand to prevent stress on the pipe’s connection inside the wall. Turn the wrench counterclockwise to loosen the old shower head.
Once loosened, you can typically unscrew the shower head by hand to finish removal. Be gentle during this process—aggressive force can damage the shower arm’s connection or crack the wall. If the old head is severely stuck, spray some penetrating oil around the connection and wait 15-20 minutes before trying again.
Step 3: Clean the Threads Thoroughly
After removing the old shower head, you’ll see threads at the end of the shower arm. Using a cloth or old rag, clean away any mineral deposits, rust, or debris accumulated on these threads. This cleaning step is crucial for ensuring your new shower head forms a proper seal and operates smoothly.
Inspect the threads for any visible damage or corrosion. If threads appear cracked or severely compromised, you may need to replace the shower arm itself, which is more involved but still manageable for determined DIYers. For most cases, simple cleaning will suffice.
Step 4: Apply Plumber’s Tape
Plumber’s tape, also called PTFE or Teflon tape, prevents leaks by creating a watertight seal between the shower head and arm. Wrap the tape clockwise around the threads 3-4 times, ensuring complete coverage. The clockwise direction is essential because it wraps the tape tighter as you screw in the shower head.
Stretch the tape slightly as you wrap it to ensure adhesion and prevent bunching. Don’t skimp on tape—a properly sealed connection is essential for preventing leaks that could damage your walls and ceilings over time.
Step 5: Install Your New Shower Head
Begin threading your new shower head clockwise onto the shower arm by hand. Continue hand-tightening until you feel resistance, then use your adjustable wrench to achieve a final secure fit. Remember: you’re looking for “snug” not “forced”—over-tightening can damage the new fixture.
Hold the shower arm steady while tightening with the wrench to prevent stress on internal connections. Once secure, run your hand along the connection to ensure no water is leaking. If you notice drips, apply additional plumber’s tape and repeat steps 4-5.
Step 6: Test for Leaks
Turn your water supply back on and test the shower thoroughly. Let water run for several minutes, checking the connection point for any drips or leaks. Run the shower at various pressure settings and temperatures to ensure proper functionality.
If you notice leaking at the connection, immediately turn off water, remove the new head, add more plumber’s tape, and reinstall. Most leaks result from insufficient tape or incomplete tightening and are easily remedied.
Best Replace Shower Head DIY Plumbing Easy Options
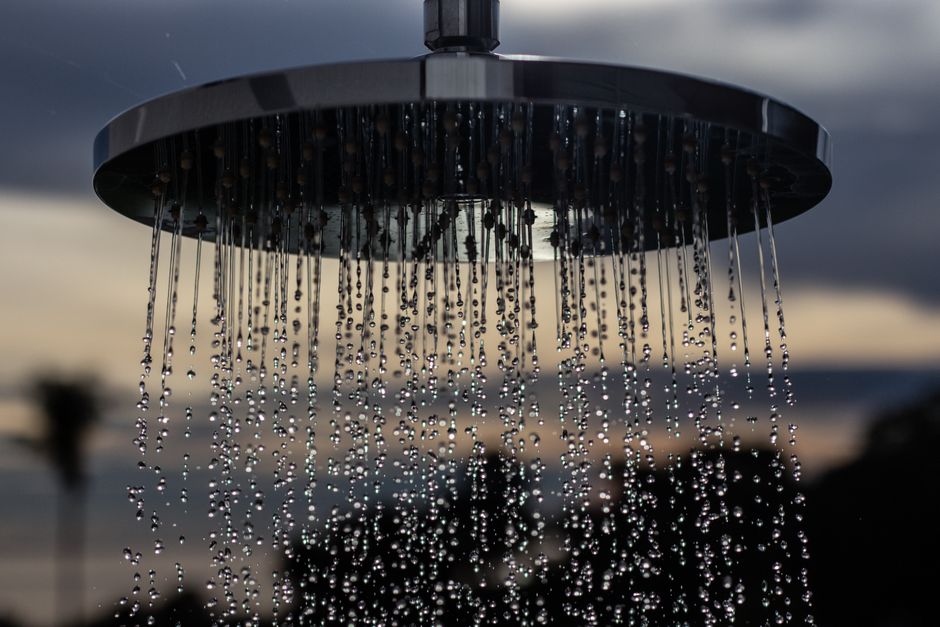
High-Flow Performance Shower Heads
If you’re seeking maximum water pressure and a spa-like experience, high-flow shower heads deliver impressive performance. Brands like Delta and Kohler offer luxury options that maintain strong pressure while incorporating massage settings and rainfall patterns. These shower heads typically feature adjustable spray patterns, allowing you to customize your shower experience.
High-flow models are perfect for people with lower water pressure in their homes or those who simply prefer powerful showers. Many include ball joints that allow directional adjustment, letting you aim water exactly where you want it. Installation remains identical to standard models, making replace shower head DIY plumbing easy regardless of which type you choose.
Water-Saving Low-Flow Shower Heads
For environmentally conscious homeowners, low-flow shower heads reduce water consumption to 2 gallons per minute or less while maintaining excellent pressure. These eco-friendly options significantly lower water heating costs and reduce environmental impact without sacrificing comfort. Brands like Moen and Grohe specialize in sustainable fixtures that prove water conservation doesn’t mean sacrificing quality.
Modern low-flow technology uses aerators that mix air with water, creating the sensation of higher flow while using less. Many users report they don’t notice any difference in comfort compared to traditional heads. These shower heads make replace shower head DIY plumbing easy while supporting sustainability goals.
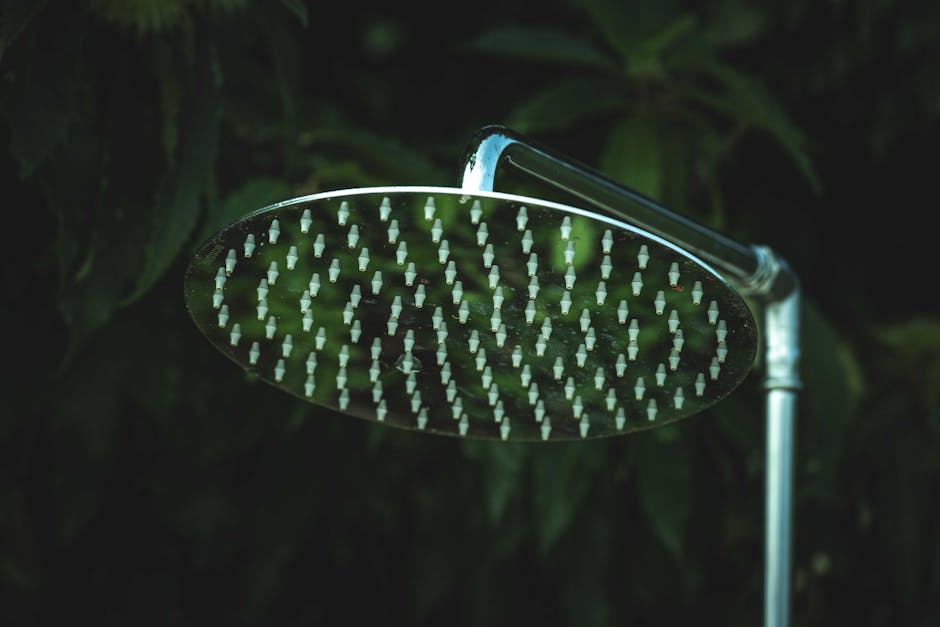
Rainfall and Ceiling-Mount Options
Rainfall shower heads provide a luxurious, spa-like experience with water cascading from above like natural rain. These larger fixtures offer a more immersive shower experience and add aesthetic appeal to any bathroom. Installation requires mounting to ceiling pipes rather than wall arms, which is slightly more complex but still manageable.
For traditional wall-mounted options, rainfall-style heads attach using the same process covered in our replace shower head DIY plumbing easy guide. Ensure your shower arm can support the additional weight of larger fixtures before installation.
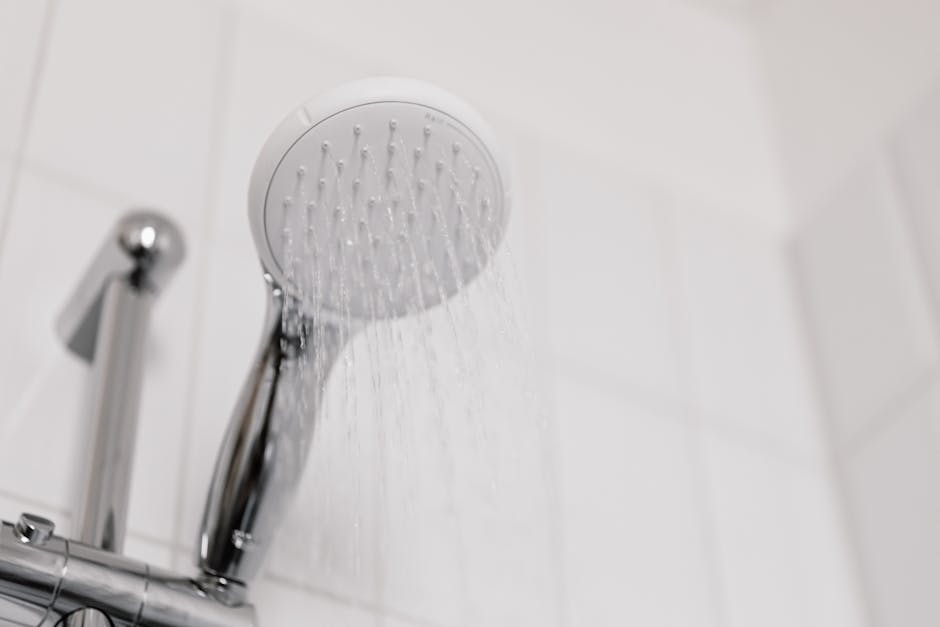
Combo Handheld and Fixed Models
Combination shower heads feature both fixed and detachable handheld components, offering maximum versatility. These systems are ideal for families with different shower preferences, elderly individuals who appreciate handheld convenience, and pet owners who want to bathe animals. Combo models still follow basic installation principles from replace shower head DIY plumbing easy projects.
These hybrid fixtures typically cost slightly more than single-function models but provide exceptional value through increased functionality. Installation involves securing the main housing to the shower arm and attaching the handheld component’s hose.
Pro Tips for Replace Shower Head DIY Plumbing Easy
Preventing Future Leaks and Maintenance
To extend your new shower head’s lifespan and prevent leaks, establish a regular maintenance routine. Monthly cleaning with vinegar removes mineral deposits that accumulate over time, especially in hard water areas. Simply soak removable parts in vinegar overnight, then scrub gently and reinstall.
Check your connection monthly for moisture or drips, addressing issues immediately before they cause wall damage. If you notice decreased water pressure, the aerator likely needs cleaning—this requires minimal effort and prevents costly repairs.
Upgrading Shower Valve Compatibility
Before purchase, verify your shower valve type matches your new shower head’s requirements. Pressure-balancing valves, thermostatic valves, and cartridge systems each have specific compatibility requirements. Your shower head manufacturer provides this information, ensuring smooth installation without complications.
If you’re unsure about compatibility, contact your shower head manufacturer’s customer service—they typically provide free guidance. Understanding your valve system prevents purchasing incompatible fixtures and eliminates frustration during installation.
Creating Water-Efficient Households
Beyond replacing your shower head, consider upgrading other bathroom fixtures for comprehensive water conservation. Pairing your new shower head with low-flow faucets and efficient toilets creates measurable environmental and financial benefits. Many utility companies offer rebates for water-efficient upgrades, offsetting initial costs.
Document your water usage before and after replacement to appreciate the impact. Most households see 5-15% reductions in water bills following shower head replacement, with savings increasing when multiple fixtures are upgraded.

Common Mistakes to Avoid
Over-Tightening the Connection
The most common installation error involves over-tightening the shower head to the arm. Excessive force damages threads, cracks the fixture, or breaks internal seals, resulting in leaks or broken equipment. Remember that hand-tightening followed by one-half turn with a wrench provides sufficient security.
If you’ve over-tightened and created damage, carefully remove the head and assess the threads. Minor cracks often resolve by applying additional plumber’s tape and reinstalling gently. Severely damaged threads may require professional shower arm replacement.
Skipping the Plumber’s Tape
Never install a shower head without applying plumber’s tape to the threads. This common shortcut leads to leaks that go unnoticed until water damage becomes visible in walls or ceilings. Tape costs less than a dollar and takes 30 seconds to apply—the minimal effort prevents expensive problems.
Even if your old fixture didn’t have visible leaks, this doesn’t mean tape wasn’t previously applied. Always apply fresh tape regardless of the previous installation condition.
Ignoring Water Pressure Issues
Sometimes, poor water pressure results from factors beyond the shower head itself. Mineral buildup in the aerator, issues with your home’s main water pressure, or valve problems can all reduce flow. Before replacing your shower head, verify that low pressure isn’t caused by these factors.
Run cold water in your sink to check overall household water pressure—if it’s also low, the issue isn’t your shower head. Test the shower head in your hand before full installation to confirm it performs as expected.
Forcing Stuck Connections
If your old shower head won’t budge, resist the temptation to apply excessive force with your wrench. This approach damages the shower arm and creates a much larger problem requiring professional repair. Instead, apply penetrating oil, wait 15-20 minutes, and try again with steady, patient pressure.
If penetrating oil doesn’t help, wrap a hot wet cloth around the connection for 5-10 minutes to slightly expand the metal, potentially making it easier to remove.

Key Takeaways
- Replace shower head DIY plumbing easy projects require minimal tools (wrench, plumber’s tape, new fixture) and take approximately 10-15 minutes for most installations
- Plumber’s tape is essential for creating watertight seals and preventing leaks that could damage your home’s interior walls and ceilings
- Modern shower heads conserve water while maintaining excellent pressure, potentially saving thousands of gallons annually and reducing utility bills substantially
- Regular maintenance including monthly vinegar soaks and connection checks extends your fixture’s lifespan and prevents costly repairs
- Gentle, patient installation prevents damage to threads and connections, ensuring reliable performance for years to come
Frequently Asked Questions about Replace Shower Head DIY Plumbing Easy
Q: What is the best replace shower head DIY plumbing easy product for high water pressure?
A: High-flow performance shower heads like the Delta H2Okinetic series deliver exceptional pressure while maintaining water efficiency. These fixtures feature massage settings and multiple spray patterns, perfect for those who prefer powerful showers. Look for models rated 2.5 GPM or higher if pressure is your priority. Testing water pressure in your sink first determines if your home’s supply supports high-flow fixtures adequately.
Q: How do I use replace shower head DIY plumbing easy if I’ve never done plumbing before?
A: The process is straightforward: turn off water, unscrew the old head with a wrench, clean threads, wrap them with plumber’s tape three times, screw on the new head by hand, tighten with a wrench, and test for leaks. No special skills or experience are required—most beginners complete installations successfully within 15 minutes. Watch YouTube tutorials demonstrating the process if you’re visual learner, but the steps are incredibly intuitive.
Q: Can I replace a shower head if my shower arm is damaged or corroded?
A: Minor corrosion can usually be cleaned and sealed with fresh plumber’s tape, resolving the issue. However, severely damaged threads may require shower arm replacement, which involves cutting and soldering pipes—a job better suited for professionals. If threads appear cracked or pitted, attempt installation with extra plumber’s tape first; if leaks persist, contact a plumber for arm replacement.
Q: What’s the difference between plumber’s tape and caulk for shower head installation?
A: Plumber’s tape (PTFE) is applied to threads before installation, creating a mechanical seal that remains effective during installation and disassembly. Caulk is silicone-based and seals the exterior joint after installation but doesn’t provide as reliable a connection inside the threads. Always use plumber’s tape for threaded connections; reserve caulk for exterior sealing around trim.
Q: How often should I clean or maintain my new shower head?
A: Clean your shower head monthly by soaking removable parts in vinegar to prevent mineral buildup, especially important in hard water areas. Check the connection quarterly for moisture or drips, addressing leaks immediately. This minimal maintenance prevents decreased water pressure and extends fixture lifespan significantly, making periodic cleaning an invaluable habit.
Conclusion
Replacing your shower head is an excellent entry-level home improvement project that delivers immediate satisfaction and practical benefits. Whether you’re upgrading for improved water pressure, environmental conservation, or aesthetic preferences, understanding how to replace shower head DIY plumbing easy empowers you to complete this task confidently and affordably. With just a wrench, plumber’s tape, and 15 minutes of your time, you’ll enhance your daily shower experience while potentially reducing water consumption and utility bills. Don’t let plumbing intimidate you—this simple project demonstrates that home maintenance is more accessible than you thought. Start your bathroom upgrade today and enjoy the immediate results of your DIY efforts!
Recommended Products on Amazon
As an Amazon Associate I earn from qualifying purchases.