How to paint a room like a professional
How to Paint Room Walls with a Professional Finish: Complete DIY Guide
Learning how to paint room walls professional finish doesn’t require years of experience or expensive tools – just the right techniques, quality materials, and attention to detail. Professional painters achieve flawless results by following systematic preparation methods, using proper application techniques, and selecting appropriate paint products for each specific project. Whether you’re refreshing a single bedroom or transforming your entire home, mastering these professional painting techniques will save you thousands of dollars while delivering results that rival those of experienced contractors. The key to achieving that coveted smooth, streak-free finish lies in understanding surface preparation, paint selection, tool quality, and application methodology that professionals have refined over decades in the industry.
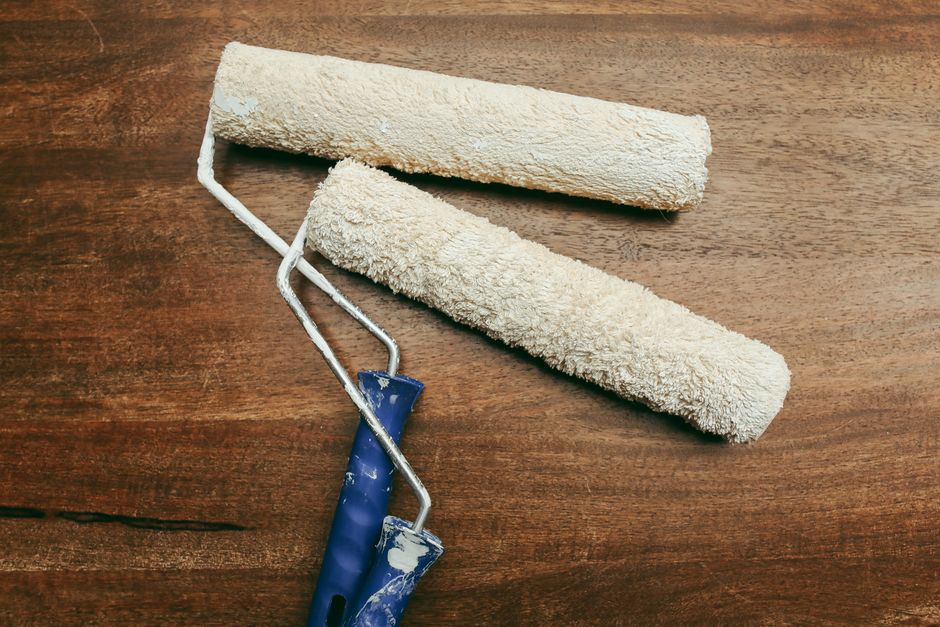
Table of Contents
- Essential Tools and Materials for Professional Results
- Room Preparation and Surface Assessment
- Professional Painting Techniques and Application Methods
- Achieving Smooth Finishes and Avoiding Common Mistakes
- Final Touches and Cleanup for Long-lasting Results
- Frequently Asked Questions
- Conclusion
Essential Tools and Materials for Professional Results
Professional-grade tools make the difference between an amateur paint job and a flawless finish that lasts for years. Start with high-quality brushes – the Purdy White Bristle Series ($15-25 each) offers exceptional paint retention and smooth application for trim work, while Wooster Shortcut brushes ($12-18) provide excellent control for cutting-in around edges. For roller applications, invest in premium roller covers like the Purdy White Dove ($8-12) or Wooster Pro/Doo-Z FTP ($6-10), which minimize lint and create uniform texture across large wall surfaces.
Your paint selection significantly impacts the final result. Benjamin Moore Advance paint ($65-75 per gallon) delivers exceptional durability and self-leveling properties, while Sherwin-Williams ProClassic ($55-65 per gallon) offers professional-grade coverage with minimal brush marks. For budget-conscious projects, Behr Premium Plus Ultra ($45-55 per gallon) provides excellent value with built-in primer properties.
Surface preparation tools cannot be overlooked. A quality paint sprayer like the Wagner Control Pro 130 ($179-199) enables efficient primer application, while 3M SandBlok sanding blocks ($3-5 each) ensure smooth surface preparation. Professional painters recommend ScotchBlue Original Painter’s Tape ($8-12 per roll) for clean lines, though FrogTape Multi-Surface ($10-14) offers superior adhesion on textured walls.
Additional essential supplies include drop cloths – canvas versions ($25-40) outperform plastic alternatives by absorbing spills and staying in place. A paint tray with liner system ($15-25) maintains paint freshness and simplifies cleanup, while extension poles ($20-35) eliminate ladder work for ceiling and upper wall sections.

Room Preparation and Surface Assessment
Proper preparation accounts for 70% of professional painting success, according to the Painting and Decorating Contractors of America. Begin with comprehensive room clearing – remove all furniture or center it and cover with plastic sheeting. Remove outlet covers, switch plates, and light fixtures, storing hardware in labeled bags for easy reinstallation.
Wall inspection reveals issues requiring attention before paint application. Look for nail holes, cracks, and surface imperfections that will telegraph through new paint. Use Bondo Wood Filler ($8-12) for larger holes, while 3M Patch Plus Primer patches ($6-8 each) handle smaller imperfections efficiently. Caulk gaps around trim, windows, and baseboards using DAP Alex Plus ($4-6 per tube) for professional-looking joints.
Cleaning preparation removes dirt, grease, and residue that prevents proper paint adhesion. TSP (Trisodium Phosphate) substitute cleaners ($8-12) effectively degrease surfaces without requiring extensive rinsing. For previously painted surfaces, light sanding with 220-grit sandpaper ($5-8 per pack) creates proper mechanical adhesion for new paint layers.
Primer application cannot be skipped when transitioning between paint types, covering stains, or painting over dark colors. Kilz PVA Primer ($35-45 per gallon) works excellently on new drywall, while Zinsser Bulls Eye 1-2-3 ($40-50 per gallon) blocks stains and provides superior adhesion on challenging surfaces. Apply primer using the same techniques planned for finish coats, maintaining consistent thickness and avoiding heavy buildup that creates texture issues.
Environmental considerations affect paint performance. Maintain room temperatures between 65-75°F with humidity levels below 50% for optimal drying and leveling. Use fans to promote air circulation without creating dust, and ensure adequate lighting – LED work lights ($25-40) reveal surface imperfections invisible under standard room lighting.
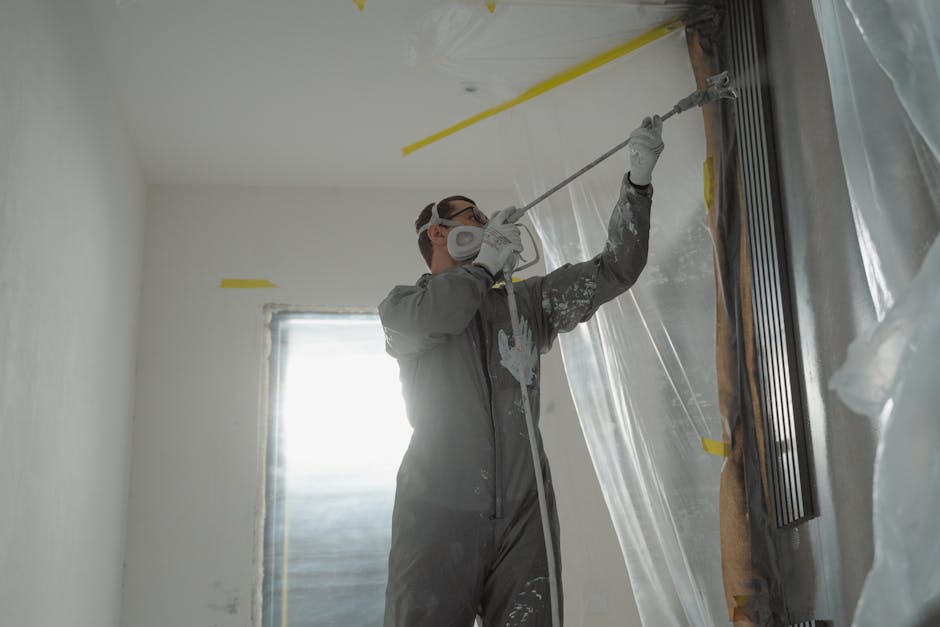
Professional Painting Techniques and Application Methods
Cutting-in technique separates amateur work from professional results. Load your angled brush with paint extending one-third up the bristles, then remove excess on the paint tray edge. Start cuts approximately 1/8 inch from the edge, then gradually work closer with each stroke, maintaining steady pressure and consistent speed. Professional painters complete entire room perimeters before rolling, ensuring uniform sheen and eliminating lap marks.
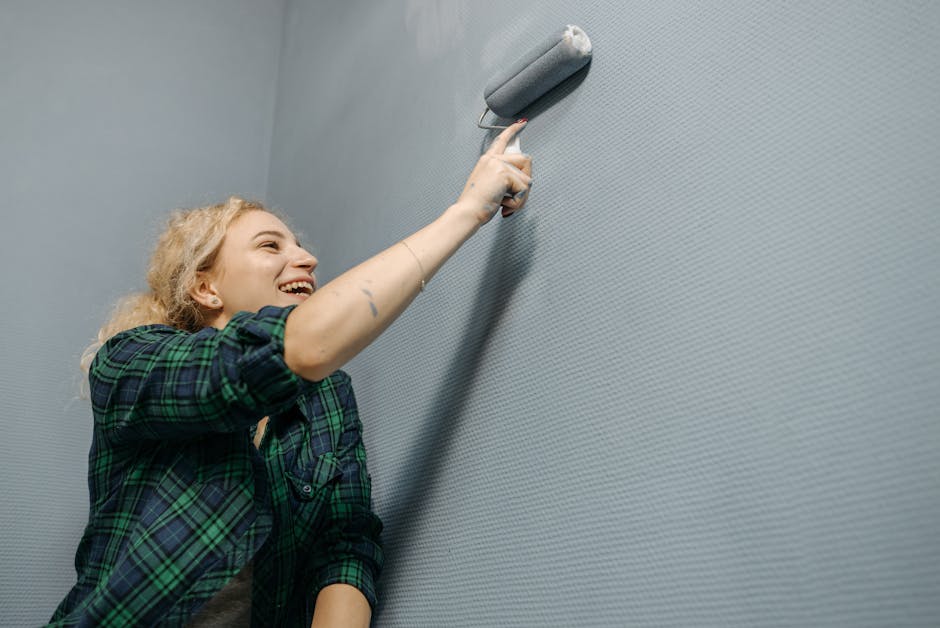
Rolling methodology requires systematic approach for even coverage. Use the “W” pattern technique – roll three overlapping “W” shapes across a 4×4 foot section, then fill in with parallel strokes without lifting the roller. Maintain consistent pressure and roller speed, working wet edges together to prevent visible seams. Roll from floor to ceiling in single strokes when possible, minimizing directional changes that create texture variations.
Paint loading techniques ensure consistent application. Dip rollers 1/3 into paint, then roll on tray ridges 3-4 times to distribute evenly without overloading. Properly loaded rollers should hold enough paint for 25-30 square feet of coverage without dripping. For brushwork, dip bristles 1/3 their length, tap lightly against tray sides rather than wiping, which removes too much paint.
Two-coat application delivers professional durability and color depth. Allow first coats to dry completely – typically 2-4 hours depending on humidity and temperature. Sand lightly between coats with 320-grit sandpaper to remove any raised grain or imperfections, then vacuum dust before applying final coats. Second coats require less paint but demand equal attention to technique for uniform appearance.
Edge blending eliminates visible transitions between brushed and rolled areas. While rolled paint remains wet, lightly brush over the junction using minimal pressure and long, smooth strokes. This technique, called “laying off,” creates seamless transitions and uniform sheen throughout the surface.

Achieving Smooth Finishes and Avoiding Common Mistakes
Paint consistency management prevents the streaking and lap marks that plague DIY projects. Thin paint appropriately – most latex paints perform optimally when thinned 5-10% with water for roller application, though premium paints like Benjamin Moore Regal Select require no thinning. Maintain wet edges by working in manageable sections and never allowing painted areas to dry before connecting with adjacent sections.
Brush and roller maintenance during painting prevents contamination and ensures consistent results. Clean tools every 2 hours during extended painting sessions, removing built-up paint that creates streaks and uneven application. Replace roller covers when they begin shedding lint or lose their nap structure, typically after 300-400 square feet of application.
Common texture problems stem from improper tool selection or technique. Orange peel texture results from excessive roller pressure or inappropriate nap length – use 3/8-inch nap for smooth surfaces and 1/2-inch nap for lightly textured walls. Brush marks occur when paint viscosity is too high or when brushing over partially dried surfaces. Stippling effects indicate overworked paint or incompatible products.
Environmental control eliminates many finish defects. Avoid painting in direct sunlight, which causes rapid drying and prevents proper leveling. Control airborne dust by dampening floors before painting and using tacky cloths ($3-5) between coats. Temperature fluctuations during drying can cause sheen variations, so maintain consistent conditions throughout the project.
Quality inspection techniques identify problems before they become permanent. Use raking light – hold flashlights or work lights at shallow angles to walls – revealing missed spots, streaks, and texture inconsistencies. Touch-up work should be completed while paint remains workable, using the same tools and techniques as original application to maintain uniform appearance.

Final Touches and Cleanup for Long-lasting Results
Tape removal timing critically affects edge quality. Remove painter’s tape while paint remains slightly tacky – typically 30-60 minutes after application depending on conditions. Pull tape at 45-degree angles with steady pressure to prevent paint lifting. For dried paint, score along tape edges with utility knives before removal to ensure clean lines.
Trim and detail work elevates overall project quality. Use fine brushes (1-2 inches) for precise work around outlets, switches, and fixtures. Steady your brush hand against stable surfaces when possible, and maintain consistent pressure for uniform coverage. Touch-up missed spots immediately rather than waiting for full project completion.
Hardware reinstallation requires careful attention to avoid paint damage. Allow 24-48 hours of cure time before mounting outlet covers and switch plates. Use cordless drills with torque limiting to prevent over-tightening that cracks paint around mounting holes. Clean paint from screw threads and mounting holes using small brushes or cotton swabs.
Cleanup methodology protects your investment and tools. Clean brushes immediately using appropriate solvents – warm soapy water for latex paints, mineral spirits for oil-based products. Wrap rollers in plastic wrap if resuming work within 24 hours, otherwise clean thoroughly and store properly. Dispose of materials according to local regulations – many areas offer paint recycling programs for unused products.
Long-term maintenance planning preserves your professional results. Document paint colors and purchase dates for future touch-ups. Store small quantities of leftover paint in glass jars ($2-3 each) rather than original containers, which allows easy color matching for minor repairs. Schedule periodic cleaning using mild soap solutions to maintain paint film integrity and appearance.
Frequently Asked Questions
How long should I wait between primer and paint coats for the best professional finish?
Wait 4-6 hours between primer and paint application for optimal results, though high-quality primers like Zinsser Bulls Eye 1-2-3 may be ready for topcoats in as little as 2 hours. The key indicator is complete drying – primer should feel completely dry to touch with no tacky areas remaining. Environmental factors significantly impact drying time: high humidity extends drying periods while excessive heat can cause surface drying before complete curing, leading to adhesion problems. Professional painters often apply primer in the morning and paint in the afternoon, allowing maximum cure time while maintaining productivity. Test inconspicuous areas by lightly sanding – properly cured primer will sand to powder rather than gumming up sandpaper.
What’s the difference between expensive paint and budget options for achieving professional results?
Premium paints like Benjamin Moore Aura ($75-85/gallon) contain higher pigment concentrations, better binders, and advanced additives that improve coverage, durability, and application properties. These paints typically provide better hide in fewer coats, superior leveling that minimizes brush marks, and enhanced durability lasting 3-5 years longer than budget alternatives. Mid-grade options like Behr Premium Plus ($35-45/gallon) offer good performance for most residential applications, while economy paints ($25-35/gallon) require additional coats and more frequent maintenance. The cost difference often balances out when considering coverage rates – premium paints may cost twice as much but cover 20-30% more area per gallon while lasting significantly longer.
Should I use a brush or roller for the smoothest wall finish?
High-quality rollers with appropriate nap lengths produce the smoothest finish on large wall surfaces, while brushes excel for trim, edges, and detail work. Microfiber rollers like Purdy White Dove ($8-12) create exceptionally smooth finishes on walls, while synthetic bristle brushes work best with latex paints for cutting-in and trim work. Professional technique combines both tools – use brushes for precision cutting-in around edges, then immediately roll over brushed areas while wet to eliminate brush marks and create uniform texture. Spray application produces the smoothest possible finish but requires extensive masking and specialized equipment, making it impractical for most DIY projects. The key is proper tool selection matched to surface texture and paint type.
How do I fix paint drips and runs without repainting the entire wall?
Address drips immediately while paint remains wet by lightly brushing or rolling over affected areas to redistribute material. For dried drips, carefully sand smooth using 220-grit sandpaper, feathering edges to blend with surrounding surfaces, then spot prime and touch up with original paint using identical application methods. Prevention proves easier than correction – avoid overloading brushes and rollers, maintain consistent application speed, and inspect work under proper lighting during application. Severe runs may require complete section repainting for invisible repairs, particularly on high-sheen finishes that highlight surface irregularities. Professional painters use “back-rolling” techniques – immediately rolling over brushed surfaces while wet – to eliminate drips and create uniform texture throughout the project.
What room temperature and humidity levels work best for professional painting results?
Maintain temperatures between 65-75°F with relative humidity below 50% for optimal paint performance and professional results. Cold conditions slow drying and prevent proper paint flow and leveling, while excessive heat causes rapid surface drying that prevents proper adhesion and creates brush marks. High humidity significantly extends drying times and can cause paint to remain tacky for extended periods, attracting dust and creating finish defects. Use dehumidifiers ($150-300) in humid conditions and space heaters ($50-100) in cold weather, maintaining consistent conditions throughout application and initial curing periods. Avoid painting during extreme weather conditions – most paint manufacturers specify application parameters on product labels, and exceeding these limits voids warranty coverage and compromises long-term performance.
Conclusion
Mastering how to paint room walls professional finish transforms both your living space and your confidence in tackling home improvement projects. The techniques outlined in this comprehensive guide – from meticulous preparation and quality tool selection to proper application methods and finishing touches – represent decades of professional painting wisdom distilled into actionable steps for DIY success. Remember that achieving truly professional results requires patience, quality materials, and attention to detail at every stage of the process.
The investment in premium tools and materials pays dividends through superior results, easier application, and longer-lasting finishes that rival professional work. By following these systematic approaches to surface preparation, paint application, and finishing techniques, you’ll create beautiful, durable wall finishes while building valuable skills for future projects.
Ready to transform your space with professional-quality results? Gather your materials, set aside adequate time for proper preparation, and begin your painting project with confidence. Remember that practice improves technique, so start with less visible areas to refine your skills before tackling prominent walls in main living areas.