How to build a simple bookshelf yourself
Build Bookshelf DIY Wood Plywood Beginner: Complete Guide to Success
Introduction
Learning how to build bookshelf DIY wood plywood beginner projects is one of the most rewarding ways to transform your living space while developing valuable woodworking skills. Whether you’re decorating a cozy reading nook, organizing a home office, or maximizing storage in a bedroom, a custom bookshelf adds both functionality and aesthetic appeal to any room. This comprehensive guide will walk you through every step of creating a beautiful, sturdy bookshelf from scratch, even if you’ve never picked up a power tool before. By the end of this tutorial, you’ll have the confidence and knowledge to build a professional-looking piece of furniture that your friends and family will admire. Let’s dive into this exciting DIY journey together!
Table of Contents
- Introduction
- Why Build Bookshelf DIY Wood Plywood Beginner Matters
- Step-by-Step Build Bookshelf DIY Wood Plywood Beginner Guide
- Best Build Bookshelf DIY Wood Plywood Beginner Options
- Pro Tips for Build Bookshelf DIY Wood Plywood Beginner
- Common Mistakes to Avoid
- Key Takeaways
- Frequently Asked Questions About Build Bookshelf DIY Wood Plywood Beginner
- Conclusion
Why Build Bookshelf DIY Wood Plywood Beginner Matters
Building your own bookshelf offers numerous advantages over purchasing pre-made furniture from retail stores. First, you save a significant amount of money by using affordable materials like plywood instead of solid wood or engineered finishes. A quality store-bought bookshelf can cost hundreds of dollars, while a DIY version typically runs between $50-$200 depending on size and complexity.
Beyond the financial savings, creating a build bookshelf DIY wood plywood beginner project gives you complete creative control over the design. You can customize the dimensions to fit your exact space, adjust shelf spacing for larger volumes or decorative items, and choose finishes that complement your existing décor perfectly. This personalization simply isn’t possible when buying off-the-shelf furniture that comes in standard sizes.
Environmental consciousness is another compelling reason to tackle this DIY project. Building your own furniture reduces consumption and waste associated with mass-produced items. You’ll use only the materials you need, and any scraps can be repurposed for other projects or properly recycled. Additionally, creating something with your own hands fosters a deeper connection to your living space and provides genuine satisfaction every time you use your creation.
The learning experience cannot be overstated either. Building a bookshelf teaches fundamental woodworking skills including measuring, cutting, drilling, and finishing that transfer to countless future projects. These skills boost your confidence in tackling larger renovations and repairs around your home. Even beginners develop an appreciation for craftsmanship and quality construction after completing their first build bookshelf DIY wood plywood beginner project.
Finally, a custom-built bookshelf becomes a functional focal point in any room. Rather than hiding away storage, your bookshelf showcases your personality through both its design and contents. Whether you prefer minimalist Scandinavian aesthetics or rustic farmhouse vibes, your handmade creation will reflect your style better than any mass-produced alternative.
Step-by-Step Build Bookshelf DIY Wood Plywood Beginner Guide
Planning Your Project
Before touching any tools, spend time planning your build bookshelf DIY wood plywood beginner project thoroughly. First, measure the space where your bookshelf will live, noting both width and height constraints. Consider whether you want the shelf to reach the ceiling or sit at eye level, and whether it will span an entire wall or nestle into a corner.
Next, decide on the number of shelves and their spacing. A typical bookshelf has four to six shelves spaced 10-14 inches apart, which accommodates standard-sized books. However, if you’ll store art books or decorative items, you might need more generous spacing. Sketch your design on paper with exact measurements, including the thickness of materials and the width of support frames.
Consider your weight-bearing needs carefully. Loaded bookshelves are surprisingly heavy, so you must plan adequate support. A good rule of thumb is that each shelf should have a vertical support every 24-36 inches to prevent sagging. Plywood shelves longer than 36 inches without center supports will eventually bow under the weight of books.
Materials and Tools You’ll Need
Building a build bookshelf DIY wood plywood beginner project requires relatively few materials and tools. For a basic 48-inch wide, 72-inch tall bookshelf with five shelves, gather 1/2-inch thick plywood sheets (usually two are sufficient), 2×4 inch lumber for the frame, wood screws, wood filler, sandpaper, and your choice of finish (paint, stain, or polyurethane).
Tools needed include a circular saw or table saw, power drill with various bits, level, measuring tape, pencil, clamps, sander, and safety equipment like safety glasses and dust masks. Many of these tools can be rented affordably if you don’t own them yet. If you’re completely new to power tools, consider renting a full set or visiting a local makerspace that provides equipment access.
The beauty of a build bookshelf DIY wood plywood beginner project is that you don’t need expensive professional-grade equipment. Budget-friendly versions of essential tools work perfectly for this project and other future endeavors. Many hardware stores offer tool rental programs that cost just a few dollars per day, making experimentation affordable.
Cutting and Preparing Materials
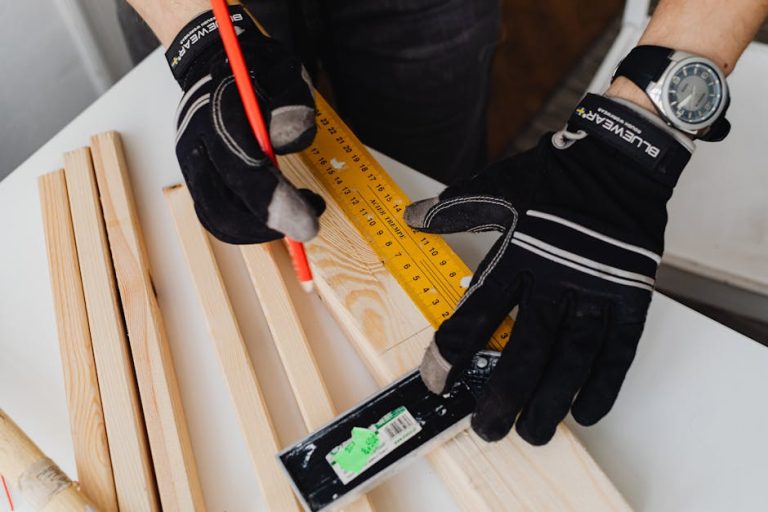
Start by carefully measuring and marking all your cuts on the plywood. Use a pencil and measuring tape to mark shelf widths and heights, double-checking all measurements before making any cuts. A helpful tip is to create a cut list on paper that you reference constantly—mistakes in cutting are expensive and frustrating.
When cutting plywood with a circular saw, use a fine-toothed blade to minimize splintering and ensure clean edges. Always wear safety glasses during cutting and secure the plywood firmly with clamps to prevent movement. If you’re uncomfortable making cuts yourself, most hardware stores will make a few simple cuts for a small fee, which is an excellent option for beginners.
After cutting all pieces, examine the edges carefully. Plywood edges are somewhat raw and unattractive, so cover them with edge banding (self-adhesive veneer strips) or paint them with primer before final finishing. Sand all surfaces and edges smooth with 120-grit sandpaper, then progress to 220-grit for a refined finish.
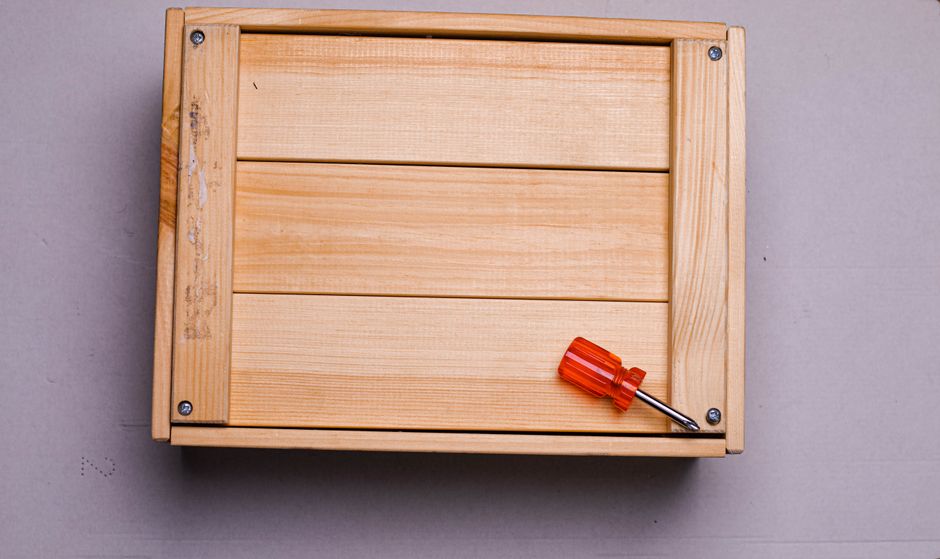
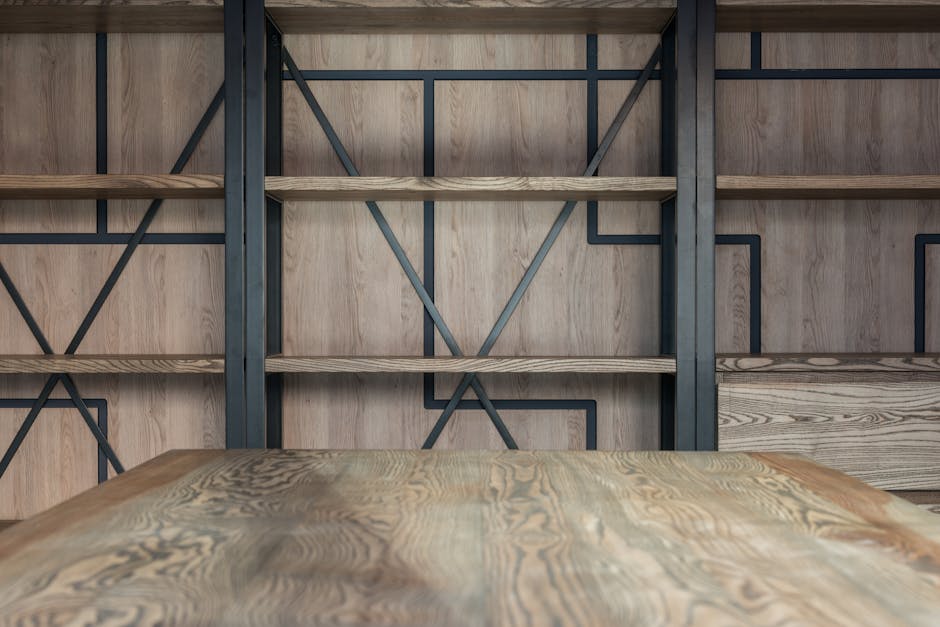
Assembling the Frame
The foundation of your build bookshelf DIY wood plywood beginner project is a sturdy frame. Cut your 2×4 lumber to length for the vertical supports (sides) and horizontal supports (top, bottom, and shelf backing). Lay out all pieces on a flat surface to verify they fit together properly before any assembly.
Apply wood glue to joints and use 2.5-inch wood screws to secure frame pieces together. Pre-drill all screw holes to prevent splitting and ensure pilot holes are slightly smaller than your screw diameter. A power drill makes this process quick and efficient, and the investment in a decent drill pays dividends across multiple projects.
Check that your assembled frame is perfectly square using a carpenter’s square or by measuring diagonal corners (they should be equal). Clamp any joints that are out of square until the glue dries, typically 24 hours. This crucial step ensures your finished bookshelf sits evenly without wobbling or looking crooked.
Installing Shelves
Once your frame is solid, install the shelf supports. You have several options: notch the supports into the frame, use shelf pins in pre-drilled holes, or attach support ledges with screws. Shelf pins offer the most flexibility for future adjustments, allowing you to reposition shelves as your storage needs change.
For adjustable shelves using pins, drill evenly-spaced holes (every 1.25 inches) along the interior sides of your vertical supports. Ensure holes are perpendicular to the supports so shelves sit level. Use a drill press if available for perfectly straight holes, though a handheld drill works fine if you’re careful.
Test fit each shelf in its intended position before permanent installation. Set shelf supports at the correct height and insert shelf pins, checking that each shelf is level with a bubble level. Once all shelves are positioned correctly, you can drive screws through the shelf undersides into the frame for permanent installation, or leave them adjustable with pins.
Finishing Touches
The finishing stage transforms your build bookshelf DIY wood plywood beginner project from functional to fabulous. First, fill any screw holes or imperfections with wood filler, sanding smooth after it dries. This meticulous attention to detail distinguishes handmade pieces from rough prototypes.
Apply primer if painting, or stain if you prefer wood tones. Paint or stain all visible surfaces consistently, paying special attention to edges and corners. Multiple thin coats produce better results than one thick coat, so plan on two to three applications with light sanding between coats.
Seal your finished bookshelf with polyurethane or polycrylic for protection and durability. Water-based polycrylic is low-odor and dries quickly, making it excellent for beginners. Oil-based polyurethane provides richer protection but has stronger fumes and longer drying times. Allow full curing time (usually 48-72 hours) before placing heavy items on shelves.

Best Build Bookshelf DIY Wood Plywood Beginner Options
Classic Wall-Mounted Shelves
Wall-mounted bookcases maximize space and create a floating aesthetic that feels modern and sophisticated. These shelves attach directly to wall studs using heavy-duty brackets hidden behind the shelves themselves. This design works beautifully in bedrooms, offices, and living rooms where floor space is limited.
The main advantage of wall-mounted shelves is their clean appearance without visible supports or frames. However, installation requires locating studs and ensuring the mounting hardware can handle your books’ weight. This option works best for lighter collections or when you combine plywood shelves with sturdy metal brackets specifically rated for your anticipated load.
Freestanding Floor-to-Ceiling Designs
Freestanding bookshelves offer maximum flexibility since they require no wall attachment and can be repositioned anytime. These designs work well in rental homes where wall damage is problematic. A floor-to-ceiling bookshelf makes a bold statement and provides impressive storage capacity.
Building a freestanding bookcase requires more attention to stability and load distribution. Wider bases and diagonal bracing prevent tipping, especially important if you have children or pets. Securing the top to the ceiling with brackets is optional but recommended for extra safety and to prevent unwanted movement.
Corner Bookcase Solutions
Corner bookcases are clever space savers that transform awkward corners into functional storage. These triangular or L-shaped designs fit snugly into corners and create interesting visual interest. A build bookshelf DIY wood plywood beginner corner project is typically smaller and easier than full-wall installations, making them perfect starting projects.
Corner installations require careful measuring since walls rarely meet at perfect 90-degree angles. Account for baseboards and trim when planning dimensions. Corner shelves function excellently for displaying collections and creating cozy reading nooks that maximize underutilized space.
Vertical Ladder Shelves
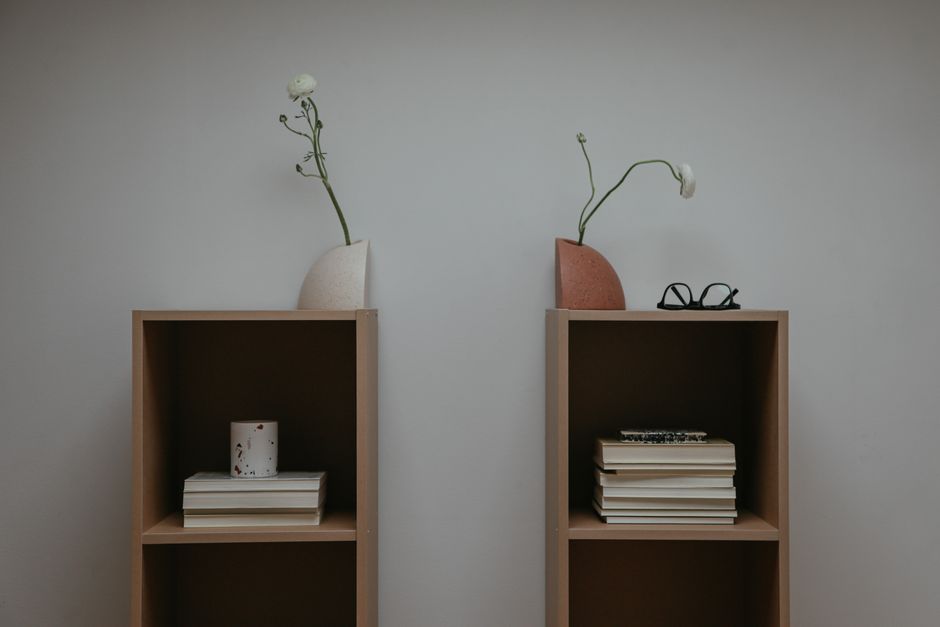
Ladder-style shelves combine rustic charm with space efficiency and are surprisingly easy to build. These designs feature two vertical supports with shelves that angle slightly forward, creating a casual, accessible display. Ladder shelves work beautifully for lighter decorative items and smaller book collections.
This style is ideal for build bookshelf DIY wood plywood beginner projects because they require minimal materials and basic assembly skills. The angled shelves prevent items from sliding and create interesting visual dynamics. Ladder shelves are perfect for renters since they’re portable and don’t require wall attachment.

Pro Tips for Build Bookshelf DIY Wood Plywood Beginner
Maximize Structural Integrity
Use quality plywood rather than particle board, which sags under heavy book loads and deteriorates over time. Half-inch plywood offers superior durability compared to thinner options, and the cost difference is minimal. Additionally, never span shelves more than 36 inches without center support if storing books, as unsupported spans will inevitably bow.
Install diagonal bracing between vertical supports to enhance overall stability. These hidden supports dramatically improve resistance to tipping and lateral movement. For wall-mounted options, always locate and screw directly into wall studs rather than relying solely on drywall anchors, which are inadequate for heavy loads.
Plan for Cable Management
If you’ll add task lighting or other electronics, plan cable routes during initial construction. Drill holes through shelves and the rear frame to hide cables elegantly. This planning prevents the frustrated struggle of trying to hide wires after assembly and maintains your bookshelf’s attractive appearance.
Consider Shelf Depth Strategically
Standard bookshelf depth is 10-12 inches for typical paperbacks and hardcovers. However, art books and coffee table books require 12-14 inches. Increasing depth slightly doesn’t significantly increase material costs but dramatically improves functionality. Conversely, shallow shelves (6-8 inches) work well for decorative items and don’t require as much support.
Paint or Stain Selection Matters
Light colors make rooms feel larger and work well for minimalist décor, while darker finishes create dramatic focal points. Test your chosen color on a scrap piece of plywood in your actual room’s lighting before committing to the entire project. Natural wood finishes highlight plywood’s grain patterns beautifully, though they show dust more readily than painted finishes.
Invest in Proper Fasteners
Quality wood screws cost slightly more than budget options but provide superior holding power and last longer. Pocket hole joinery using a Kreg jig creates nearly invisible joints that look professional while providing strength comparable to mortise and tenon joints. This technique is worth learning for future projects.
Common Mistakes to Avoid
Underestimating Weight Capacity
The most common failure point in DIY bookshelves is shelves sagging under book weight, especially near the center of long spans. This happens because builders underestimate how much books weigh—a linear foot of average books weighs 15-20 pounds. Calculate total potential weight and ensure your design accommodates it with adequate support.
Skipping the Level Check
Installation errors create wobbly, unsafe bookshelves that are frustrating and potentially dangerous. Use a bubble level frequently during assembly, not just once at the end. Uneven shelves look amateurish and allow items to slide, creating both aesthetic and safety problems.
Ignoring Humidity and Wood Movement
Wood expands and contracts with humidity changes, potentially causing binding or gaps in your bookshelf. Acclimate plywood to your home’s environment for several days before assembly. Leave small gaps (about 1/8 inch) around fixed shelves to allow for natural wood movement without creating binding or buckling.
Rushing the Finishing Process
Many builders finish their build bookshelf DIY wood plywood beginner project too quickly, skipping primer or sanding between coats. This results in visible imperfections, uneven color, and a cheap appearance despite the solid construction underneath. Investing time in proper finishing elevates your project from homemade to professional quality.
Poor Joint Preparation
Wood glue works only when surfaces are clean, flat, and well-fitted. Don’t apply glue to dirty surfaces or joints with gaps. Take time to ensure all joints fit perfectly before applying any adhesive, as glue cannot bridge gaps or fix misaligned pieces.
Key Takeaways
-
Build bookshelf DIY wood plywood beginner projects save money while providing customization impossible with store-bought furniture. Handmade shelves typically cost 50-75% less than equivalent retail pieces while fitting your space perfectly.
-
Proper planning and measurement prevent costly mistakes that ruin materials and waste time. Sketch your design to scale with precise measurements before cutting any materials.
-
Half-inch plywood provides optimal strength-to-cost ratio for shelving projects. Never use particle board for heavy book loads, as it sags and deteriorates rapidly.
-
Support every 24-36 inches prevents sagging and ensures long-term structural integrity. Longer unsupported spans inevitably bow under book weight, creating both cosmetic and functional problems.
-
Finishing quality separates amateur projects from professional-looking pieces worthy of display. Invest time in proper sanding, priming, painting, and sealing for results that rival store-bought furniture.
Frequently Asked Questions About Build Bookshelf DIY Wood Plywood Beginner
Q: What is the best build bookshelf DIY wood plywood beginner design for small spaces?
A: Corner bookcases and wall-mounted floating shelves are ideal for small spaces since they utilize otherwise wasted areas. Vertical designs maximize storage while minimizing floor footprint. Ladder-style shelves also work well for compact areas while adding visual interest. The key is choosing designs that fit your space constraints while accommodating your book collection size.
Q: How do I use build bookshelf DIY wood plywood beginner materials to ensure longevity?
A: Always select half-inch plywood over thinner options for superior durability and strength. Apply quality finishes like polyurethane or paint to protect plywood from moisture and damage. Use proper fasteners throughout, and ensure shelves have adequate support rated for your anticipated load. Quality construction practices pay dividends through years of trouble-free use.
Q: How much does it cost to build bookshelf DIY wood plywood beginner projects?
A: Budget typically ranges from $50-$200 depending on size, materials, and finish choices. Basic shelves with paint finish cost less than those with stain and premium finishes. Pre-made hardware and brackets add to costs but simplify construction. Even premium builds cost a fraction of comparable retail furniture.
Q: What tools are absolutely essential for build bookshelf DIY wood plywood beginner projects?
A: Minimum tools include a saw (hand saw works but power tools are faster), drill, measuring tape, level, and sandpaper. A circular saw, power drill, and orbital sander make the process much faster and more enjoyable. Many tools can be rented affordably from hardware stores, making this beginner-friendly.
Q: Can I build bookshelf DIY wood plywood beginner shelves in a rental apartment?
A: Absolutely! Wall-mounted floating shelves require only a stud finder and moderate wall damage. Alternatively, build freestanding shelves that require zero wall attachment and can be repositioned anytime. Ladder shelves are especially renter-friendly since they’re portable and don’t require any permanent modifications.
Conclusion
Learning how to build bookshelf DIY wood plywood beginner projects is an achievable goal that yields beautiful, functional results while saving significant money. This comprehensive guide has provided everything you need to confidently create a custom bookshelf that enhances your living space for years to come. With proper planning, quality materials, and attention to finishing details, your handmade bookshelf will rival store-bought furniture while reflecting your personal style perfectly. Start with your measurements today, gather materials this weekend, and soon you’ll enjoy the satisfaction of displaying your book collection in a piece you created with your own hands. Your bookshelf awaits!
Recommended Products on Amazon
As an Amazon Associate I earn from qualifying purchases.