Best cordless drills for cabinetry
Best Cordless Drill Cabinet Hinge Precise Torque Solutions for Perfect Cabinetry
Finding the right cordless drill cabinet hinge precise torque tool is essential for anyone serious about woodworking and furniture assembly. Whether you’re a seasoned carpenter or a DIY enthusiast tackling your first kitchen remodel, having a drill that delivers exact torque control can mean the difference between professional-looking results and frustrating mistakes. In this comprehensive guide, we’ll explore the best cordless drills specifically designed for cabinetry work, focusing on models that excel at delivering the precise torque needed for hinge installation and delicate cabinet assembly. We’ll examine top-rated options, share expert tips, and help you make an informed decision that will serve your projects for years to come.
Table of Contents
- Why Cordless Drill Cabinet Hinge Precise Torque Matters
- Step-by-Step Cordless Drill Cabinet Hinge Precise Torque Guide
- Best Cordless Drill Cabinet Hinge Precise Torque Options
- Pro Tips for Cordless Drill Cabinet Hinge Precise Torque
- Common Mistakes to Avoid
- Key Takeaways
- Frequently Asked Questions about Cordless Drill Cabinet Hinge Precise Torque
- Conclusion
Why Cordless Drill Cabinet Hinge Precise Torque Matters
Cabinet work demands a different approach than general construction projects. Unlike framing or deck building, cabinetry requires finesse, control, and accuracy that standard drills simply cannot provide. A cordless drill cabinet hinge precise torque tool gives you the ability to install hinges without stripping screw heads, splitting delicate wood, or over-tightening fasteners that could damage expensive hardware.
When installing cabinet hinges, the screw holes are often small and precisely positioned. If your drill doesn’t have adequate torque control, you risk damaging the hinge, the cabinet face, or both. Professional cabinetmakers understand that torque settings directly impact the quality of the finished project and the longevity of the hardware.
Precise torque control also prevents the common problem of fasteners working loose over time. When hinges are installed with consistent, controlled pressure, they stay secure through years of opening and closing. This is why investing in a drill with advanced torque settings pays dividends in customer satisfaction and project durability.
The difference between a budget drill and a quality cabinetry-specific model becomes obvious after your first few projects. You’ll notice smoother operation, better control, reduced vibration, and most importantly, superior results that reflect the care you’ve put into your work.
Step-by-Step Cordless Drill Cabinet Hinge Precise Torque Guide
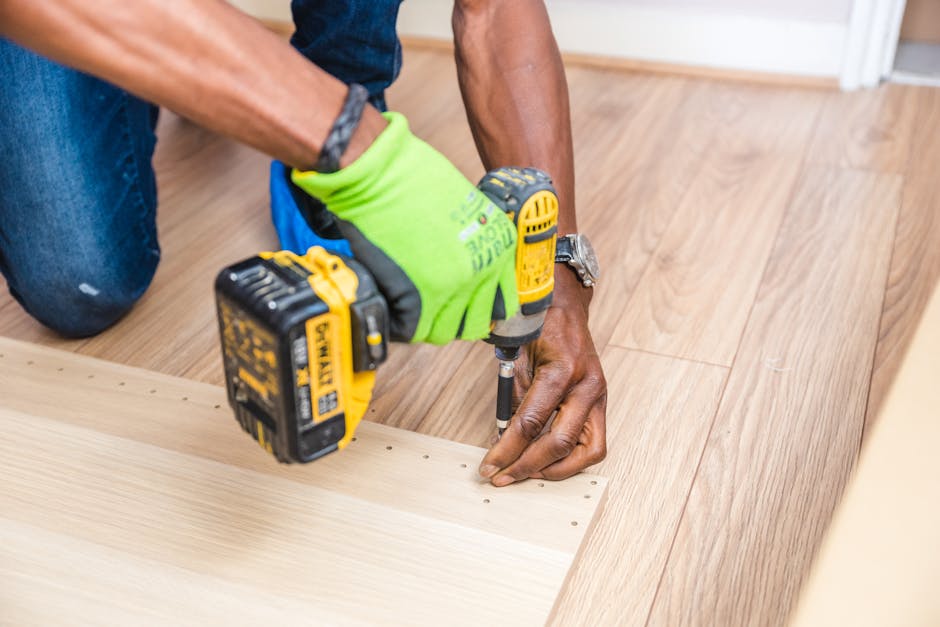
Before you begin any cabinet hinge installation, preparation is crucial. Start by measuring and marking your hinge locations with a pencil and combination square, ensuring they’re perfectly aligned and at the correct height from the cabinet edge. Double-check all measurements twice—this prevents costly mistakes that require refinishing or replacing wood.
Assemble your tools in an organized workspace. You’ll need your cordless drill, the appropriate bit size for your screws, a screw assortment that matches your hinges, and safety equipment like eye protection. Having everything within arm’s reach helps maintain a steady workflow and reduces the temptation to rush through critical steps.
Insert the correct bit into your drill’s chuck, ensuring it’s snug and properly centered. Select the lowest torque setting on your drill to begin—you can always increase if needed, but you cannot undo over-tightening. Position the drill bit squarely against the screw head to prevent slipping or camming out, which strips both the bit and the screw slot.
Apply steady, controlled pressure as you begin driving the screw. Let the drill do the work rather than forcing it. As the screw approaches the hinge, slow your approach and watch carefully for resistance indicators that signal the fastener is nearly seated. Once the screw is flush, stop immediately—this is where cordless drill cabinet hinge precise torque becomes invaluable.
Test each hinge by opening and closing the cabinet door slowly. The door should swing smoothly without binding or sagging. If hinges feel loose, incrementally increase your torque setting and tighten screws further, but do this carefully and methodically. Most professional cabinetmakers use a torque wrench for final tightening rather than the drill to ensure absolute consistency.

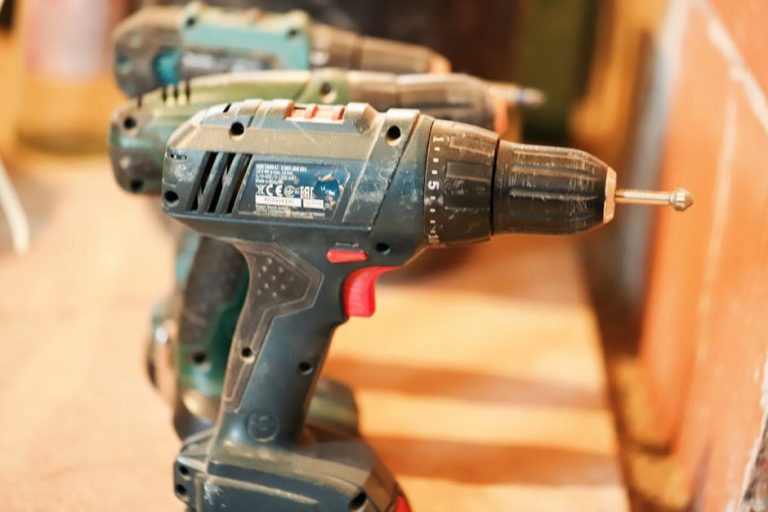
Best Cordless Drill Cabinet Hinge Precise Torque Options
The market offers numerous cordless drills, but several stand out specifically for cabinetry applications. These tools combine adequate power with exceptional control, making them ideal for precision work where delicate touch matters more than raw drilling force.
DeWalt DCD771C2 20V Compact Drill/Driver
DeWalt’s compact model is legendary among cabinetmakers for its balance of power and control. The two-speed transmission (0-450 and 0-1,000 RPM) provides flexibility for different applications, while the ½-inch single-sleeve chuck ensures bit security. At just 3.6 pounds, this drill minimizes fatigue during extended sessions, which is crucial when installing hundreds of hinge screws across multiple cabinet projects.
The variable trigger gives you granular control over speed and torque, allowing you to dial in the exact pressure needed for cabinet hinges. The compact design also makes it easier to work in tight spaces inside cabinet interiors where full-size drills won’t fit. Many professionals use this model specifically for hinge installation before switching to larger tools for other tasks.
Makita DF012DSE 7.2V Micro Cordless Driver-Drill
For cabinetmakers who prioritize precision above all else, the Makita micro drill is unmatched. This incredibly compact tool weighs just 1.3 pounds and measures only 4.3 inches in length, making it ideal for detailed work in confined spaces. The 7.2-volt lithium-ion battery provides sufficient power for cabinet work without the weight of larger systems.
The two-speed transmission offers 0-400 and 0-1,300 RPM settings, giving you extensive control over torque delivery. The drill chuck accepts both ¼-inch hex and traditional round bits, making it versatile for various fastening applications. LED work lighting helps you see screw heads clearly, reducing errors from poor visibility.
Bosch PS31-2A 12V Compact Drill/Driver Kit
Bosch’s 12-volt model represents an excellent value for budget-conscious professionals. The two-speed transmission (0-400 and 0-1,000 RPM) provides adequate control for cabinet hinges, while the compact profile fits easily in toolbelts and tight spaces. The ergonomic design reduces hand fatigue, which matters significantly when you’re working on large cabinetry projects.
The single-sleeve ½-inch chuck is reliable and durable, holding bits securely through hundreds of cycles. At 3.6 pounds, it’s lightweight enough for overhead work installing hinges on upper cabinets. The kit includes two batteries and a charger, providing continuous work capability without waiting for recharges.
Festool C 18-Basic Cordless Drill/Driver
Festool drills are favored by European cabinetmakers and increasingly popular in North America. The C 18 model delivers exceptional precision through its variable speed control and ergonomic design that reduces vibration. The compact head design allows access to tight spaces while maintaining excellent balance and control.
The two-speed transmission (0-450 and 0-1,200 RPM) combines with precise torque settings to give you maximum control over fastener installation. The LED work light is brighter than competitors, reducing visibility-related errors. Though priced at the premium end of the market, Festool tools hold resale value and typically outlast other brands by years.

Pro Tips for Cordless Drill Cabinet Hinge Precise Torque
Always perform a test installation on scrap wood before working on actual cabinet faces. This allows you to dial in your torque settings and practice your technique without risking expensive materials. Pay attention to how the screw enters the wood and the resistance point where it should stop—this muscle memory translates directly to better results on your actual project.
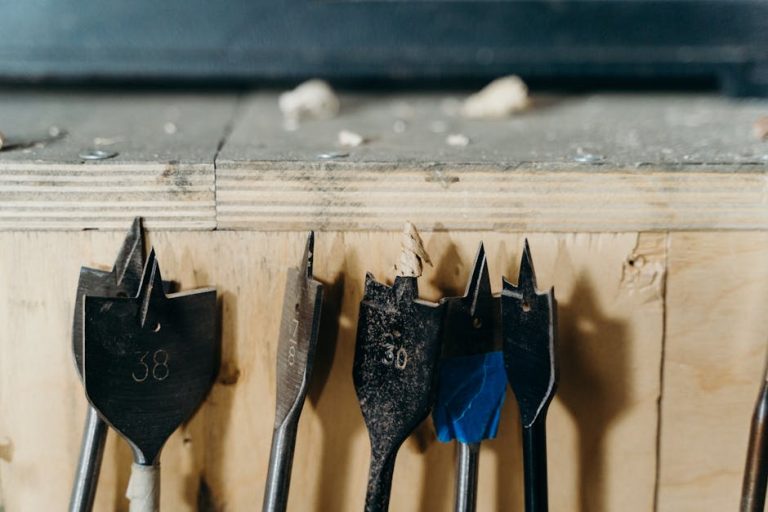
Invest in quality bits—they make a dramatic difference in results and drill longevity. Cheap bits wear out quickly, slip in screw heads, and waste time as you struggle with resistance. High-quality bits with proper hardness and geometry ensure clean engagement, consistent torque transmission, and longer tool life.
Consider using a cordless drill cabinet hinge precise torque limiting adapter or bit. Some professional cabinetmakers use specialized bits that automatically stop at a preset torque level, eliminating guesswork and preventing over-tightening. These devices are especially valuable when training apprentices or when working on high-value custom projects where perfection is non-negotiable.
Work in good lighting—poor visibility leads to misaligned bits and crooked screw installation. Position your work near windows during daytime or use portable LED lighting for indoor projects. Better lighting reduces eye strain and helps you notice when bits begin to slip, allowing corrections before damage occurs.
Keep your batteries fully charged before beginning cabinet work. Depleted batteries produce insufficient power for consistent torque delivery, leading to incomplete fastening and frustrating re-dos. Maintain a rotation of fully charged batteries so you never wait for recharging during productive work sessions.
Common Mistakes to Avoid
The most common mistake is using a standard construction drill for cabinetry work. Heavy-duty drills designed for framing and decking deliver too much torque and power, making finesse impossible and damage to delicate hinges and wood likely. Always choose a tool specifically suited to your application.
Over-tightening screws is the second most frequent error, often resulting from impatience or overconfidence. Tight fasteners don’t stay in better—in fact, over-tightened hinge screws often work loose faster as the wood around them compresses then expands. Apply firm, steady pressure and stop as soon as you feel resistance.
Installing hinges without checking door alignment afterward wastes time and creates work. Install one hinge, close the door, and verify alignment before installing remaining hinges. This catches mistakes early when they’re easy to fix rather than after all fasteners are driven home.
Failing to protect the work surface beneath hinges during installation leads to marred finishes. Use painter’s tape under hinge areas to prevent dust and debris from scratching surrounding wood. This simple precaution preserves your finishing work and maintains professional appearance standards.

Key Takeaways
- Choosing the right cordless drill cabinet hinge precise torque tool directly impacts project quality and professional appearance
- Compact drills with variable speed control provide superior precision compared to standard construction models
- Proper technique—including test installations and careful torque management—matters as much as tool selection
- Quality bits and adequate lighting reduce errors and frustration during cabinet hinge installation
- Regular maintenance and battery management ensure consistent performance across extended projects
Frequently Asked Questions about Cordless Drill Cabinet Hinge Precise Torque
Q: What is the best cordless drill cabinet hinge precise torque for cabinet work?
A: The best choice depends on your specific needs, budget, and hand size. For maximum precision and professional results, the Makita DF012DSE offers unmatched control in an incredibly compact package. For budget-conscious professionals who need reliable performance, the DeWalt DCD771C2 delivers excellent value. Festool C 18 represents the premium option with superior build quality and longevity. Test multiple options if possible to determine which feels best in your hands.
Q: How do I use cordless drill cabinet hinge precise torque safely during hinge installation?
A: Always wear safety glasses to protect against bit slipping. Ensure your work piece is properly secured and won’t rotate unexpectedly. Start with the lowest torque setting and increase gradually. Position the drill bit squarely on the screw head before engaging the trigger. Use steady, controlled pressure rather than forcing the drill. Allow the tool to do the work and stop immediately when you feel resistance indicating the screw is seated properly.
Q: What torque setting should I use for cabinet hinge screws?
A: Cabinet hinge screws typically require moderate torque—usually in the 2-4 Newton-meter range depending on screw size and wood type. Start low and test on scrap wood to find the optimal setting for your specific hardware. The screw should be snug enough to prevent movement but not so tight that you can hear the wood fibers compressing or see the hinge bending slightly.
Q: Can I use a standard construction drill for cabinet work?
A: While technically possible, standard construction drills are poorly suited for cabinet hinges. They deliver excessive power that easily strips delicate screw heads and damages expensive hardware. The weight and vibration make precision control difficult. For the small additional investment, a drill designed for precision work produces noticeably superior results and prevents costly mistakes.
Q: What accessories improve cordless drill performance for hinge installation?
A: High-quality bit sets with proper geometry and hardness significantly improve results. Torque-limiting adapters or bits provide foolproof over-tightening prevention. LED work lights improve visibility. Magnetic bit holders prevent dropped fasteners in cabinet interiors. A quality screwdriver bit specifically designed for hinge screws reduces slipping and camming out that can damage hardware.
Conclusion
Selecting the right cordless drill cabinet hinge precise torque tool transforms your cabinetry projects from frustrating struggles into satisfying, professional work. Whether you choose a budget-friendly option like the Bosch PS31 or invest in premium precision with the Makita or Festool models, the key is matching the tool to your specific needs and applications. Combine the right equipment with proper technique—careful measurement, test installations, and controlled pressure—and you’ll produce cabinet work that looks custom-built and lasts for decades. Start with one of our recommended models, practice on scrap wood, and soon you’ll develop the skills that separate amateur projects from professional-quality craftsmanship. Your clients and future self will thank you for making this investment in quality tools.
Recommended Products on Amazon
As an Amazon Associate I earn from qualifying purchases.