How to install recessed lighting yourself
Install Recessed Lighting DIY Electrical Ceiling: Complete Professional Guide for 2025
Learning to install recessed lighting DIY electrical ceiling projects can transform your home’s ambiance while saving hundreds of dollars in professional installation fees. This comprehensive guide walks you through every step of the process, from planning your layout to making the final electrical connections. With the right tools, materials, and techniques, you can achieve professional-quality results that enhance your home’s value and lighting quality.
Table of Contents
- Why Install Recessed Lighting DIY Electrical Ceiling Matters
- Step-by-Step Install Recessed Lighting DIY Electrical Ceiling Guide
- Best Install Recessed Lighting DIY Electrical Ceiling Options
- Pro Tips for Install Recessed Lighting DIY Electrical Ceiling
- Common Mistakes to Avoid
- Key Takeaways
- Frequently Asked Questions about Install Recessed Lighting DIY Electrical Ceiling
- Conclusion
Why Install Recessed Lighting DIY Electrical Ceiling Matters
Installing recessed lighting yourself offers numerous advantages that make this DIY project particularly rewarding for homeowners. The primary benefit lies in the substantial cost savings, as professional electricians typically charge between $200-$400 per fixture for installation. By tackling this project yourself, you’ll only pay for materials, which typically range from $30-$80 per light depending on the quality and features you choose.
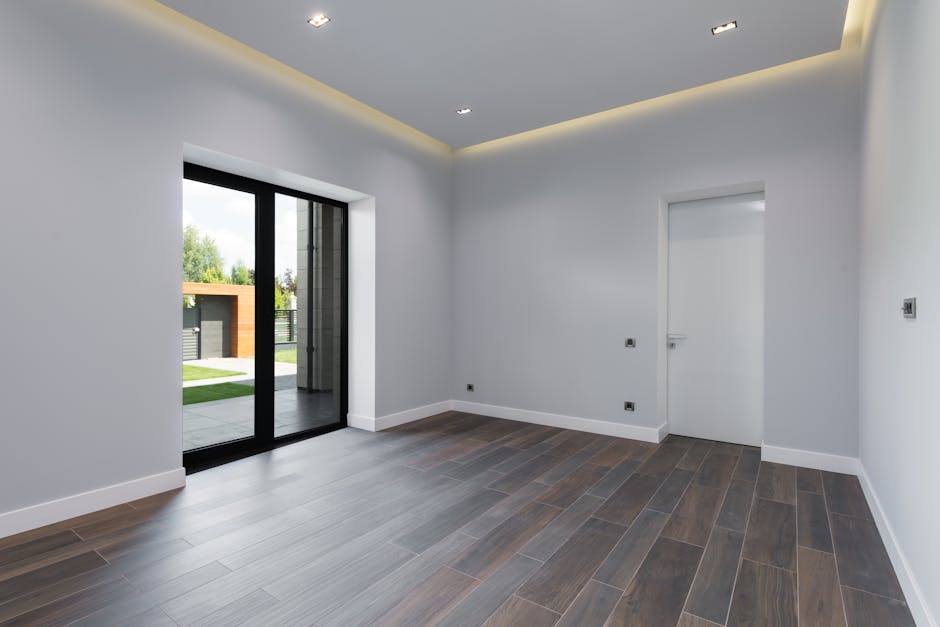
Beyond financial savings, recessed lighting provides superior illumination compared to traditional fixtures. These lights distribute light evenly across the room without creating harsh shadows or taking up valuable headroom. Modern LED recessed lights are incredibly energy-efficient, using up to 80% less electricity than traditional incandescent bulbs while lasting 25 times longer.
The aesthetic benefits cannot be overstated either. Recessed lights create a clean, modern appearance that complements any décor style from contemporary to traditional. They’re particularly valuable in rooms with low ceilings where pendant lights or chandeliers would feel overwhelming. Additionally, recessed lighting adds significant value to your home, with studies showing that updated lighting can increase property value by 3-5%.
From a practical standpoint, recessed lights offer incredible versatility. You can install them with dimmer switches for mood lighting, use different beam angles for task or accent lighting, and even incorporate smart technology for voice control and automation. The installation process, while requiring attention to detail, uses skills that most DIY enthusiasts can master with proper preparation and safety precautions.

Step-by-Step Install Recessed Lighting DIY Electrical Ceiling Guide
Before beginning your installation, gather all necessary tools including a drill, hole saw attachment, wire strippers, voltage tester, stud finder, and measuring tape. Start by turning off power at the circuit breaker and verify it’s off using a voltage tester – this crucial safety step prevents electrical shock during installation.
Plan your lighting layout carefully by measuring the room and marking fixture locations on the ceiling. A general rule places lights 4-6 feet apart and 12-18 inches from walls, but adjust based on your room’s specific needs. Use a stud finder to locate ceiling joists and avoid placing fixtures directly on structural members unless you have appropriate mounting hardware.
Cut the holes using a hole saw attachment matched to your fixture size, typically 4, 5, or 6 inches in diameter. Work slowly to prevent cracking the drywall and save the cut-out pieces – you’ll need them if you make any mistakes. Run electrical cable from your power source to each fixture location, following local electrical codes for cable type and routing methods.
Make electrical connections by matching wire colors: black to black (hot), white to white (neutral), and green or bare copper to ground. Use wire nuts to secure all connections and wrap with electrical tape for extra protection. Install the housing units by pushing them through the holes until the mounting clips engage with the drywall, then install your chosen trim and LED bulbs to complete each fixture.
Best Install Recessed Lighting DIY Electrical Ceiling Options
Choosing the right fixtures for your install recessed lighting DIY electrical ceiling project significantly impacts both the installation process and final results. New construction housings work best when you have access above the ceiling, offering the most secure mounting and heat dissipation. These units attach directly to ceiling joists and provide maximum stability for long-term performance.
Remodel housings are specifically designed for retrofit installations where ceiling access is limited. They feature spring-loaded clips that grip the drywall from above, making installation possible from below without attic access. While slightly more expensive, these units simplify installation considerably and work well in most residential applications.
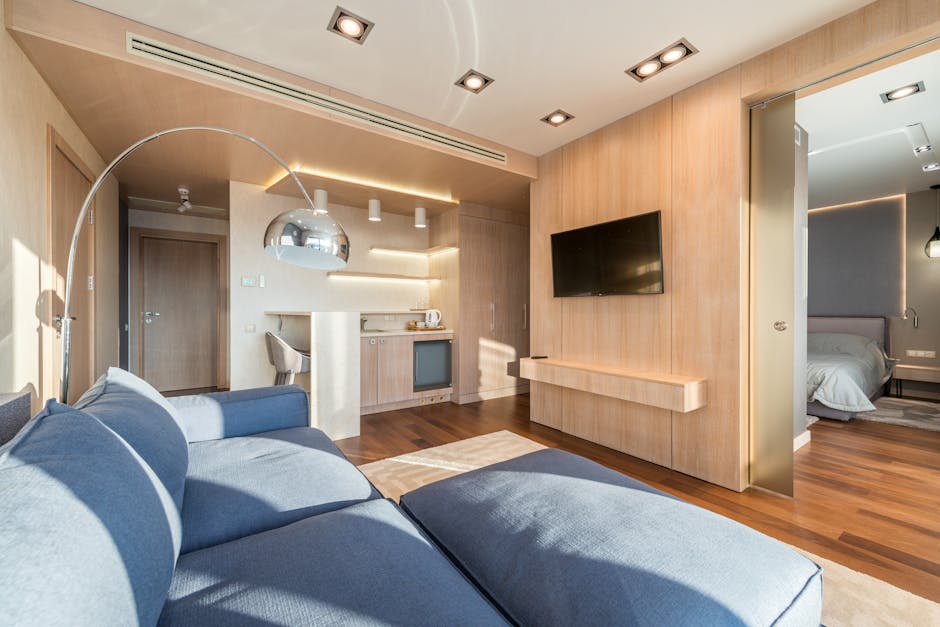
LED integrated fixtures represent the newest technology, combining the housing, trim, and light source into a single unit. These fixtures offer superior energy efficiency, longer lifespan, and often include advanced features like color temperature adjustment and dimming capabilities. They’re particularly popular for bathroom and kitchen installations where moisture resistance and bright, clean light are priorities.
Consider the trim style carefully as it affects both appearance and light distribution. Baffle trim reduces glare and provides a classic look, while reflector trim maximizes light output for task lighting. Adjustable trim allows you to aim light at specific areas, perfect for highlighting artwork or architectural features.
Pro Tips for Install Recessed Lighting DIY Electrical Ceiling
Temperature rating plays a crucial role in fixture selection and safety. Look for IC-rated (Insulation Contact) housings if insulation will contact the fixture, as these units can safely operate even when surrounded by insulation material. Non-IC rated fixtures require 3 inches of clearance from insulation, which can create cold spots and energy efficiency issues.
Plan your electrical circuit carefully to avoid overloading. Most 15-amp circuits can safely handle 12-15 LED recessed lights, while 20-amp circuits can accommodate up to 20 fixtures. Consider installing dedicated circuits for large installations or when adding lights to heavily loaded existing circuits.
Use a paper template when marking hole locations to ensure consistent spacing and alignment. Create the template by measuring your planned layout on paper, then transfer it to the ceiling using chalk lines or temporary marks. This technique prevents costly mistakes and ensures professional-looking results.
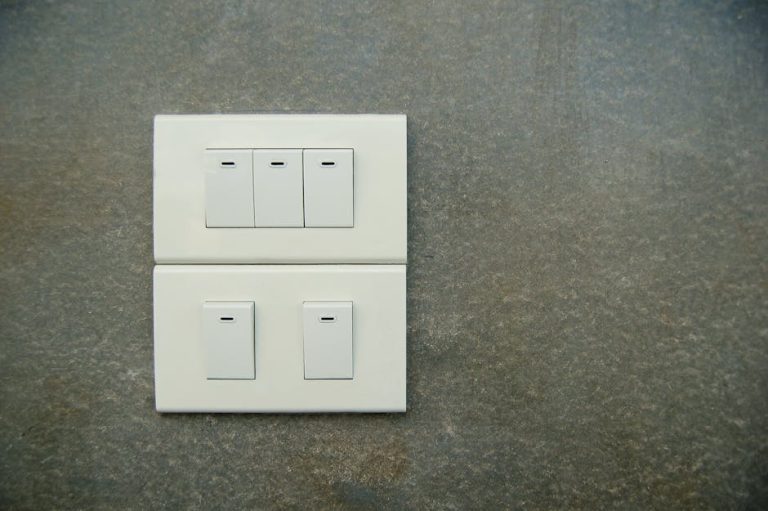
Take advantage of smart switches and dimmers to maximize your lighting investment. Modern LED-compatible dimmers provide smooth dimming performance and can be controlled via smartphone apps or voice assistants. Install these controls before drywall repair to avoid additional patching work later in your project timeline.

Common Mistakes to Avoid
One of the most frequent errors in DIY recessed lighting installation is inadequate planning of the electrical circuit. Many homeowners underestimate their power requirements or attempt to connect too many fixtures to an existing circuit. Always calculate total wattage and ensure your circuit can handle the additional load with a safety margin of at least 20%.
Cutting holes in the wrong locations creates expensive repairs and delays. Double-check all measurements and use a stud finder to verify no structural members interfere with your planned locations. Mark all holes with a small pilot hole first, then verify positioning before using the hole saw for final cuts.
Improper wire connections pose serious safety hazards and code violations. Never skip wire nuts or rely solely on twist connections, and always wrap completed connections with electrical tape. Test all connections with a voltage tester before energizing the circuit, and consider having a qualified electrician inspect your work before closing up walls or ceilings.
Ignoring local electrical codes can result in failed inspections and safety issues. Research permit requirements in your area and ensure your installation meets all applicable codes. Some jurisdictions require AFCI (Arc Fault Circuit Interrupter) protection for lighting circuits, while others have specific requirements for bathroom or kitchen installations that affect fixture selection and placement.
Key Takeaways
- Plan your electrical circuit capacity carefully before beginning installation to ensure adequate power supply
- Choose IC-rated housings when insulation contact is possible for safe operation and energy efficiency
- Use proper hole-cutting techniques and double-check all measurements to avoid costly mistakes
- Make secure electrical connections with wire nuts and electrical tape for long-term safety
- Consider smart controls and LED fixtures for maximum energy savings and convenience features
Frequently Asked Questions about Install Recessed Lighting DIY Electrical Ceiling
Q: What is the best install recessed lighting DIY electrical ceiling approach for beginners?
A: Start with remodel-style LED integrated fixtures for your first project. These units combine housing, trim, and light source in one package, simplifying installation and reducing potential connection issues. Choose 5-6 inch fixtures for general lighting as they provide good light coverage and are forgiving of minor installation imperfections.
Q: How do I use install recessed lighting DIY electrical ceiling techniques safely?
A: Always turn off power at the breaker and verify with a voltage tester before starting work. Use proper PPE including safety glasses and work gloves when cutting holes or handling electrical components. Follow manufacturer instructions exactly and consider professional consultation for complex wiring situations or when unsure about electrical connections.
Q: How many recessed lights do I need for my room?
A: Calculate one fixture per 25-30 square feet for general lighting, adjusting based on ceiling height and desired brightness levels. Higher ceilings require more fixtures or higher wattage bulbs, while task areas like kitchen islands need additional focused lighting for adequate illumination.
Q: Can I install recessed lighting without attic access?
A: Yes, remodel housings are specifically designed for installation from below without ceiling access. These fixtures use spring-loaded clips to secure to drywall and work well in most residential applications, though new construction housings provide superior mounting when attic access is available.
Q: What electrical permits do I need for DIY recessed lighting installation?
A: Permit requirements vary by location, but most jurisdictions require permits for new electrical circuits or major modifications to existing circuits. Simple fixture replacement often doesn’t require permits, but adding multiple new fixtures typically does. Contact your local building department for specific requirements in your area.
Conclusion
Mastering how to install recessed lighting DIY electrical ceiling projects empowers you to dramatically improve your home’s lighting while building valuable skills and saving significant money. With proper planning, quality materials, and attention to safety details, you can achieve professional-quality results that enhance both your home’s functionality and value. Remember to take your time with each step, prioritize electrical safety, and don’t hesitate to consult professionals when facing complex situations. Start your recessed lighting transformation today and enjoy the benefits of modern, efficient illumination for years to come.
Recommended Products on Amazon
As an Amazon Associate I earn from qualifying purchases.