Best paint rollers and brushes reviewed
Best Paint Roller Brush Smooth Finish Wall Options: Top 7 Products Reviewed 2025
Achieving a professional-looking paint roller brush smooth finish wall is one of the most important aspects of any interior painting project, whether you’re a seasoned DIY enthusiast or a first-time painter. The right tools can make the difference between a mediocre paint job and a stunning transformation that lasts for years. When you invest in quality paint roller brush smooth finish wall products, you’re not just improving your current project—you’re setting yourself up for success on future renovations and repairs. Understanding which tools work best for your specific needs is crucial to achieving those flawless, professional results that will have your friends and family asking for your contractor’s number.
Table of Contents
- Why Paint Roller Brush Smooth Finish Wall Matters
- Step-by-Step Paint Roller Brush Smooth Finish Wall Guide
- Best Paint Roller Brush Smooth Finish Wall Options
- Pro Tips for Paint Roller Brush Smooth Finish Wall
- Common Mistakes to Avoid
- Key Takeaways
- Frequently Asked Questions About Paint Roller Brush Smooth Finish Wall
- Conclusion
Why Paint Roller Brush Smooth Finish Wall Matters
The quality of your painting tools directly impacts the final result of your wall painting project. A paint roller brush smooth finish wall setup consists of carefully selected equipment that works together to provide even coverage, minimal lap marks, and a professional appearance. Most homeowners underestimate how much their tool selection affects the outcome, often settling for budget options that compromise on durability and performance.
When you use inferior rollers and brushes, you’re likely to experience poor paint coverage, streaking, and uneven finishes that require multiple coats to correct. This not only wastes paint but also extends your project timeline considerably. Quality tools distribute paint more evenly across surfaces, reducing the number of passes needed and saving you both time and materials.
The investment in proper paint roller brush smooth finish wall equipment pays for itself through reduced paint waste and fewer coats needed. Professional painters consistently choose specific brands and types because they understand that superior tools deliver superior results. Your walls deserve the best preparation and application methods to ensure a finish that looks great and stands the test of time.
Step-by-Step Paint Roller Brush Smooth Finish Wall Guide
Before you begin painting, proper preparation is essential for achieving the best results with your paint roller brush smooth finish wall products. Start by clearing the room of furniture, protecting floors with drop cloths, and using painter’s tape to edge around trim, ceiling lines, and baseboards. Take time to fill any holes or imperfections in the drywall with spackle, sand them smooth once dry, and wipe down all surfaces with a damp cloth to remove dust.
Once your space is prepared, invest in a high-quality primer if you’re painting over stains, dark colors, or new drywall. Apply your primer using smooth, even strokes with your brush, then roll it over with your roller in overlapping patterns. Allow adequate drying time before proceeding to your paint application, as this foundation layer significantly impacts how well your final coat adheres and covers.
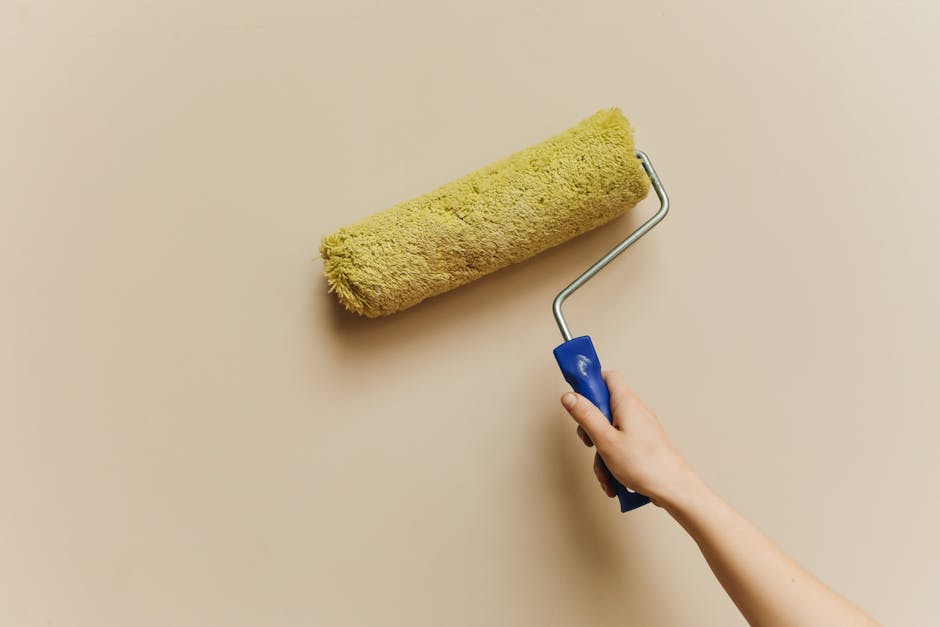
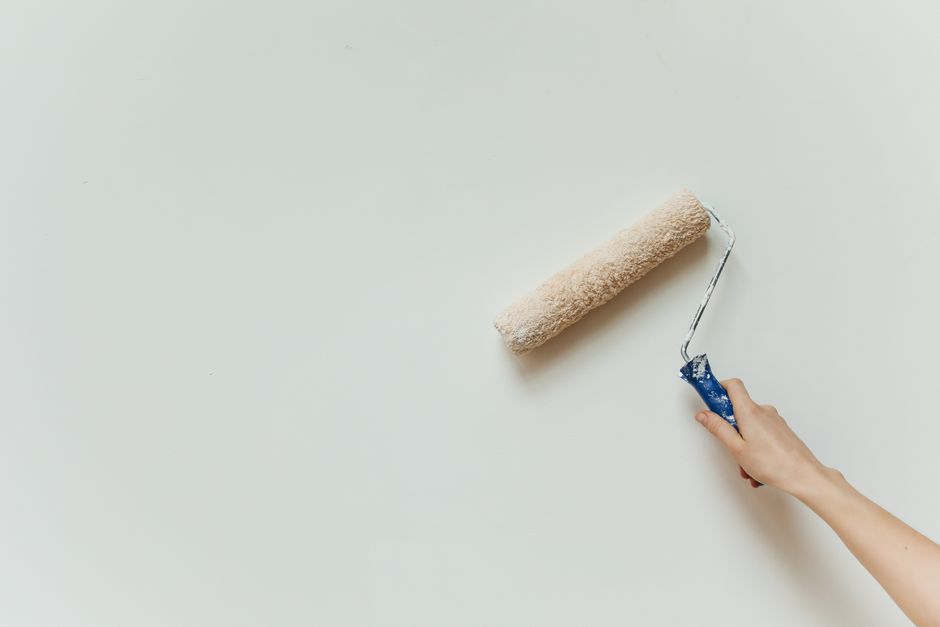
For the actual paint application, choose a paint roller brush smooth finish wall combination suited to your wall texture and paint type. Load your roller with paint by rolling it back and forth in the paint tray until it’s evenly saturated but not dripping. Apply paint using a “W” or “M” pattern on your wall, then fill in the pattern without lifting the roller, maintaining consistent pressure throughout for even coverage.
Work in sections approximately 3-4 feet square, maintaining a wet edge to avoid visible seams between sections. Never let the paint dry on your roller between passes, as this creates texture variations and lap marks. After completing each section, take a step back and inspect your work for missed spots or areas needing touch-up before moving to the next section.
Best Paint Roller Brush Smooth Finish Wall Options
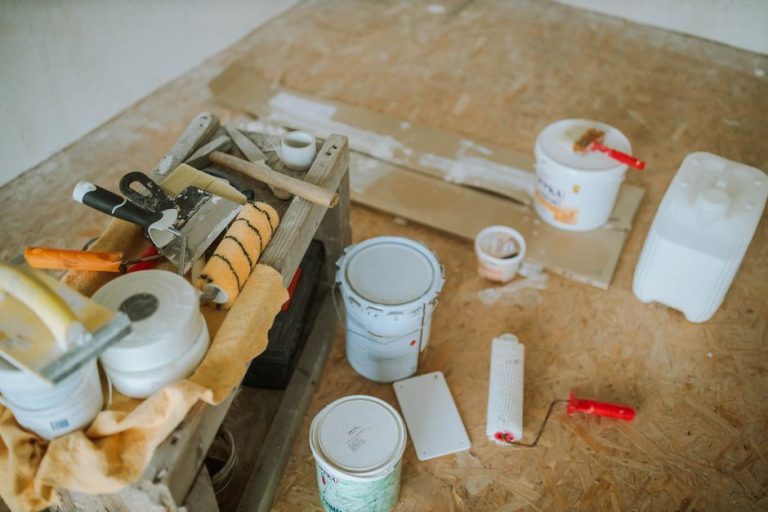
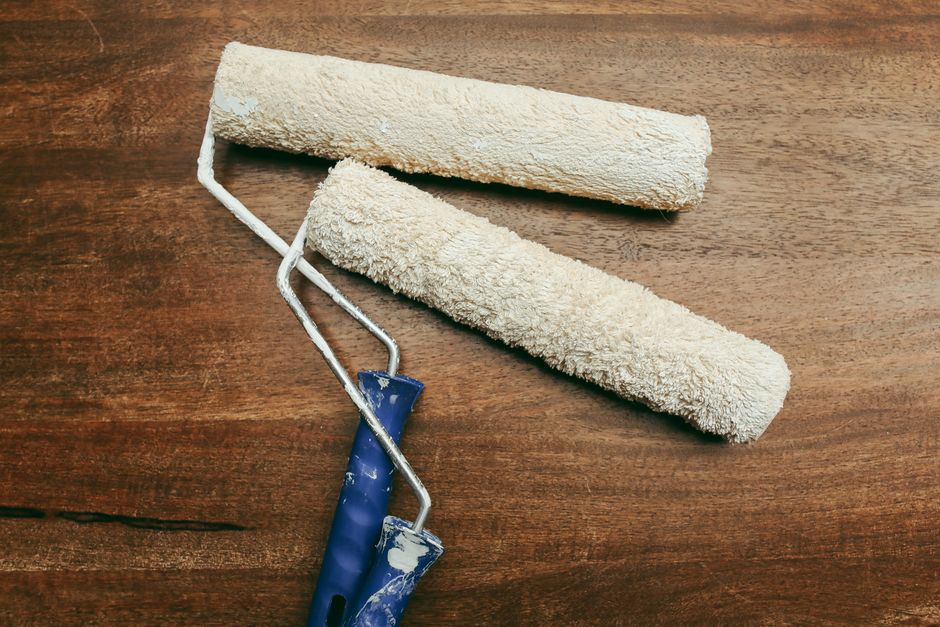
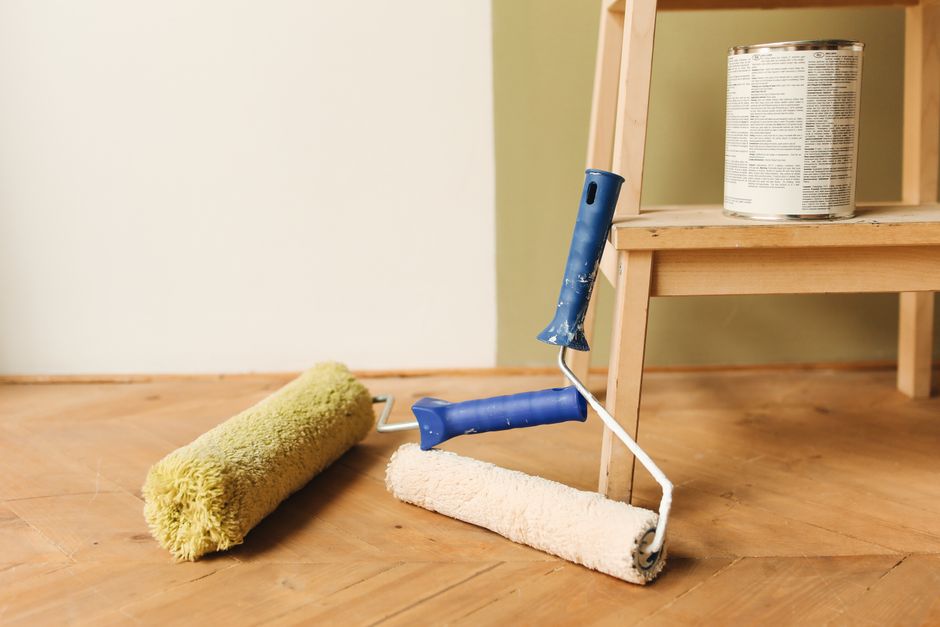
The market offers numerous options for achieving a paint roller brush smooth finish wall, each with specific advantages depending on your wall texture and paint type. The following products represent the top choices for both DIY enthusiasts and professional painters seeking reliable, consistent results.
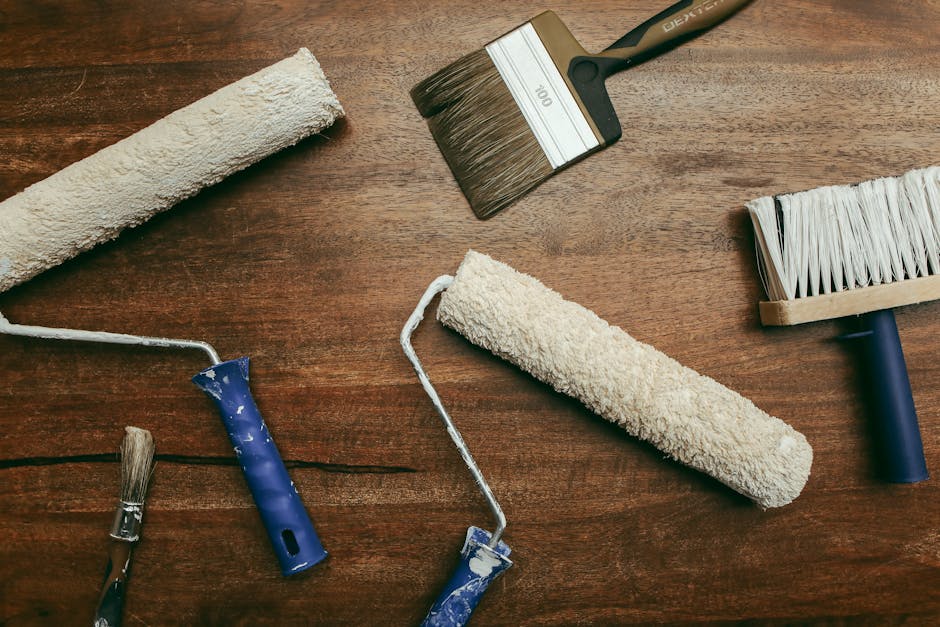
Wooster Brush Company Gold Edge Roller Frame combines durability with professional results, featuring a sturdy construction that handles both latex and oil-based paints. The ergonomic handle reduces hand fatigue during extended painting sessions, while the frame’s design prevents paint buildup that can cause uneven roller application. This roller frame works excellently with various nap sizes and maintains its performance throughout multiple projects.
Purdy XL Glide Roller Cover delivers exceptional coverage with its premium polyester construction designed for smooth drywall surfaces. The cover’s dense nap holds more paint, reducing the number of trips to your paint tray and providing smoother, more even application. Users consistently report superior finish quality and reduced visible brush marks when using this professional-grade roller cover.
Bestt Liebco Brush Angled Sash offers precision application for detailed work and trim areas that rollers cannot reach effectively. The angled design reaches into corners and around fixtures with minimal effort, while the synthetic bristles provide smooth paint distribution without leaving visible brush strokes. This brush excels in both latex and oil-based paint applications, maintaining its shape and performance across multiple uses.
The Shur-Line Paint Edger Tool revolutionizes edge painting by allowing you to apply clean, straight lines along ceilings and trim without painter’s tape in many situations. The wheeled design glides smoothly along edges, depositing paint evenly while guide wheels prevent accidental paint application beyond your intended line. While it takes practice to master, many painters consider it indispensable for achieving professional-looking paint roller brush smooth finish wall results.
Pro Tips for Paint Roller Brush Smooth Finish Wall
Achieving professional results with your paint roller brush smooth finish wall setup requires understanding several critical techniques that separate good painters from great ones. First, invest in quality drop cloths that won’t shift during painting, as unstable coverings force you to stop and adjust them, breaking your painting rhythm and potentially causing spills.
Pre-wet your roller cover with water (for latex paint) before loading it with paint for the first time, as this prevents the roller from absorbing all your paint and allows for more even distribution. Many professionals keep a dedicated bucket of water or primer nearby for this specific purpose, understanding that this small extra step dramatically improves coverage and finish quality.
Maintain consistent roller pressure as you paint, avoiding the temptation to press harder in areas that seem under-covered. Instead, use additional passes with light pressure to build coverage gradually, resulting in a more uniform texture and sheen. Rolling at a 45-degree angle initially, then filling in with vertical or horizontal strokes, creates the most professional appearance.
Keep your brush bristles clean between color changes and at the end of each session, using appropriate solvents for your paint type. Store brushes bristle-side up or hanging to maintain shape, never laying them flat where bristles develop permanent bends. Proper brush maintenance extends their lifespan significantly, making expensive quality brushes even more cost-effective over time.

Common Mistakes to Avoid
One of the most common mistakes homeowners make when applying paint is overloading their roller, creating excessive dripping and making the application uncontrollable. A properly loaded roller should have paint distributed throughout its nap without visible dripping when held horizontally. Take time to distribute paint evenly by rolling your loaded roller in the paint tray’s grid area before applying it to your walls.
Many painters rush the drying time between coats, leading to poor paint adhesion and finish quality issues that only become apparent days or weeks later. Always follow your paint manufacturer’s recommended dry time, which often varies based on temperature and humidity levels in your workspace. Patience during the drying phase prevents countless problems that require complete repainting to resolve.
Using the wrong nap size for your wall texture is another critical error that undermines even the best technique. Smooth drywall requires shorter nap rollers (3/8 inch), while textured walls need longer naps (1 inch or more) to penetrate surface variations. Selecting appropriate equipment before you begin prevents frustration and ensures results that match your expectations.
Neglecting to use painter’s tape or taking shortcuts on edge preparation leads to uneven paint lines and a less polished final appearance. Even though taping takes additional time, the clean edges and professional look justify the effort. Remove tape while the paint is still slightly tacky but not wet for the cleanest separation between colors or finishes.
Key Takeaways
-
Invest in quality tools: Professional-grade rollers and brushes deliver superior results and last through multiple projects, making them cost-effective investments for any painter.
-
Match tools to your surface: Selecting the correct nap size and brush type for your specific wall texture and paint type is essential for optimal coverage and finish quality.
-
Technique matters as much as equipment: Proper application methods, including maintaining wet edges and consistent pressure, transform even average tools into professional results.
-
Preparation determines success: Thorough surface preparation, including cleaning, priming, and protecting adjacent areas, creates the foundation for perfect paint application.
-
Maintenance extends tool life: Proper cleaning and storage of your brushes and rollers preserves their performance, allowing you to achieve consistent quality across multiple projects.
Frequently Asked Questions About Paint Roller Brush Smooth Finish Wall
Q: What is the best paint roller brush smooth finish wall combination for latex paint?
A: For latex paint on smooth drywall, combine a 3/8-inch nap microfiber roller cover with a quality frame and a 2-inch angled brush for detailed work. Microfiber covers hold more paint and provide superior smoothness compared to traditional rollers, significantly reducing visible roller marks and achieving professional finishes. This combination works exceptionally well for bedrooms, living rooms, and any interior space where flawless appearance matters most.
Q: How do I use paint roller brush smooth finish wall equipment without visible brush strokes?
A: Load your brush lightly and use long, sweeping strokes in a single direction to minimize visible marks, then very lightly drag your brush over the area to blend. Avoid re-brushing areas where paint has begun to set, as this creates visible lines and texture variations. For critical finishing work, consider using an angled sash brush with synthetic bristles, which leave fewer visible marks than traditional brushes when applied with proper technique.
Q: What’s the difference between microfiber and standard paint roller covers?
A: Microfiber covers hold significantly more paint, reducing trips to your paint tray and providing smoother application with fewer visible marks. Standard polyester covers work adequately for many projects but require more frequent reloading, increasing application time and labor. Microfiber’s superior performance justifies the higher initial cost, especially for larger projects where you’ll save considerable time and effort.
Q: How often should I replace my paint roller and brush?
A: Quality brushes and rollers maintain their performance through multiple projects if properly maintained, often lasting 5-10 years with appropriate care. Replace covers when bristles become matted, shed excessively, or develop permanent bends that affect paint distribution. Investing in proper storage and cleaning routines extends tool life significantly, making professional-grade options economically sensible for homeowners.
Q: Can I use the same paint roller brush smooth finish wall setup for both latex and oil-based paints?
A: Most quality rollers and brushes work with both paint types, but you must clean thoroughly with appropriate solvents between applications. Latex paint requires soap and water for cleaning, while oil-based paint needs mineral spirits or specialized brush cleaner. Many professional painters maintain separate tools for each paint type to eliminate cross-contamination concerns and simplify cleanup procedures.
Conclusion
Mastering the art of achieving a paint roller brush smooth finish wall transforms your home improvement projects from frustrating ordeals into satisfying endeavors that deliver professional-quality results. By selecting appropriate equipment, preparing your space thoroughly, and applying proven techniques, you’ll create walls that rival professionally painted surfaces at a fraction of the cost. The investment in quality tools and knowledge pays dividends not only in the immediate project but in all future painting endeavors, as you’ll understand which products deliver genuine value and which offer only false economy.
Don’t settle for mediocre results when professional-level finishes are completely within your reach. Start your next project with confidence by implementing the strategies and product recommendations outlined in this comprehensive guide, and experience the satisfaction that comes from creating truly beautiful spaces.
Recommended Products on Amazon
As an Amazon Associate I earn from qualifying purchases.