How to weatherstrip doors and windows
Weatherstrip Door Window Insulation Energy Saving: Complete 7-Step Guide
Weatherstrip door window insulation energy saving techniques can reduce your heating and cooling costs by up to 30% while significantly improving your home’s comfort year-round. Whether you’re dealing with drafty windows that let in cold air during winter or doors that allow precious conditioned air to escape during summer, proper weatherstripping creates an effective barrier against energy loss. This comprehensive guide will walk you through everything you need to know about selecting, installing, and maintaining weatherstripping materials for maximum efficiency and long-lasting results.
Table of Contents
- Why Weatherstrip Door Window Insulation Energy Saving Matters
- Step-by-Step Weatherstrip Door Window Insulation Energy Saving Guide
- Best Weatherstrip Door Window Insulation Energy Saving Options
- Pro Tips for Weatherstrip Door Window Insulation Energy Saving Success
- Common Mistakes to Avoid
- Key Takeaways
- Frequently Asked Questions about Weatherstrip Door Window Insulation Energy Saving
- Conclusion
Why Weatherstrip Door Window Insulation Energy Saving Matters
Proper weatherstrip door window insulation energy saving goes far beyond just reducing utility bills – it’s about creating a more comfortable, healthier, and environmentally responsible living space. When doors and windows aren’t properly sealed, heated or cooled air escapes while outdoor air infiltrates your home, forcing your HVAC system to work harder and consume more energy. According to the U.S. Department of Energy, air leaks can account for 25-30% of a home’s heating and cooling energy use.
The financial benefits of weatherstripping are substantial and immediate. Most homeowners see a return on their weatherstripping investment within the first year through reduced energy bills. A typical home can save $200-400 annually by properly sealing air leaks around doors and windows. These savings compound over time, making weatherstripping one of the most cost-effective home improvement projects available.
Beyond monetary savings, weatherstripping dramatically improves indoor comfort by eliminating drafts and maintaining consistent temperatures throughout your home. No more cold spots near windows during winter or warm areas where cool air escapes during summer. Additionally, proper sealing helps reduce outdoor noise infiltration, creating a quieter indoor environment for better sleep and concentration.
Environmental benefits include reduced carbon footprint and decreased strain on power grids. When your home uses less energy for heating and cooling, you’re contributing to reduced greenhouse gas emissions and supporting sustainable living practices. Weatherstripping also helps prevent moisture infiltration, which can lead to mold growth, wood rot, and other structural damage that would require resource-intensive repairs.
Step-by-Step Weatherstrip Door Window Insulation Energy Saving Guide
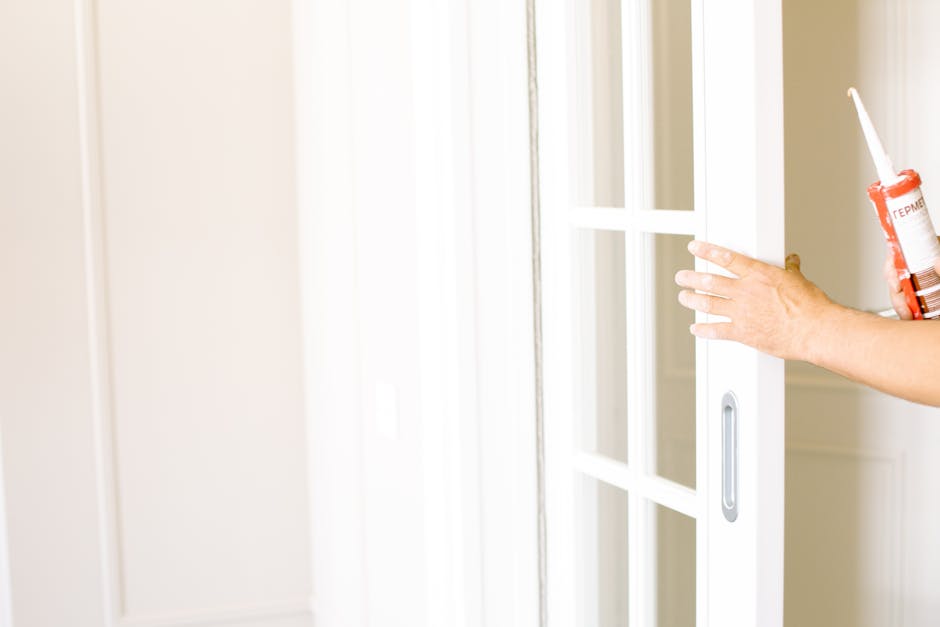
Starting your weatherstrip door window insulation energy saving project requires proper preparation and the right approach for lasting results. Begin by conducting a thorough inspection of all doors and windows in your home, preferably on a windy day when air leaks are most noticeable. Use a lit candle or incense stick to detect air movement around door frames, window sashes, and other potential leak points – flickering flames indicate air infiltration.
Measure all areas that need weatherstripping before purchasing materials, including door frames, window sashes, and any gaps around moving parts. Take detailed measurements of gap widths and lengths, as different weatherstripping materials work better for specific gap sizes. Clean all surfaces thoroughly with a degreasing cleaner to ensure proper adhesion, removing any old weatherstripping, paint chips, or debris that could interfere with installation.
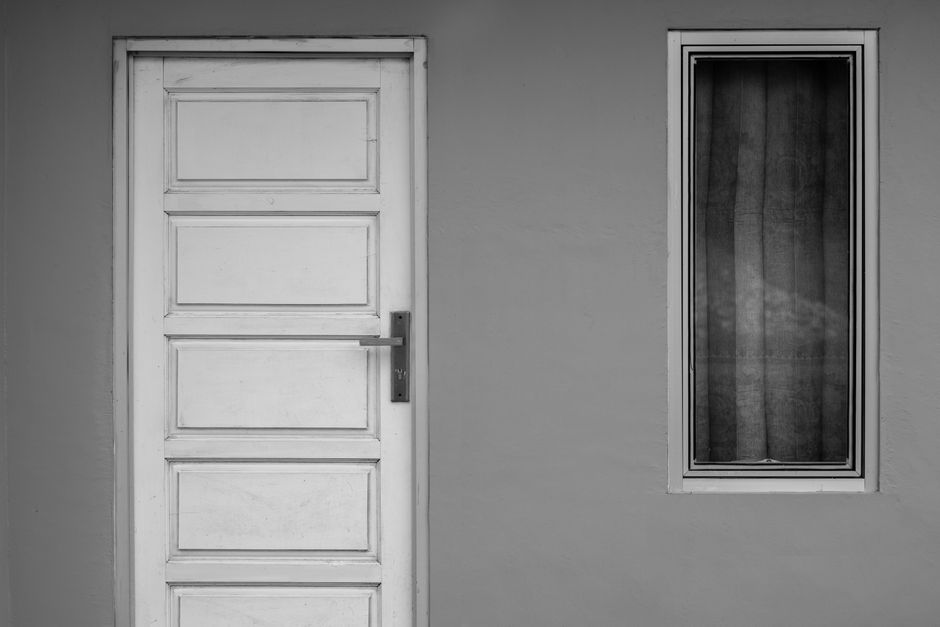
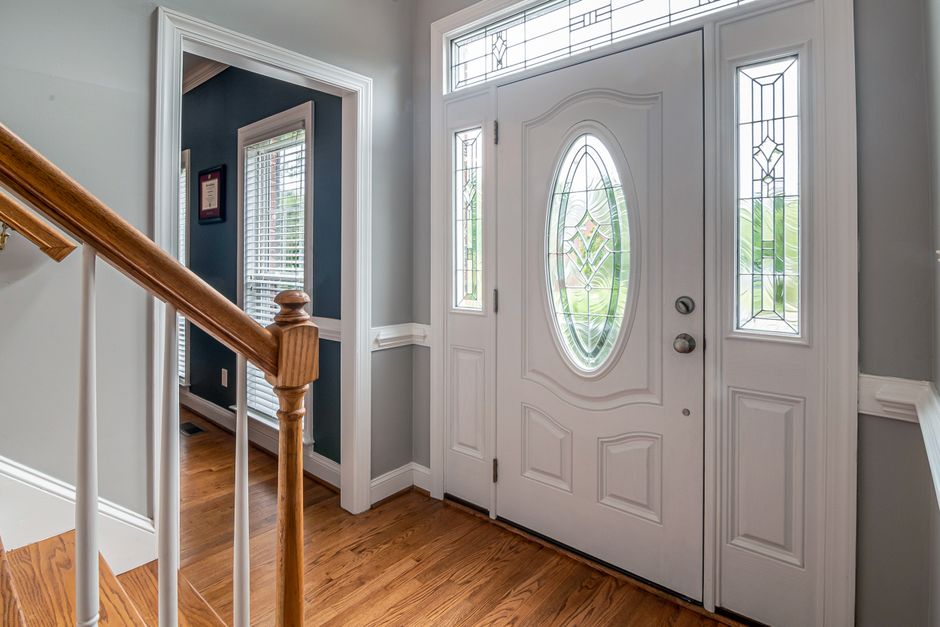
For door weatherstripping, start with the door bottom, installing a door sweep or threshold seal that creates a tight seal when the door is closed. Apply adhesive-backed foam or rubber weatherstripping to the door frame, ensuring the material compresses slightly when the door closes but doesn’t prevent proper closure. Test the door operation multiple times to ensure smooth opening and closing without binding or excessive resistance.
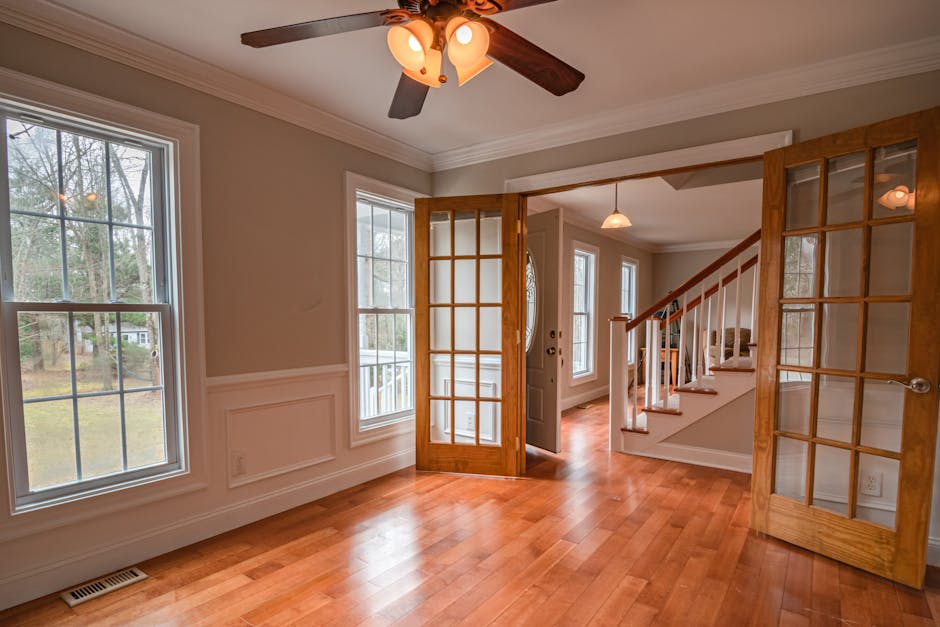
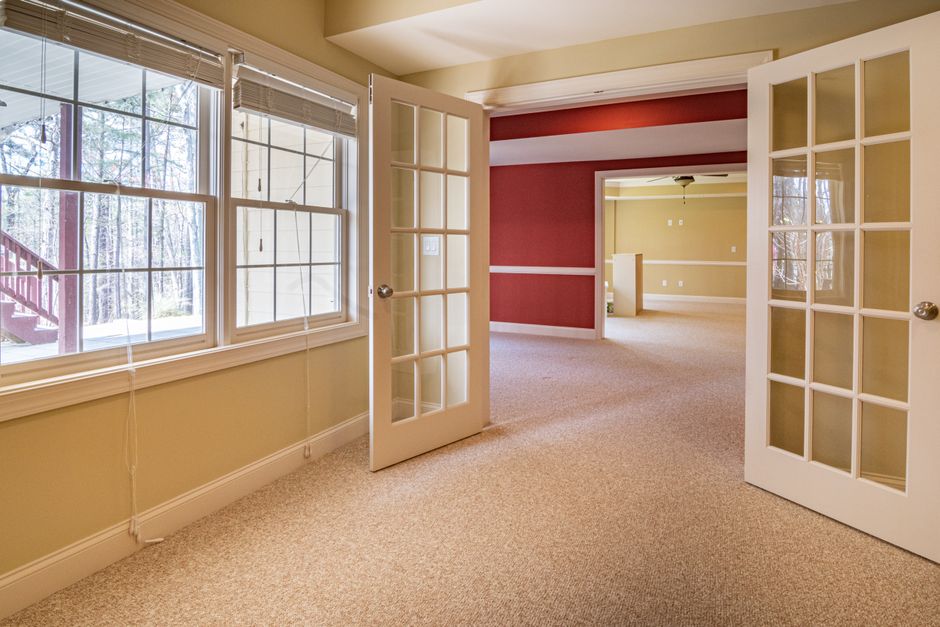
Window weatherstripping requires attention to both stationary and moving parts. Apply weatherstripping to window sashes where they contact the frame, ensuring materials don’t interfere with window operation. For double-hung windows, install weatherstripping on both the upper and lower sash channels, plus the meeting rail where the two sashes come together. Casement and awning windows need weatherstripping around the entire perimeter where the window meets the frame.
Best Weatherstrip Door Window Insulation Energy Saving Options
Selecting the right weatherstrip door window insulation energy saving materials depends on your specific needs, climate conditions, and budget considerations. Foam weatherstripping offers the most affordable option and works well for irregular gaps and surfaces that aren’t perfectly smooth. Closed-cell foam provides better durability and moisture resistance than open-cell versions, making it ideal for exterior applications where weather exposure is a concern.
Rubber and vinyl weatherstripping deliver superior longevity and sealing performance, especially in high-traffic areas like entry doors. These materials maintain their flexibility in extreme temperatures and resist compression set, ensuring consistent sealing over many years. V-strip or tension seal weatherstripping excels in applications where minimal visibility is desired, as it installs in channels and remains largely hidden when doors and windows are closed.
Metal weatherstripping, typically made from bronze or stainless steel, offers the longest lifespan and best performance but requires more skill to install properly. Spring metal weatherstripping creates excellent seals for windows and can last decades with minimal maintenance. However, it’s more expensive and challenging to install than other options, making it best suited for permanent installations where longevity justifies the higher upfront cost.
For specialized applications, consider magnetic weatherstripping for steel doors, which creates an exceptionally tight seal, or compression bulb seals for large gaps that require significant compression. Threshold weatherstripping and door sweeps come in various styles, including adjustable versions that can accommodate uneven floors or doors that have settled over time.
Pro Tips for Weatherstrip Door Window Insulation Energy Saving Success
Achieving maximum weatherstrip door window insulation energy saving results requires attention to installation details and proper material selection for your specific conditions. Temperature plays a crucial role in weatherstripping installation – install materials when temperatures are moderate (50-70°F) to ensure proper adhesion and avoid compression or expansion issues later. Cold weather can make materials brittle and difficult to work with, while excessive heat can cause premature adhesive failure.
Always purchase 10-15% more weatherstripping material than your measurements indicate to account for waste, mistakes, and future repairs. Store extra materials in a climate-controlled environment for future touch-ups or replacements. When installing adhesive-backed weatherstripping, warm the material slightly with a hair dryer to improve flexibility and adhesion, but avoid overheating which can damage the adhesive.
Pay special attention to corners and joints, where air leaks commonly occur even with otherwise good weatherstripping. Miter corners precisely and use appropriate corner pieces or gaskets to maintain sealing continuity. For doors, ensure weatherstripping doesn’t interfere with locksets, hinges, or other hardware, adjusting installation as needed to maintain proper door operation and security.
Test your weatherstripping installation thoroughly before considering the job complete. Close doors and windows firmly and check for light penetration around the perimeter – any visible light indicates potential air leaks. Perform the candle test again to verify elimination of drafts, and operate doors and windows multiple times to ensure smooth function without binding or excessive wear on the weatherstripping materials.

Common Mistakes to Avoid
Many homeowners make critical errors that compromise their weatherstrip door window insulation energy saving efforts, leading to poor performance and premature failure. The most common mistake is using too much weatherstripping material, creating excessive compression that prevents proper door and window operation. Over-compressed weatherstripping also experiences accelerated wear and may develop permanent compression set, losing its sealing effectiveness over time.
Inadequate surface preparation represents another frequent problem that causes weatherstripping to fail prematurely. Dirty, oily, or uneven surfaces prevent proper adhesion, causing materials to peel away or create gaps that allow air infiltration. Always clean surfaces thoroughly with degreasing cleaner and allow complete drying before installation, and sand or file rough spots that could damage weatherstripping materials.
Choosing inappropriate weatherstripping materials for specific applications often results in poor performance or frequent replacement needs. Outdoor applications require UV-resistant materials that won’t degrade from sun exposure, while high-traffic doors need durable materials that resist wear from frequent operation. Interior applications can use less expensive materials, but they should still be appropriate for the expected service life and performance requirements.
Ignoring manufacturer installation instructions leads to suboptimal results and voided warranties. Each weatherstripping type has specific requirements for gap sizes, surface preparation, and installation techniques that ensure proper performance. Following these guidelines carefully ensures maximum effectiveness and longevity from your weatherstripping investment, avoiding costly reinstallation or energy losses from poor sealing.
Key Takeaways
- Proper weatherstripping can reduce heating and cooling costs by up to 30% while improving indoor comfort and reducing noise infiltration
- Foam weatherstripping offers affordability for irregular gaps, while rubber and vinyl provide superior durability for high-traffic applications
- Installation temperature and surface preparation are critical factors that determine weatherstripping performance and longevity
- Avoid over-compression and choose materials appropriate for specific applications and environmental conditions
- Regular inspection and maintenance ensure continued effectiveness and help identify when replacement is needed
Frequently Asked Questions about Weatherstrip Door Window Insulation Energy Saving
Q: What is the best weatherstrip door window insulation energy saving material for my home?
A: The best weatherstripping material depends on your specific application, climate, and budget. For most homeowners, adhesive-backed foam provides excellent value for irregular gaps and low-traffic areas, while rubber or vinyl weatherstripping offers superior durability for entry doors and frequently used windows. Consider your local climate conditions, expected service life, and installation skill level when making your selection.
Q: How do I measure for weatherstrip door window insulation energy saving materials?
A: Measure the perimeter of each door or window that needs weatherstripping, noting the width of gaps that need to be sealed. Use a ruler or calipers to measure gap widths accurately, as this determines which weatherstripping thickness will provide optimal compression and sealing. Add 10-15% to your measurements to account for waste and future repairs, and keep detailed notes for each location.
Q: How often should I replace my weatherstripping?
A: Weatherstripping replacement frequency depends on material type, climate conditions, and usage levels. High-quality rubber or vinyl weatherstripping typically lasts 3-5 years, while foam weatherstripping may need replacement every 1-2 years. Inspect weatherstripping annually for signs of wear, cracking, or compression set, and replace immediately if air leaks develop.
Q: Can I install weatherstripping in cold weather?
A: Cold weather installation is possible but not ideal, as low temperatures can make materials brittle and reduce adhesive effectiveness. If you must install in cold conditions, warm materials indoors before installation and use a hair dryer to slightly heat surfaces for better adhesion. Ideally, install when temperatures are between 50-70°F for optimal results.
Q: Will weatherstripping interfere with my door and window locks?
A: Properly installed weatherstripping should not interfere with normal door and window operation, including locks and latches. Choose appropriate thickness materials and install carefully around hardware to maintain proper function. If binding occurs, trim or adjust weatherstripping as needed to ensure smooth operation while maintaining effective sealing.
Conclusion
Implementing effective weatherstrip door window insulation energy saving strategies transforms your home into a more comfortable, efficient, and cost-effective living space. By following this comprehensive guide and selecting appropriate materials for your specific needs, you’ll enjoy reduced energy bills, improved indoor comfort, and environmental benefits for years to come. The investment in quality weatherstripping materials and proper installation pays dividends through immediate energy savings and enhanced home value. Start your weatherproofing project today and experience the remarkable difference that proper sealing makes in your daily comfort and monthly utility expenses.
Recommended Products on Amazon
As an Amazon Associate I earn from qualifying purchases.