How to install wainscoting in a bathroom
How to Install Bathroom Wainscoting Panel Bead Board: Complete 7-Step Guide
Learning how to install bathroom wainscoting panel bead board can completely transform your bathroom’s aesthetic while adding practical value to your home. Wainscoting not only protects your walls from moisture and damage but also creates an elegant, sophisticated look that elevates any bathroom design. Whether you’re a seasoned DIY enthusiast or a first-time renovator, this comprehensive guide will walk you through every step of the installation process, from preparation to final touches. We’ll cover everything you need to know about selecting materials, gathering tools, and executing a professional-quality installation that will make your bathroom the envy of your home.
Table of Contents
- Why Install Bathroom Wainscoting Panel Bead Board Matters
- Step-by-Step Guide to Install Bathroom Wainscoting Panel Bead Board
- Best Install Bathroom Wainscoting Panel Bead Board Options
- Pro Tips for Install Bathroom Wainscoting Panel Bead Board
- Common Mistakes to Avoid
- Key Takeaways
- Frequently Asked Questions About Install Bathroom Wainscoting Panel Bead Board
- Conclusion
Why Install Bathroom Wainscoting Panel Bead Board Matters
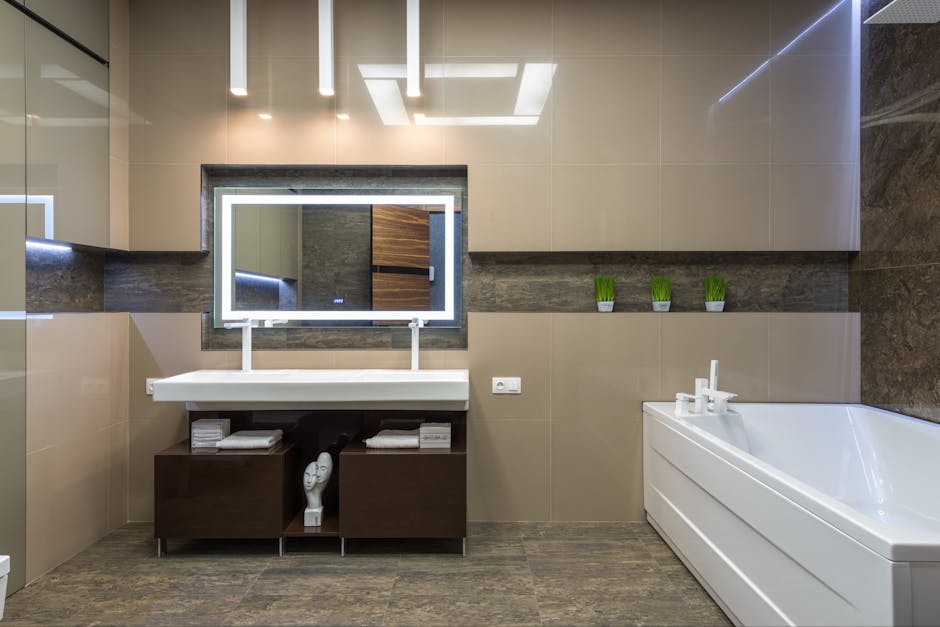
Installing bathroom wainscoting panel bead board offers multiple benefits that extend far beyond mere aesthetics. First and foremost, wainscoting provides crucial protection against moisture, which is the bathroom’s biggest enemy. The lower portion of your bathroom walls is constantly exposed to splashing water, steam, and humidity, which can cause paint to peel, wallpaper to bubble, and drywall to deteriorate over time. When you install bathroom wainscoting panel bead board, you create a moisture-resistant barrier that shields vulnerable drywall and prevents costly water damage repairs down the road.
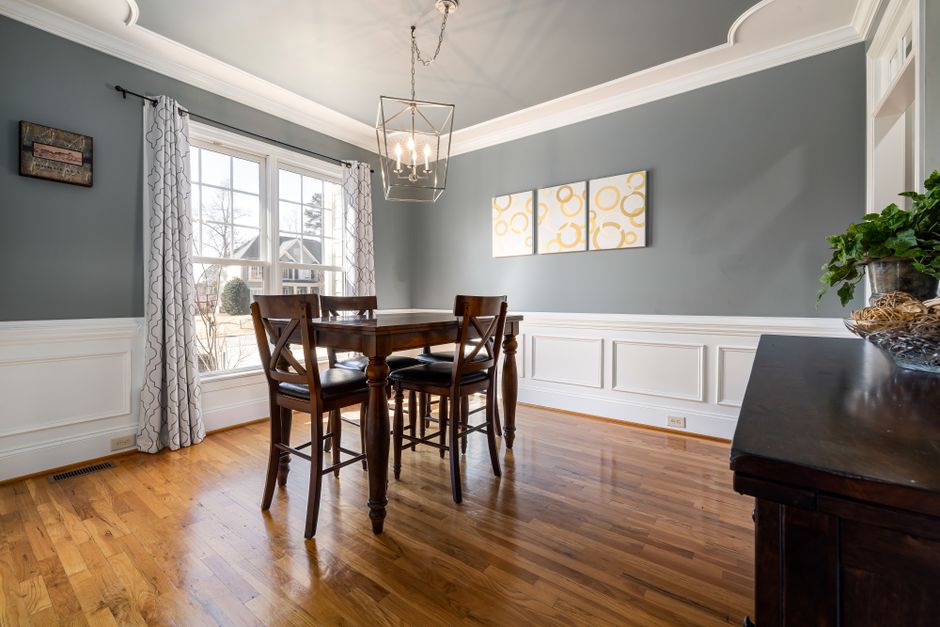
Beyond practical protection, wainscoting dramatically enhances your bathroom’s visual appeal and property value. This timeless design element adds architectural interest, depth, and character that plain walls simply cannot achieve. Bead board wainscoting, in particular, evokes a classic cottage or farmhouse aesthetic that’s both charming and enduringly stylish. Whether your bathroom features a spa-like minimalist design, coastal charm, or traditional elegance, there’s a wainscoting style that complements your décor perfectly.
Installing this feature is also a relatively straightforward DIY project that doesn’t require professional installation costs, making it an excellent way to achieve high-end results on a reasonable budget. You’ll save thousands of dollars compared to hiring contractors while gaining the satisfaction of completing a major home improvement project yourself. Additionally, quality wainscoting increases your bathroom’s durability and longevity, reducing maintenance requirements and extending the lifespan of your walls.
The investment in wainscoting pays dividends in terms of bathroom functionality and longevity. Many homeowners report that their bathrooms feel more upscale and resort-like after installation, which improves daily quality of life. Furthermore, when it comes time to sell your home, bathrooms with thoughtful upgrades like wainscoting attract buyers and can increase property value. This combination of practical benefits, aesthetic improvements, and economic advantages makes learning to install bathroom wainscoting panel bead board a worthwhile project for any homeowner.
Step-by-Step Guide to Install Bathroom Wainscoting Panel Bead Board
Step 1: Gather Materials and Tools
Before you begin your project, you’ll need to assemble all necessary materials and tools. Essential tools include a tape measure, level, stud finder, circular saw or miter saw, nail gun, caulking gun, hammer, and safety equipment like goggles and gloves. For materials, you’ll need your chosen wainscoting panels, construction adhesive, finishing nails, wood filler, sandpaper, primer, and paint or stain. Take time to carefully measure your bathroom walls and calculate how much material you’ll need, accounting for waste and mistakes.
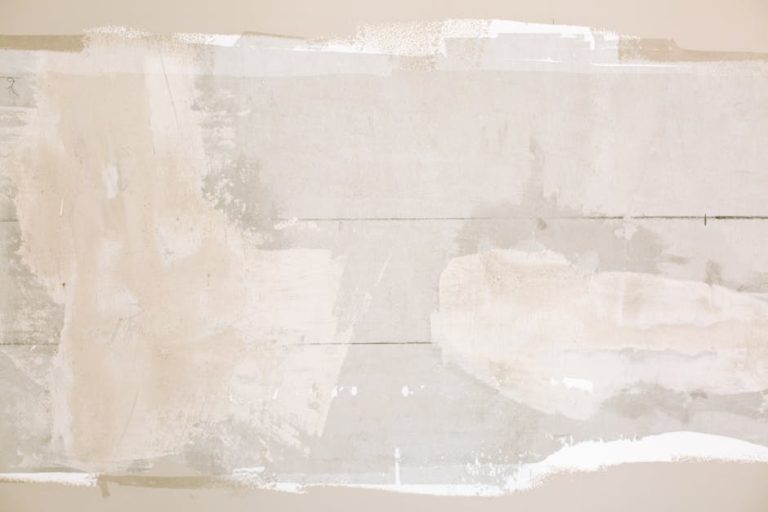
Step 2: Prepare Your Bathroom Walls
Proper wall preparation is essential for successful installation. Remove any existing baseboards, trim, or fixtures that might interfere with your wainscoting panels. Clean your walls thoroughly to remove dust, grime, and any loose paint that could prevent panels from adhering properly. Use a stud finder to locate wall studs, then mark their positions lightly with a pencil—you’ll want to secure your panels directly to these studs for maximum stability and longevity.
Ensure your walls are smooth and even by addressing any bumps or inconsistencies with spackling compound or sandpaper. If your bathroom walls have existing moisture damage or mold, address these issues before proceeding with installation. For severely damaged areas, you may need to replace drywall sections entirely. Once your walls are clean, smooth, and dry, use your level to identify any areas where walls might be slightly uneven, as this affects panel installation.
Step 3: Determine Your Wainscoting Height
The traditional wainscoting height ranges from 32 to 48 inches from the floor, with 36 inches being the most common standard for bathrooms. However, you can adjust this height based on your personal preference and bathroom layout. Use a pencil and level to mark a horizontal line at your chosen height around the entire bathroom perimeter, ensuring the line is perfectly level. This baseline is crucial for keeping your panels straight and properly aligned throughout the installation process.
Consider your bathroom’s ceiling height, existing fixtures, and architectural features when selecting your wainscoting height. In small bathrooms, lower wainscoting (around 30 inches) can make the space feel larger and less cramped. In bathrooms with high ceilings, higher wainscoting can create visual proportion and balance. Take time to visualize how different heights will look in your specific space before committing to any measurements.
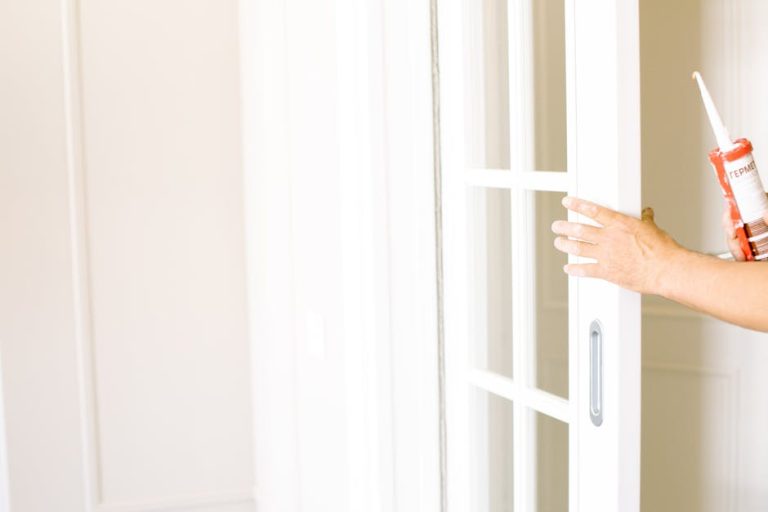
Step 4: Install the Base Rail
The base rail (or dado rail) serves as the foundation for your entire wainscoting installation. Position your base rail at the marked height line, ensuring it’s perfectly level with your spirit level before securing it. Use construction adhesive along with finishing nails driven into the wall studs to attach the rail securely. Nail spacing should be approximately 16 inches apart for optimal stability and to ensure the rail won’t shift or come loose over time.
If your bathroom has corners or angles, you may need to cut the base rail to fit properly, using a miter saw for precise angled cuts. Ensure all joints are tight and seamless, as gaps will allow moisture to penetrate behind your wainscoting. Apply caulk to any visible seams in the base rail to create a waterproof seal and a finished appearance.
Step 5: Install Wainscoting Panels
Now comes the main event—installing your bathroom wainscoting panel bead board. Start in a corner and work your way around the room, cutting panels to fit your specific wall measurements. Most wainscoting panels come in standard widths of 16 inches, making them easy to work with, though you may need to cut the final panel in each wall section to fit the remaining space. Apply construction adhesive to the back of each panel before pressing it firmly into place.
Secure each panel with finishing nails driven into the studs and the base rail below. Use a nail gun for efficiency, or hand-nail if you prefer more control over nail placement. Space nails approximately 8-12 inches apart for adequate support without over-nailing and creating a cluttered appearance. Stagger nail placement between the top and bottom of each panel to ensure even pressure distribution.
Step 6: Install the Top Rail (Cap Rail)
Once all panels are installed, add the top rail or cap rail to create a finished, polished appearance. The cap rail covers the tops of the wainscoting panels and creates a transition between the wainscoting and upper wall area. Cut your cap rail to length, ensuring all corners are properly mitered for seamless joints. Install the cap rail using the same technique as the base rail—construction adhesive and finishing nails driven into studs and the tops of the panels.
The cap rail serves both aesthetic and functional purposes, creating a clean visual boundary while also protecting the tops of your panels from damage. Ensure all joints are tight and caulked to prevent moisture infiltration. Sand any rough edges or protruding nail heads, then prepare the entire installation for finishing.
Step 7: Finish and Seal
After all panels and trim are installed, the final step involves sanding, filling, and painting to create a seamless, finished appearance. Fill any nail holes and gaps between panels with quality wood filler, then sand the entire wainscoting once the filler has dried completely. This creates a smooth surface ready for primer and paint. Apply a quality primer specifically formulated for bathrooms and moisture-prone areas, then apply two coats of high-quality bathroom paint for durability and moisture resistance.
Consider using a semi-gloss or satin finish paint rather than flat finish, as these provide better moisture protection and are easier to clean. Once paint has fully cured (follow manufacturer recommendations, typically 24-48 hours), reinstall your baseboards and any removed fixtures. Your newly installed wainscoting is now ready to protect and beautify your bathroom for years to come.
Best Install Bathroom Wainscoting Panel Bead Board Options
When selecting materials to install bathroom wainscoting panel bead board, you have several excellent options, each with distinct advantages. Traditional real wood bead board offers authentic character and warmth, though it requires proper sealing to withstand bathroom moisture. Hardwood options like oak, pine, or maple are premium choices that deliver durability and timeless elegance, making them worth the investment for bathrooms designed to last decades.
Engineered wood panels provide an excellent middle ground, combining the appearance of real wood with superior moisture resistance. These panels use a plywood base with a veneer surface, offering reliability at a more accessible price point than solid hardwood. They’re specifically designed for high-moisture environments, making them ideal for bathrooms where humidity and splashing are constant concerns.
Vinyl or PVC wainscoting panels represent the most budget-friendly and moisture-resistant option available. These panels are completely waterproof, require minimal maintenance, and come in finishes that accurately mimic real wood. Modern vinyl options have improved dramatically in appearance, making it difficult to distinguish them from genuine wood at first glance. They’re perfect for bathrooms where maximum moisture protection and minimal upkeep are priorities.
MDF (medium-density fiberboard) panels offer a lightweight, affordable option that works well for bathrooms with moderate moisture exposure. However, they’re less moisture-resistant than engineered wood or vinyl, so they require more careful sealing and maintenance. Consider your bathroom’s ventilation quality and moisture levels when selecting between these options.

Pro Tips for Install Bathroom Wainscoting Panel Bead Board
Invest in Proper Ventilation: Before and after installation, ensure your bathroom has adequate ventilation through a properly functioning exhaust fan. Good ventilation is your first line of defense against moisture damage, protecting both your new wainscoting and the walls behind it. Run your exhaust fan during and for 20-30 minutes after showers to remove excess humidity.
Use Quality Adhesive and Fasteners: Don’t skimp on construction adhesive and finishing nails—these materials are critical to long-term installation success. Quality adhesive creates a waterproof seal while fasteners provide mechanical support that prevents panels from shifting or warping over time. Invest in marine-grade or bathroom-specific adhesives designed to resist moisture and mildew.
Account for Moisture with Proper Sealing: Seal all seams, joints, and nail holes meticulously before painting. Consider applying a waterproofing primer in addition to regular primer for extra protection in shower zones or high-splash areas. Caulk between your wainscoting and the wall behind it to prevent water from creeping behind panels.
Start with a Practice Wall: If you’re new to wainscoting installation, consider installing a section in a less-visible wall (like behind a door) first. This allows you to develop confidence and skills before tackling more prominent walls. You’ll learn valuable techniques that improve efficiency and quality when working on the main installation.
Choose Appropriate Paint Finishes: Select semi-gloss or satin finish paints rather than flat finishes, as these provide superior moisture protection and durability. They’re also easier to clean, which is essential in a bathroom environment. Ensure your paint is specifically formulated for high-moisture areas and bathroom use.
Plan Your Panel Layout: Before cutting a single panel, plan your layout to minimize visible seams and create a balanced appearance. When possible, arrange panels so cut edges face corners or less visible areas. This planning saves material waste and creates a more professional finished appearance.

Common Mistakes to Avoid
One of the most frequent mistakes homeowners make when attempting to install bathroom wainscoting panel bead board is skipping proper wall preparation. Dirty, uneven, or damp walls lead to poor panel adhesion, visible gaps, and moisture problems. Take adequate time to clean, level, and dry your walls thoroughly before beginning installation—this investment in preparation prevents costly mistakes later.
Another critical error is neglecting proper ventilation and moisture protection. Many installers focus entirely on the visual installation while overlooking the moisture barriers that protect both the wainscoting and the wall structure behind it. Inadequate sealing allows water to penetrate behind panels, causing mold, rot, and structural damage that becomes expensive to repair.
Improper nail and adhesive placement is another common problem that compromises structural integrity. Using too few fasteners or spacing them too far apart allows panels to warp, shift, or come loose over time. Conversely, over-nailing can create visible holes and distort the panel appearance. Follow manufacturer recommendations for spacing and use both adhesive and mechanical fasteners for optimal results.
Many DIYers make cutting errors that waste expensive materials and create delays. Measure twice and cut once—this simple rule saves frustration and money. Use sharp saw blades and make straight cuts perpendicular to the panel edges for seamless joints and a professional appearance. Poor cuts create gaps that are difficult to hide and compromise the waterproof seal you’re trying to establish.
Finally, don’t underestimate the importance of finishing and sealing. Rushing through the painting, caulking, and sealing stages defeats the purpose of installing wainscoting in the first place. Proper finishing creates the waterproof barrier that protects your investment and extends the lifespan of your installation significantly.

Key Takeaways
-
Proper preparation is essential: Clean, level, and dry walls ensure successful panel adhesion and prevent future moisture problems that compromise your installation.
-
Use quality materials throughout: Invest in construction adhesive, finishing nails, and paints specifically designed for bathroom environments to ensure long-lasting results.
-
Seal all seams and joints: Waterproof caulking and proper finishing prevents moisture from penetrating behind panels and causing hidden damage.
-
Plan your layout carefully: Strategic panel arrangement minimizes visible seams, reduces material waste, and creates a more professional finished appearance.
-
Ensure adequate ventilation: Proper bathroom exhaust fans and ventilation are your first defense against moisture damage to both wainscoting and wall structure.
Frequently Asked Questions About Install Bathroom Wainscoting Panel Bead Board
Q: What is the best install bathroom wainscoting panel bead board material for bathrooms?
A: Engineered wood and vinyl options are excellent for bathrooms due to superior moisture resistance. Engineered wood provides authentic appearance with increased durability, while vinyl offers maximum waterproofing and minimal maintenance requirements. Your choice depends on budget, aesthetic preferences, and how much moisture your bathroom experiences. For premium results, invest in quality engineered wood; for maximum durability with minimal upkeep, choose vinyl.
Q: How do I use install bathroom wainscoting panel bead board to protect my walls?
A: Wainscoting protects walls by creating a moisture-resistant barrier in the lower wall section most exposed to water and humidity. Proper installation with quality adhesive, mechanical fasteners, and waterproof sealing prevents water from penetrating to the drywall beneath. Additionally, the wainscoting material itself is more resistant to moisture than standard drywall, creating redundant protection that keeps your walls dry and mold-free for years.
Q: How long does it take to install bathroom wainscoting panel bead board?
A: Installation time varies based on bathroom size and your experience level. A typical bathroom wainscoting project takes 2-4 days for an experienced installer, including preparation, panel installation, trim work, and finishing. First-time installers should expect 5-7 days for careful execution. Complex layouts with numerous angles, windows, or fixtures may require additional time for planning and cutting.
Q: Can I install bathroom wainscoting panel bead board over existing tile or finishes?
A: While possible, installing over existing tile isn’t recommended unless the surface is very clean and stable. Most professionals recommend removing old finishes to ensure proper adhesion and moisture control. If you do install over existing surfaces, use maximum adhesive and mechanical fasteners to ensure panels don’t shift or loosen. Additionally, ensure the existing surface is waterproof and won’t harbor moisture problems behind new panels.
Q: What tools are absolutely necessary for install bathroom wainscoting panel bead board installation?
A: Essential tools include a tape measure, stud finder, level, saw (miter or circular), nail gun, caulking gun, hammer, and safety equipment. A brad nailer specifically for finishing nails makes installation smoother and creates smaller, less visible nail holes. A belt sander helps with final smoothing and finishing. Quality tools make the job easier and produce more professional results than budget options.
Conclusion
Learning how to install bathroom wainscoting panel bead board is an investment in both your home’s aesthetics and practical functionality. This comprehensive guide provides everything you need to complete a professional-quality installation that protects your walls while adding timeless beauty to your bathroom space. From careful preparation through finishing touches, each step contributes to a durable, moisture-resistant installation that delivers years of reliable performance. Take your time, follow these guidelines carefully, and don’t hesitate to consult manufacturer instructions for specific products you’ve selected. Your newly installed wainscoting will transform your bathroom into a space you truly love while protecting your home from moisture damage.
Recommended Products on Amazon
As an Amazon Associate I earn from qualifying purchases.