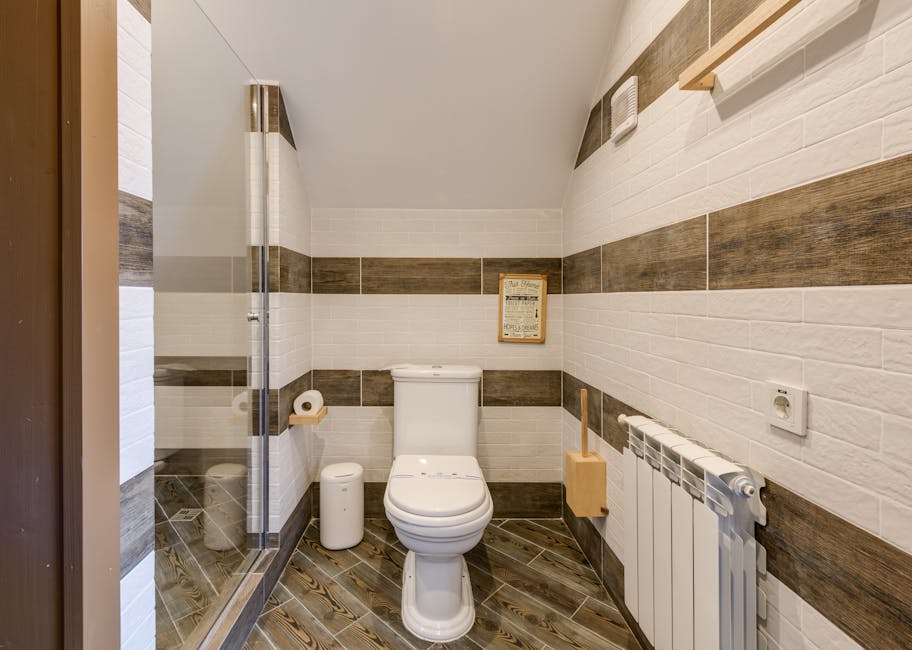
How to replace a toilet fill valve
Replace Toilet Fill Valve DIY Plumbing: Ultimate Guide for Success in 2025
Learning to replace toilet fill valve DIY plumbing projects can save homeowners hundreds of dollars in professional repair costs while providing valuable hands-on experience. A malfunctioning fill valve is one of the most common toilet issues, causing problems like continuous running water, weak flushing, or inconsistent tank refilling. With the right tools, quality replacement parts, and proper guidance, this essential home maintenance task becomes manageable for DIY enthusiasts of all skill levels.
Table of Contents
- Why Replace Toilet Fill Valve DIY Plumbing Matters
- Step-by-Step Replace Toilet Fill Valve DIY Plumbing Guide
- Best Replace Toilet Fill Valve DIY Plumbing Options
- Pro Tips for Replace Toilet Fill Valve DIY Plumbing Success
- Common Mistakes to Avoid
- Key Takeaways
- Frequently Asked Questions about Replace Toilet Fill Valve DIY Plumbing
- Conclusion
Why Replace Toilet Fill Valve DIY Plumbing Matters
Understanding when and why to replace toilet fill valve DIY plumbing components is crucial for maintaining a functional bathroom and preventing costly water waste. A faulty fill valve can increase your water bill by hundreds of dollars annually, as a continuously running toilet wastes approximately 200 gallons of water per day. Modern fill valves are designed to last 7-10 years under normal usage conditions, but hard water, mineral buildup, and frequent use can significantly reduce their lifespan.
The primary indicators that signal the need for fill valve replacement include persistent water running sounds, irregular tank filling cycles, and water levels that don’t reach the proper mark. When your toilet tank fails to fill completely or takes an unusually long time to refill after flushing, the fill valve mechanism has likely deteriorated beyond simple adjustment. Additionally, if you notice water continuously flowing into the overflow tube or hear gurgling sounds from the tank, these symptoms typically indicate internal valve component failure.
Modern fill valve designs offer significant improvements over older models, featuring better water efficiency ratings and more reliable operation mechanisms. Upgrading to a newer fill valve can reduce water consumption by up to 20% compared to outdated models, making this DIY project both environmentally responsible and financially beneficial. Professional plumber service calls for fill valve replacement typically cost between $150-300, while the DIY approach requires only $15-40 in parts and basic tools most homeowners already possess.

Step-by-Step Replace Toilet Fill Valve DIY Plumbing Guide
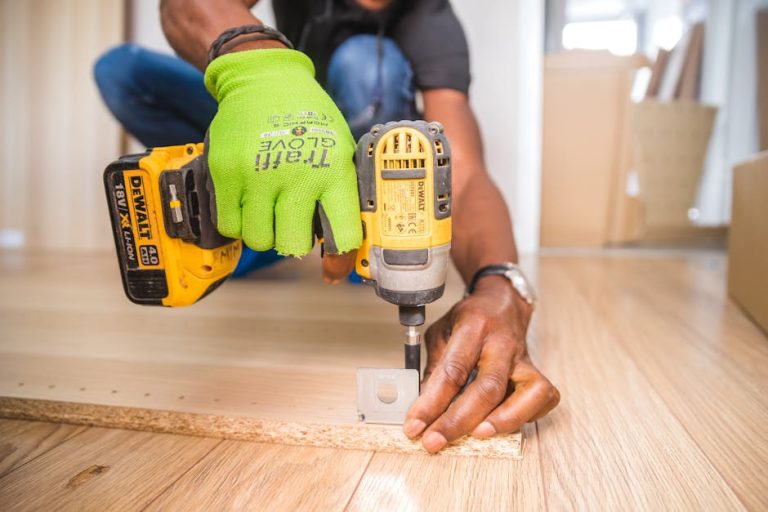
Beginning your replace toilet fill valve DIY plumbing project requires proper preparation and the right sequence of steps to ensure successful completion. Start by shutting off the water supply valve located behind the toilet, then flush the toilet completely to drain the tank of remaining water. Use a sponge or towel to absorb any residual water in the tank bottom, creating a clean working environment for the replacement process.
Remove the toilet tank lid carefully and set it aside in a safe location where it won’t be damaged or cause injury. Disconnect the water supply line from the bottom of the existing fill valve using adjustable pliers, being prepared to catch any remaining water with a bucket or towels. Next, locate the plastic nut securing the fill valve to the tank bottom and rotate it counterclockwise to remove the old valve assembly completely.
Install your new fill valve by inserting it through the tank opening and securing it with the provided mounting nut, ensuring the valve sits vertically and the water level adjustment mechanism faces the center of the tank. Reconnect the water supply line, hand-tighten the connection, then use pliers to secure it firmly without over-tightening. Turn the water supply back on gradually, allowing the tank to fill while observing for any leaks around the connections.

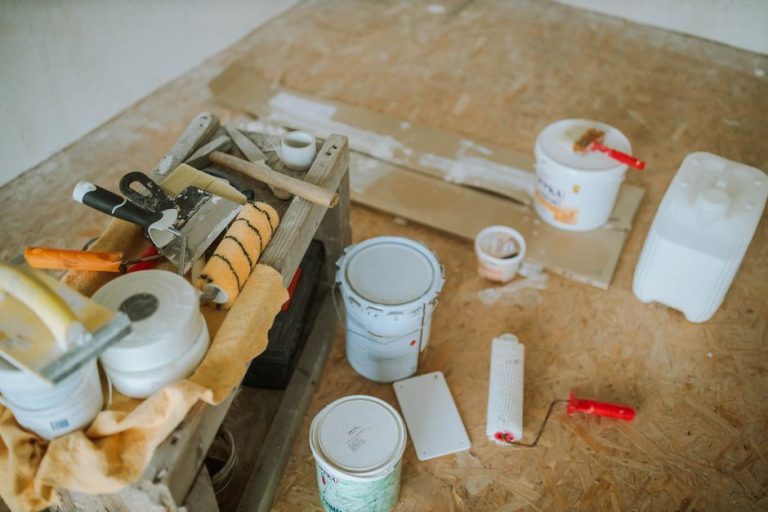
Best Replace Toilet Fill Valve DIY Plumbing Options
Selecting quality components for your replace toilet fill valve DIY plumbing project ensures long-lasting performance and reliable operation for years to come. Universal fill valves offer the best compatibility with most toilet models, featuring adjustable height settings and flexible installation options that accommodate various tank configurations. Look for valves with solid brass or high-quality plastic construction, as these materials resist corrosion and mineral buildup better than cheaper alternatives.
Fluidmaster remains the most trusted brand in toilet fill valve technology, offering models specifically designed for different water pressure conditions and tank sizes. Their PerforMAX series features anti-siphon protection and adjustable water level settings, making them ideal for most residential applications. Korky QuietFILL valves provide exceptionally quiet operation, perfect for bathrooms near bedrooms or living areas where noise reduction is important.
Premium options like Toto fill valves offer superior build quality and longer warranties, though they typically cost more than universal alternatives. These valves often include advanced features like precise water level control and enhanced durability testing, making them worthwhile investments for high-use toilets or homes with challenging water conditions. Consider your specific needs, budget, and toilet model compatibility when selecting the best fill valve for your project.

Pro Tips for Replace Toilet Fill Valve DIY Plumbing Success
Mastering replace toilet fill valve DIY plumbing techniques involves understanding several professional tricks that ensure optimal results and prevent common installation problems. Always test the new fill valve before fully securing all connections, as this allows you to make adjustments without repeating disassembly steps. Adjust the water level to sit approximately one inch below the tank rim, ensuring adequate flush power while preventing overflow issues.
Apply thread sealant or plumber’s tape to threaded connections, but avoid over-applying these materials as excess sealant can interfere with proper fitting alignment. When tightening connections, use the “hand-tight plus quarter turn” rule to prevent over-tightening that could crack plastic components or strip threads. Keep a bucket and towels nearby throughout the installation process, as unexpected water spills are common even with proper preparation.
Check the chain length connecting the flush handle to the flapper, ensuring it has slight slack when the flapper is seated but doesn’t bind during flushing cycles. Mark the optimal water level on the tank wall with a pencil before beginning the project, providing a reference point for proper fill valve adjustment. Consider replacing the flapper and other tank components simultaneously, as they typically wear at similar rates and replacing everything together prevents future service calls.
Common Mistakes to Avoid
Understanding typical errors in replace toilet fill valve DIY plumbing projects helps ensure successful completion and prevents costly damage to your toilet or plumbing system. Over-tightening the mounting nut represents the most frequent mistake, often resulting in cracked tank bottoms that require complete toilet replacement. Use firm hand pressure plus a slight turn with pliers, stopping immediately if you feel significant resistance.
Incorrect water level adjustment causes numerous problems including weak flushing, continuous running, and premature component wear. The water level should reach the marked line on the tank wall or sit one inch below the rim, never touching the bottom of the tank lid or falling below the flapper seal level. Installing the fill valve crooked or at an angle prevents proper operation and may cause interference with other tank components.
Failing to turn off the water supply completely before beginning work leads to flooding and makes installation extremely difficult. Always verify that water flow has stopped completely and drain the tank thoroughly before removing any components. Neglecting to test all connections for leaks after installation can result in hidden water damage, higher utility bills, and premature component failure due to loose fittings.

Key Takeaways
- Replace toilet fill valves every 7-10 years to maintain optimal performance and prevent water waste
- Universal fill valves offer the best compatibility and value for most DIY installations
- Proper water level adjustment is crucial for efficient toilet operation and component longevity
- Quality tools and materials ensure professional results and long-lasting repairs
- Testing connections thoroughly prevents costly water damage and ensures reliable operation
Frequently Asked Questions about Replace Toilet Fill Valve DIY Plumbing
Q: What is the best replace toilet fill valve DIY plumbing option for beginners?
A: Universal fill valves like the Fluidmaster 400AH offer the easiest installation process for DIY beginners, featuring clear instructions and compatibility with most toilet models. These valves include all necessary hardware and provide adjustable settings that accommodate various tank configurations without requiring specialized tools or advanced plumbing knowledge.
Q: How do I use replace toilet fill valve DIY plumbing techniques safely?
A: Always shut off the water supply completely before beginning work, drain the tank thoroughly, and keep towels nearby for spills. Use proper tools like adjustable wrenches rather than improvised alternatives, and never over-tighten connections as this can crack porcelain tanks. Test all connections for leaks before considering the project complete.
Q: How long does a toilet fill valve replacement typically take?
A: Most DIY enthusiasts complete fill valve replacement in 30-60 minutes, depending on their experience level and any complications encountered. First-time installers should allow 90 minutes to account for familiarization with the process, while experienced DIYers often finish in 20-30 minutes including testing and cleanup.
Q: Can I replace just the fill valve without other toilet components?
A: Yes, fill valves can be replaced independently, though it’s often cost-effective to replace the flapper and chain simultaneously since they typically wear at similar rates. Replacing multiple components together prevents future service calls and ensures optimal toilet performance with all fresh parts working together.
Q: What tools are required for toilet fill valve replacement?
A: Basic tools include adjustable pliers, a bucket, towels or sponges, and possibly a screwdriver depending on your specific toilet model. Most fill valve kits include the necessary mounting hardware, so additional fasteners are rarely required for standard installations.
Conclusion
Successfully completing a replace toilet fill valve DIY plumbing project provides homeowners with valuable skills, significant cost savings, and the satisfaction of maintaining their home independently. With proper preparation, quality components, and attention to detail, this essential maintenance task becomes manageable for DIY enthusiasts at any skill level. Take action today to address your toilet fill valve issues and enjoy years of reliable, efficient operation.
Recommended Products on Amazon
As an Amazon Associate I earn from qualifying purchases.