Brad Nailer vs Finish Nailer: Which Is Right for Your Project?
If you have ever stood in the tool aisle staring at two nail guns that look almost identical, you are not alone. Brad nailers and finish nailers do similar jobs and cost roughly the same money — yet picking the wrong one leaves you with split trim, nails that poke through, or joints that slowly work loose.
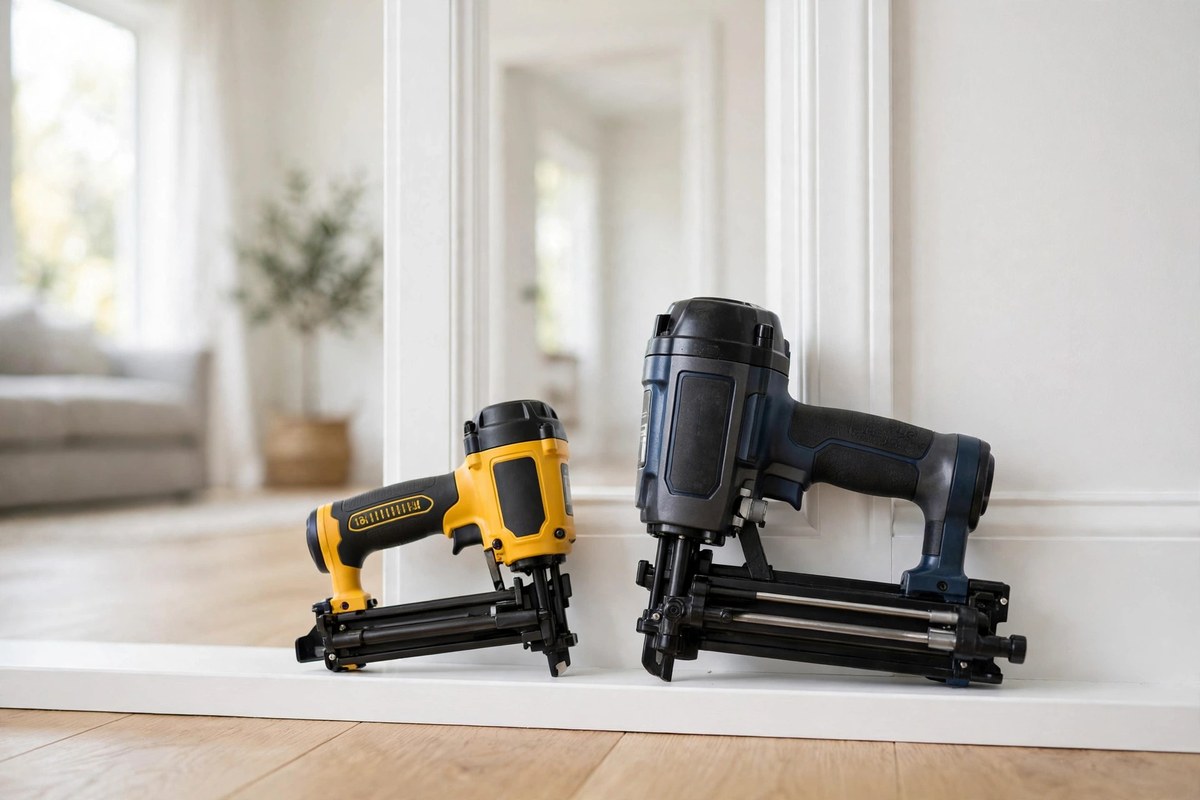
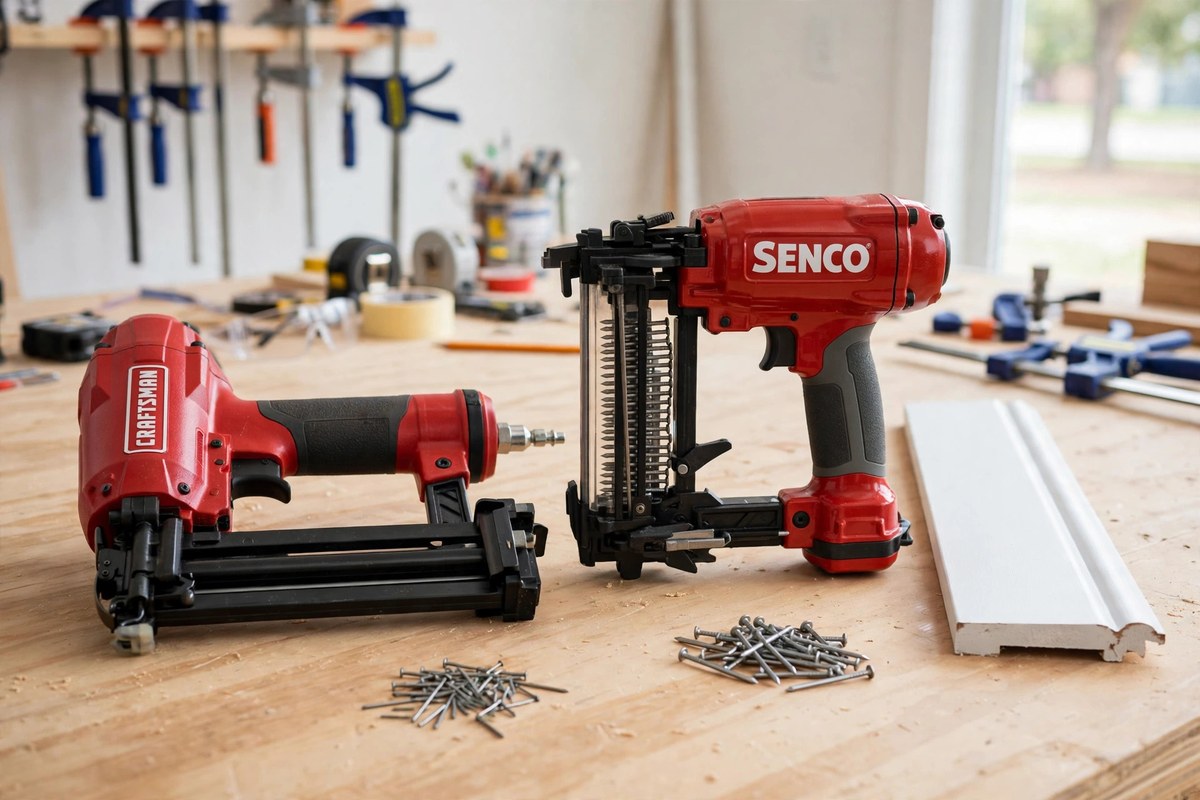
The short answer: a brad nailer is the right pick for light, delicate trim — thin moulding, small craft pieces, and anywhere a visible nail hole would ruin the finish. A finish nailer is the right pick for heavier trim — baseboards, door casings, crown moulding, and stair parts — anywhere the joint needs real holding power. If you can only buy one, buy the finish nailer first: it handles most trim jobs, and you can rent or borrow a brad nailer for the delicate work.
What Is a Brad Nailer?
A brad nailer fires 18-gauge brads — thin, headless (or nearly headless) nails, usually from 5/8 inch to 2 inches long. Because the nail is so thin, it leaves a hole barely wider than a pinprick, which often needs no filler at all. That is the whole point of the tool: it holds small, light pieces in place while glue dries, without splitting delicate wood or leaving a mark you have to hide.
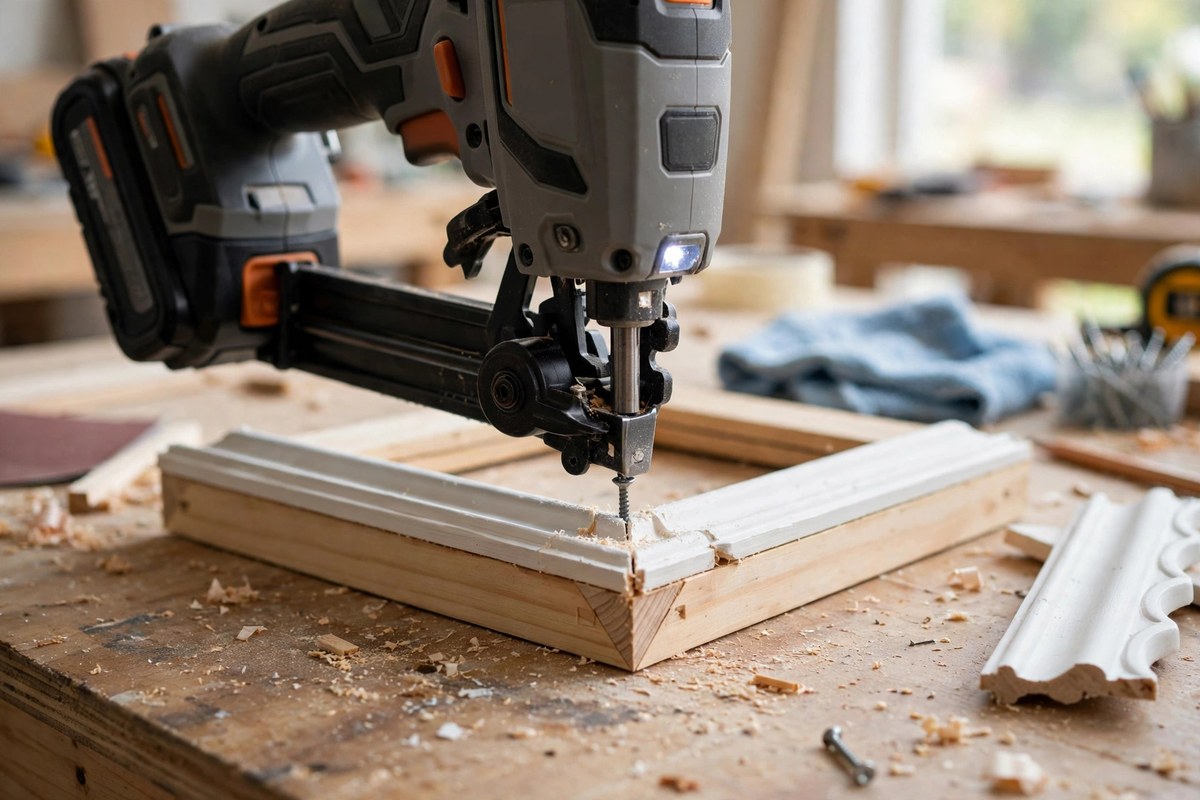
Brad nailers shine on thin stock: picture-frame moulding, small decorative trim, beadboard, cabinet face frames, craft projects, and attaching thin plywood panels. They are light, easy to control one-handed, and forgiving for beginners. Worth it if you do a lot of small trim, crafts, or furniture repair. Skip it if your projects are mostly baseboards and door casings — brads simply do not have the grip for that.
What Is a Finish Nailer?
A finish nailer fires thicker 15- or 16-gauge nails, usually from 1-1/4 inches to 2-1/2 inches long, with a small but real head. That extra thickness is the difference: a finish nail grips far harder than a brad, so joints stay tight for years instead of loosening with seasonal wood movement.
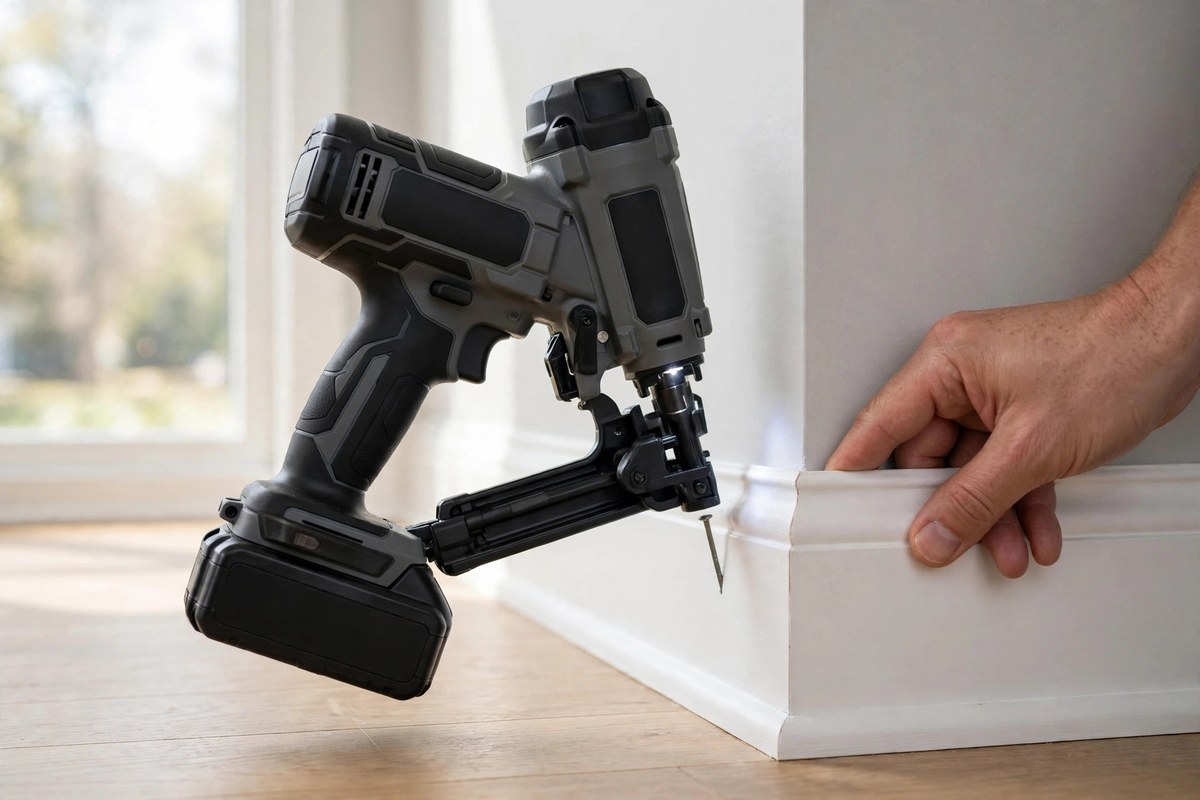
Finish nailers are the standard tool for baseboards, door and window casings, crown moulding, chair rails, stair treads and risers, and built-in shelving. The nail holes are small but visible, so you fill them with a dab of wood filler and paint — a ten-second job per hole. Worth it if you are installing any real trim in your home. Skip it if you only ever fasten thin, delicate pieces where any nail hole would show.
Brad Nailer vs Finish Nailer: Head-to-Head
| Brad Nailer | Finish Nailer | |
|---|---|---|
| Nail gauge | 18-gauge | 15- or 16-gauge |
| Nail length | 5/8″ – 2″ | 1-1/4″ – 2-1/2″ |
| Nail head | Almost none | Small, visible head |
| Holding power | Light — glue does the work | Strong — the nail does the work |
| Hole size | Tiny, often no filler needed | Small, needs filler + paint |
| Best for | Thin trim, crafts, delicate stock | Baseboards, casings, crown moulding |
| Splitting risk | Very low | Low, but higher on thin stock |
| Typical price (pneumatic) | $60 – $150 | $100 – $200 |
| Typical price (cordless) | $150 – $250 | $200 – $300 |
The table tells the story: the brad nailer trades holding power for invisibility, and the finish nailer trades invisibility for grip. Neither is “better” — they solve different problems, and most serious DIYers eventually own both.
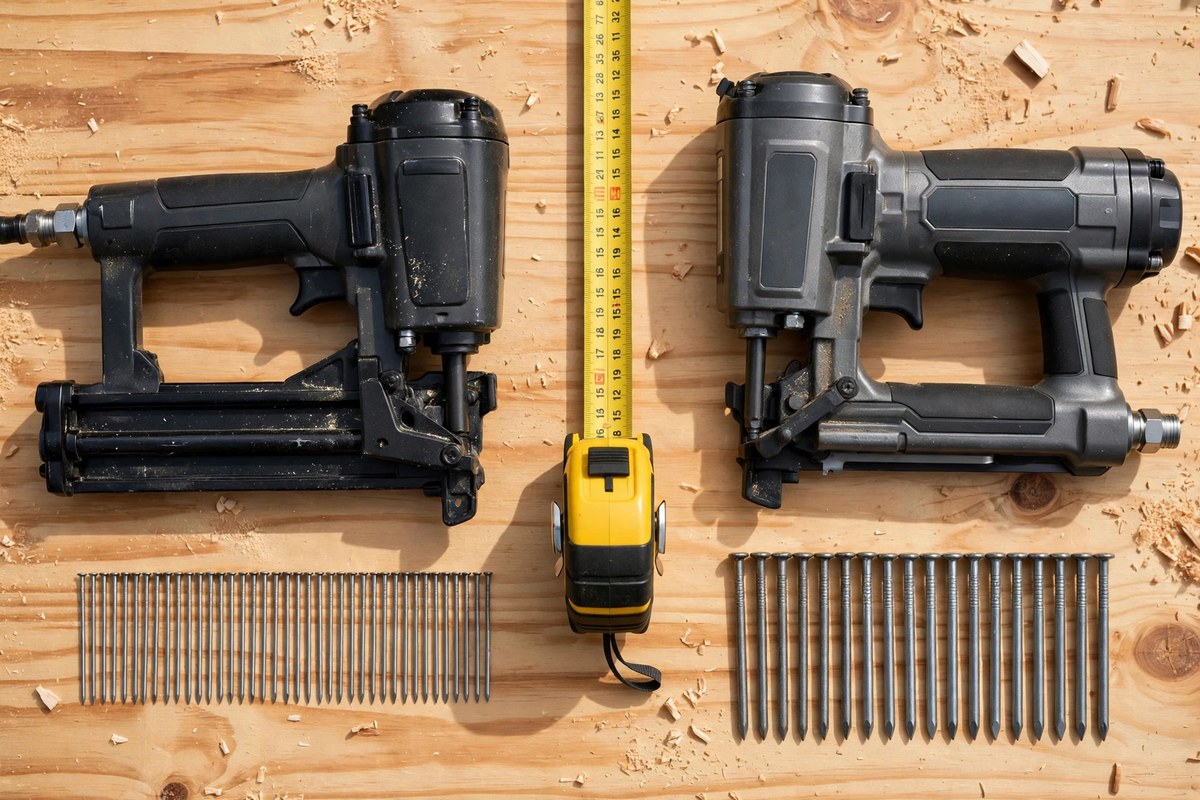
Nail Gauge Explained: 18 vs 15/16
Nail gauge works backwards from what you might expect: the higher the number, the thinner the nail. An 18-gauge brad is about 1.2 mm thick; a 16-gauge finish nail is about 1.6 mm; a 15-gauge nail is about 1.8 mm. That does not sound like much, but holding power grows fast with thickness, and so does the risk of splitting thin wood.
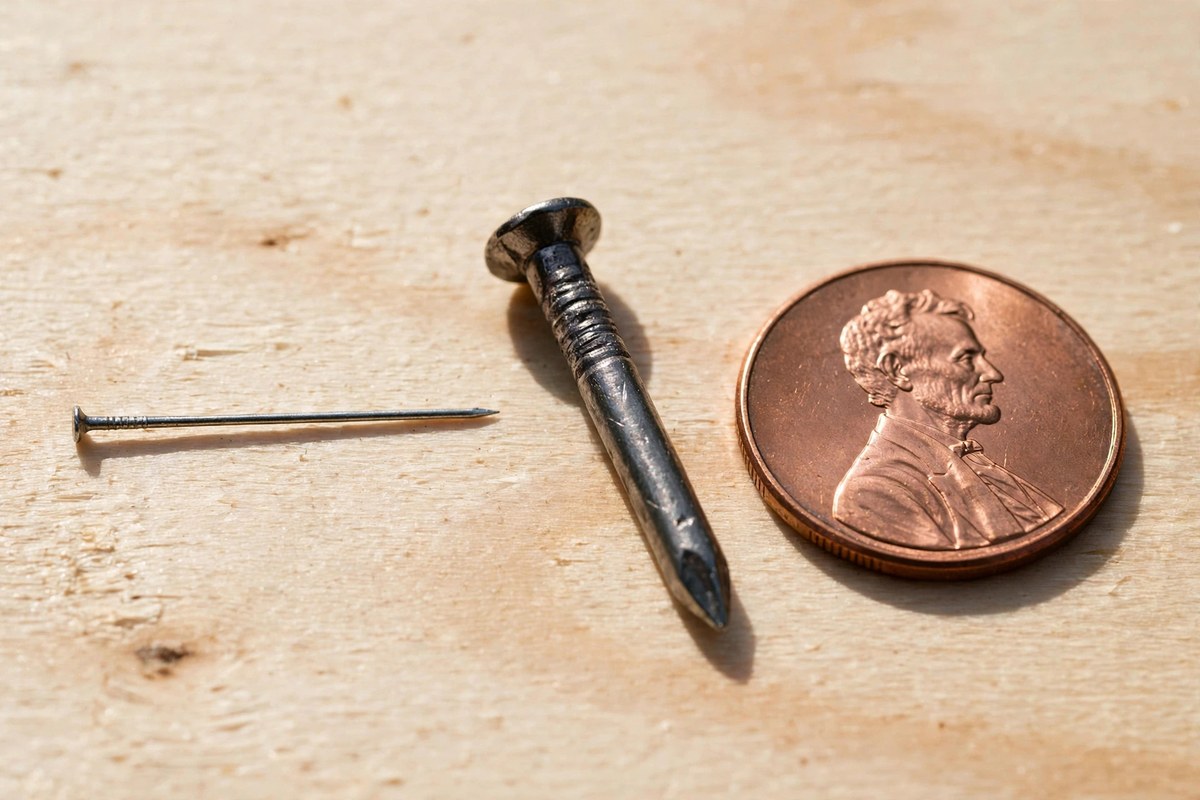
The practical rule is simple: match the nail to the thickness of what you are fastening. For stock under 1/2 inch thick, an 18-gauge brad is usually the safe choice. For standard 3/4-inch trim, a 16-gauge finish nail is the default. For thick hardwood casing or stair parts, step up to 15-gauge.
When a Brad Nailer Wins
Reach for the brad nailer whenever the piece is thin, the wood is fragile, or the nail hole must disappear. Classic jobs: attaching small decorative moulding to furniture, fastening thin beadboard panels, tacking veneer edge banding, assembling small boxes and picture frames, and holding mitred corners together while glue sets.
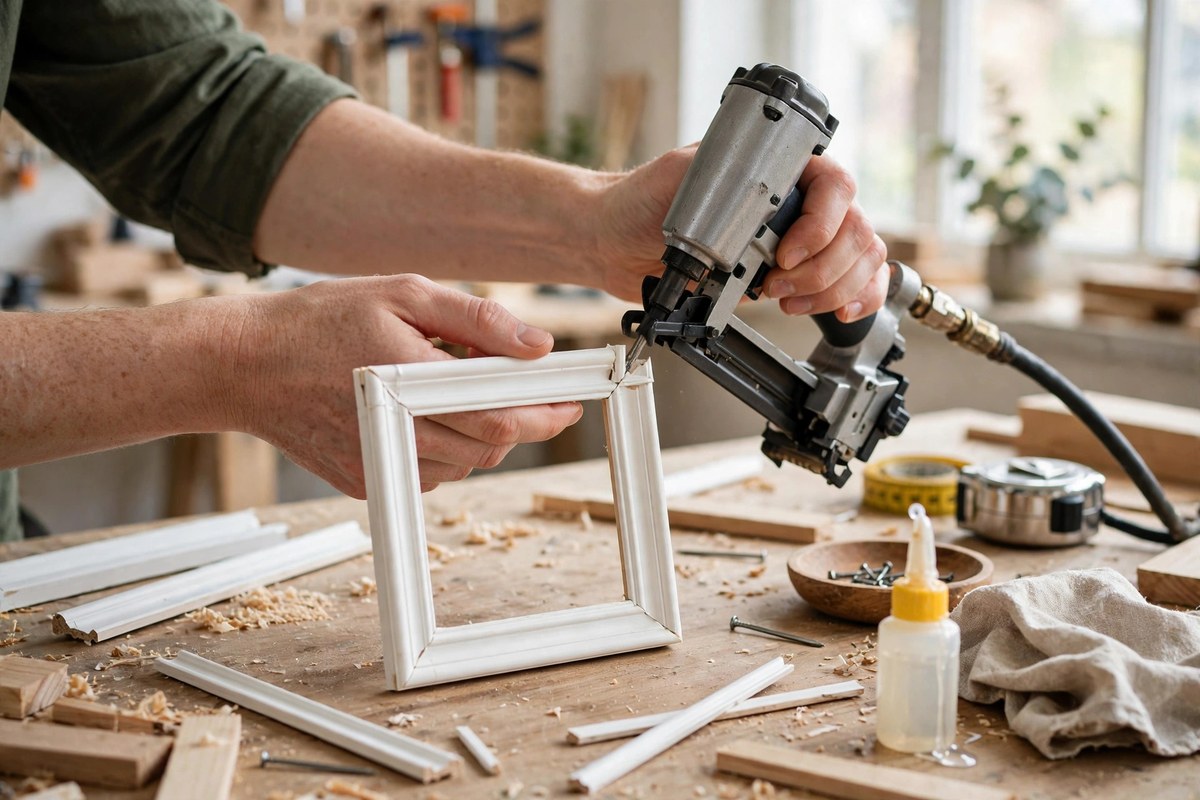
It is also the safer tool on brittle materials. MDF edges, thin plywood, and small hardwood mouldings split easily under a 15-gauge nail, but an 18-gauge brad usually slips in cleanly. If you are building the kind of small projects that start with a drill and a saw — the five tools in our beginner power tool kit cover most of them — a brad nailer is the natural next addition.
When a Finish Nailer Wins
Reach for the finish nailer whenever the joint has to carry weight or survive daily knocks. Baseboards get kicked, vacuumed into, and leaned on; door casings get slammed by doors; crown moulding spans long runs that expand and contract with the seasons. Brads will slowly work loose in all of these. Finish nails will not.
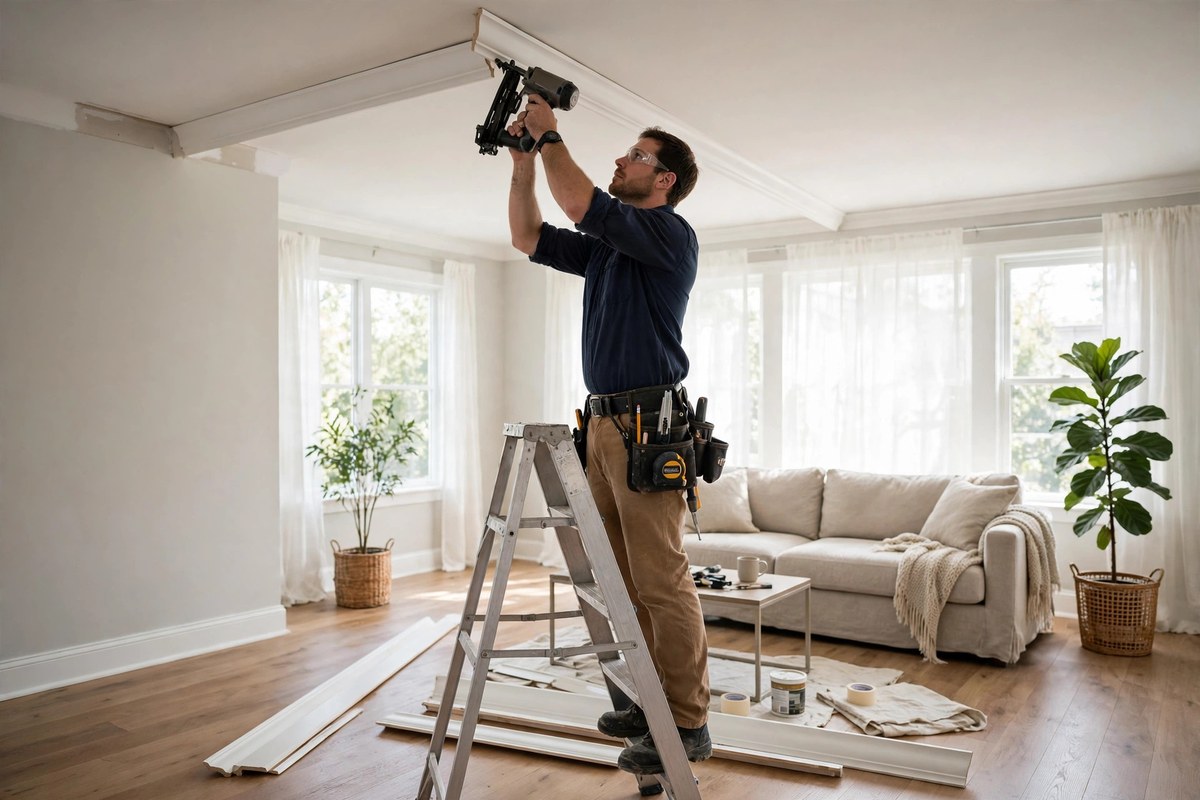
The finish nailer is also the right call for thicker trim and hardwood. A 2-1/2-inch 15-gauge nail driven through a 3/4-inch oak casing and deep into the stud behind it is a joint you can trust. If your project list is mostly rooms, not crafts, the finish nailer earns its keep on the first job.
What Each One Costs
Pneumatic (air-powered) models are the cheapest way in: a decent brad nailer runs about $60–$150, and a decent finish nailer about $100–$200 — plus a compressor if you do not already own one, roughly $100–$200 for a small portable unit. Cordless battery models cost more upfront — roughly $150–$250 for a brad nailer and $200–$300 for a finish nailer, often as a bare tool if you already own the brand’s batteries — but there is no hose and no compressor noise.
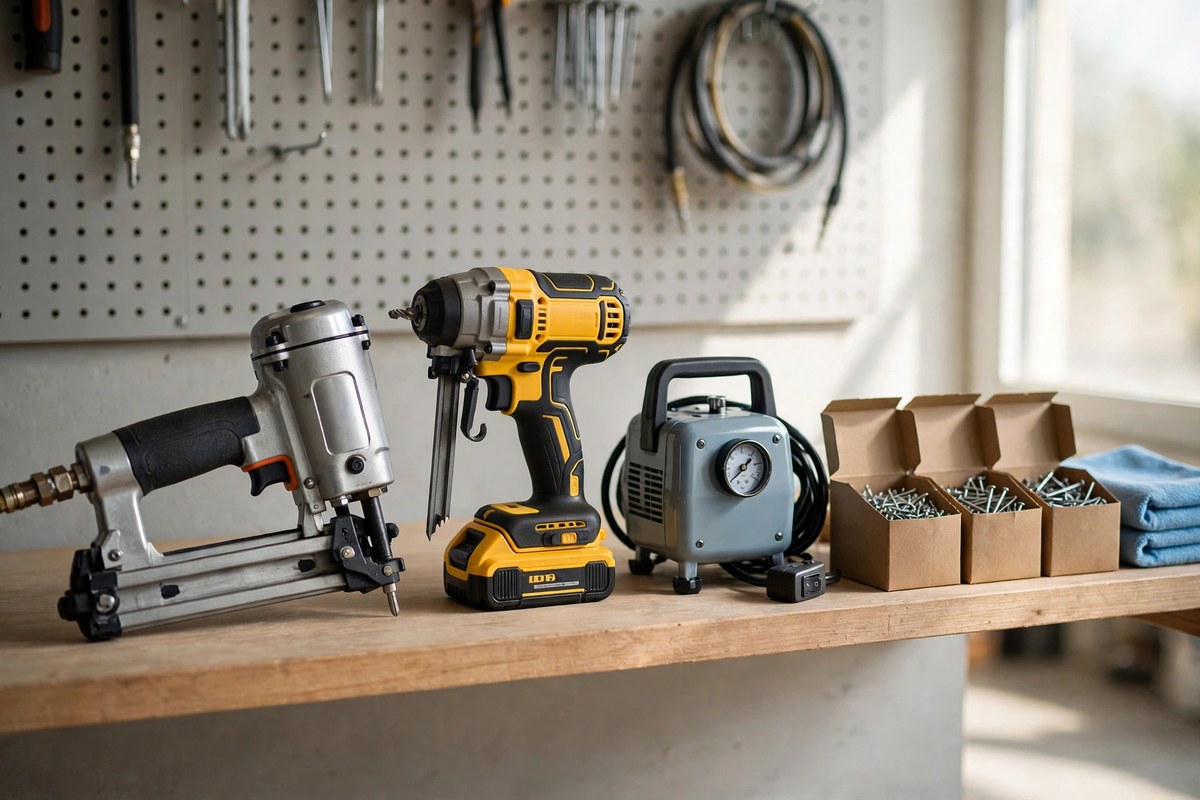
Nails are cheap either way: a box of 1,000 brads or finish nails typically costs $5–$15. The real cost decision is the platform: if you already own batteries from a brand, buying that brand’s cordless nailer as a bare tool is usually the best value. If you own nothing yet, a pneumatic set plus a small compressor is the lowest-cost way to own both nailers.
Which One Should You Buy First?
Buy the finish nailer first if you are renovating rooms, installing trim, or doing any real carpentry in your home. It covers the biggest jobs, and a brad nailer is easy to rent for a weekend or borrow for a single delicate project. Buy the brad nailer first only if your work is mostly small-scale: crafts, furniture repair, model work, or thin decorative trim.
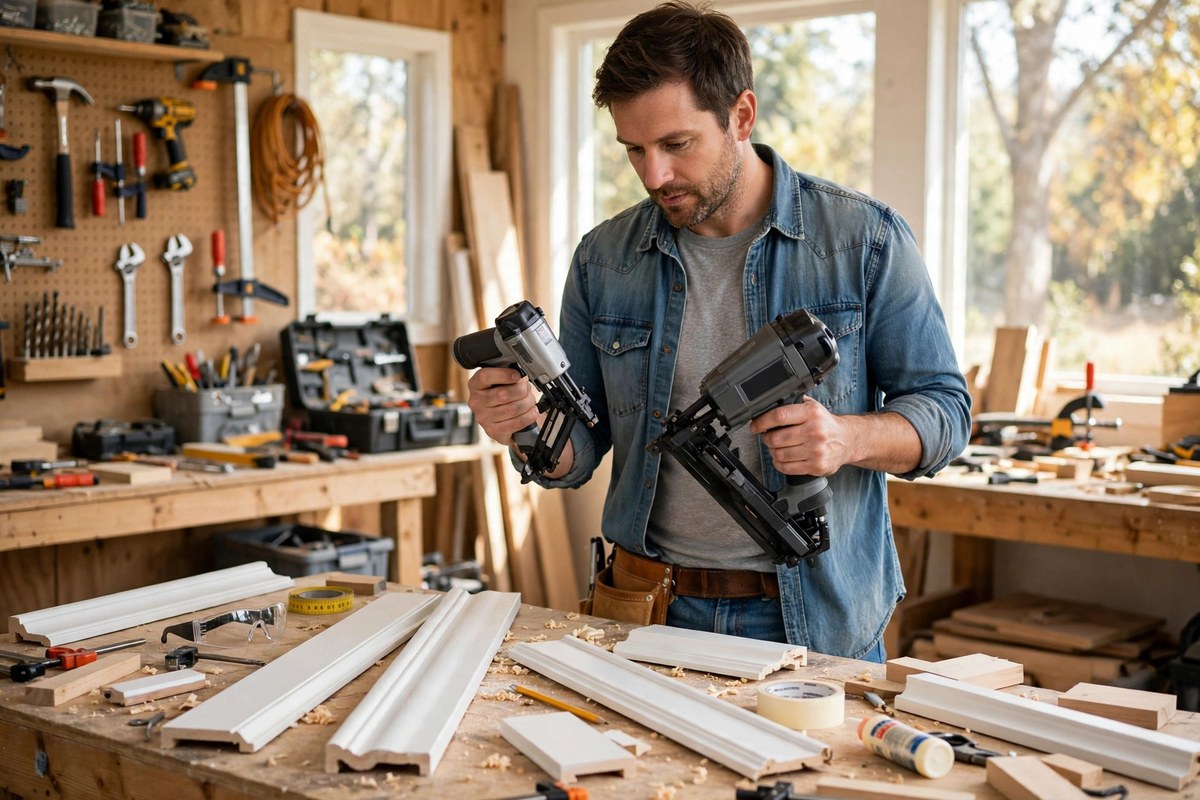
The honest answer for most homeowners is that you will eventually want both, and the pair together usually costs less than a single mid-range power tool. A sensible order: finish nailer now, brad nailer when your next project involves anything under 1/2 inch thick. And if you are buying cordless, stick to one battery platform for both — two tools sharing one set of batteries is worth more than a small saving on a second brand.
Mistakes to Avoid
Using brads where finish nails belong. The most common mistake: nailing baseboards with a brad nailer because the holes are smaller. The trim looks perfect on day one and starts gapping within months. If it carries weight or takes knocks, use a finish nailer.
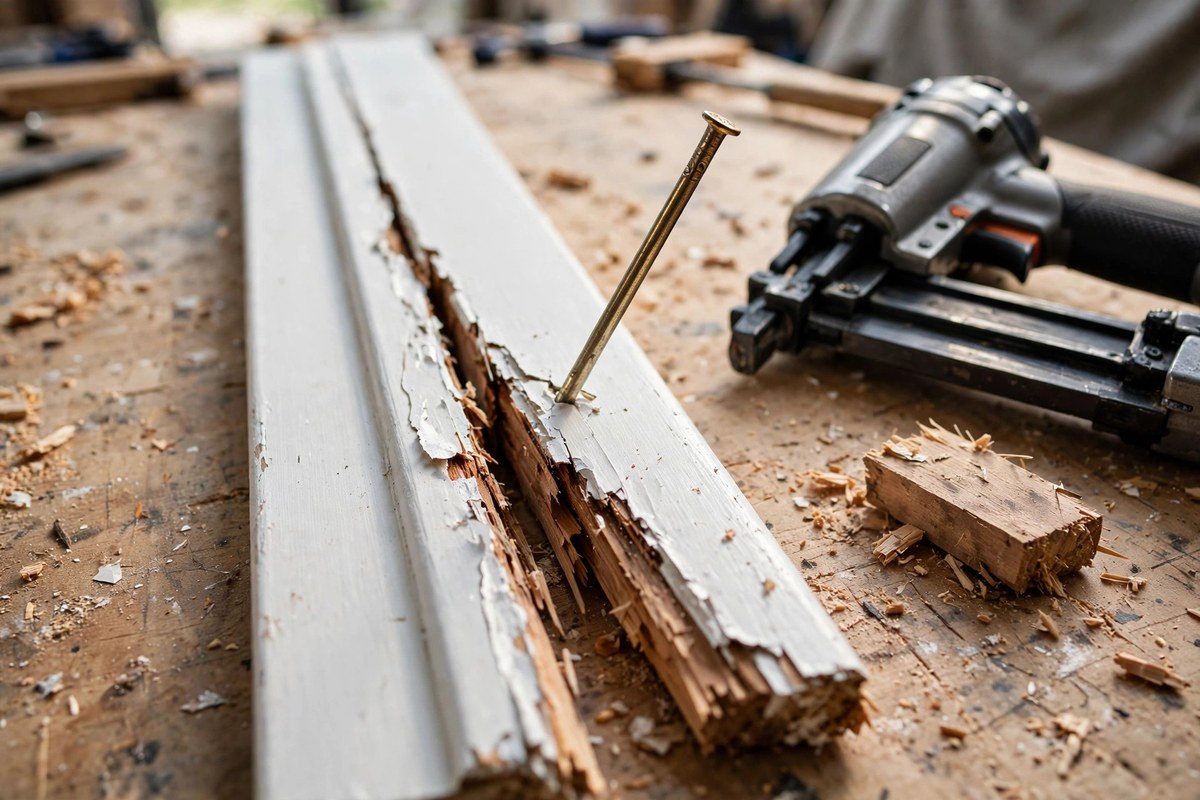
Using finish nails on thin stock. The opposite mistake splits delicate moulding, blows out the back of thin panels, and leaves a visible bulge where the nail exits. If the piece is under 1/2 inch thick, reach for the brad nailer.
Skipping the test shot. Every new nailer, nail length, and wood species behaves differently. Fire two test nails into scrap before touching the real piece — it takes thirty seconds and saves a ruined board.
Forgetting depth adjustment. Both tools have a depth setting. Too deep and the nail sinks below the surface and dents the wood; too shallow and the head sticks out. Set it on scrap, not on your finished trim.
Nailing without glue on brad joints. Brads hold pieces in place; glue holds them together. On any brad-nailed joint that matters, a thin line of wood glue is not optional — it is the joint.
The Verdict
There is no single winner here, because these two tools are not really competing — they are a pair. The brad nailer is the precision tool: invisible fastening for thin, delicate work. The finish nailer is the workhorse: strong, lasting joints for real trim. If you buy one, make it the finish nailer — it handles the jobs most homeowners actually face, from baseboards to door casings to crown moulding. Then add a brad nailer the first time a project involves thin stock or a visible surface where every hole counts.