How to Change a Circular Saw Blade (Step-by-Step)
The Short Answer
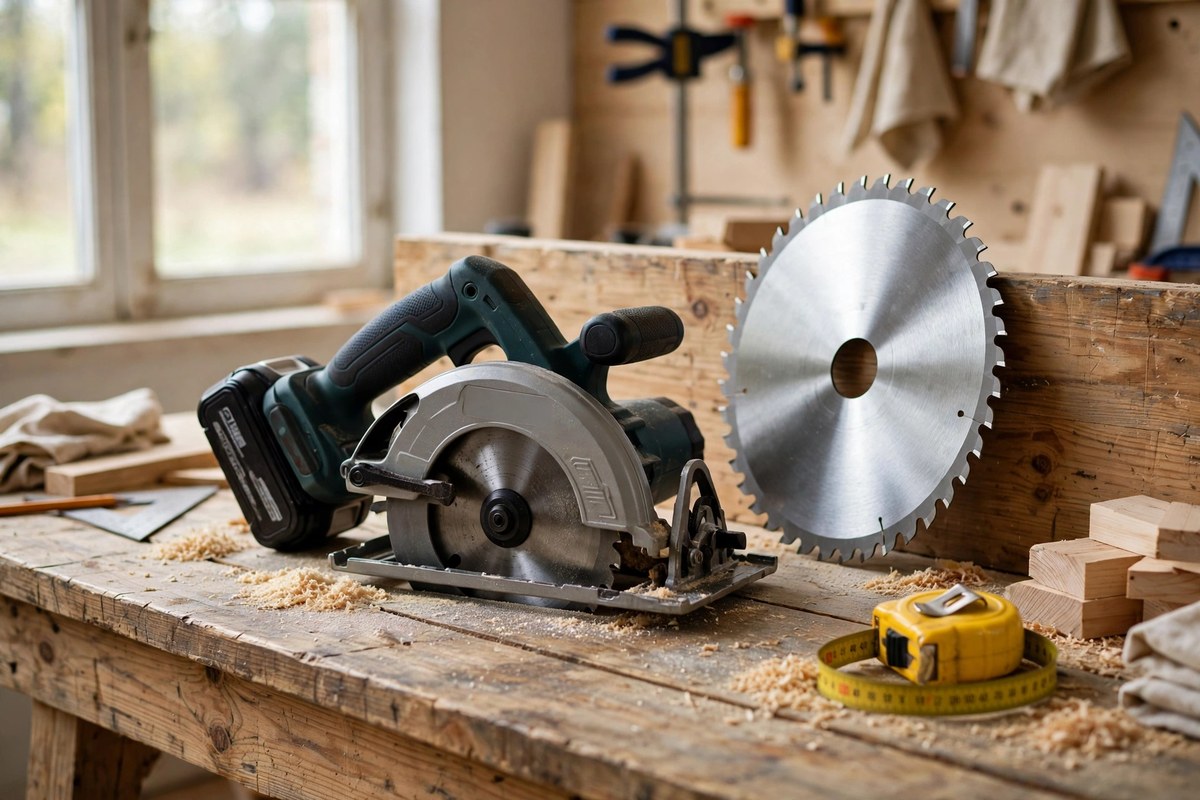
Changing a circular saw blade takes about ten minutes and one wrench — the one that came with your saw. Unplug the saw, press the blade-lock button, loosen the arbor bolt (it turns the opposite way from a normal bolt on most saws), slide the old blade off, match the new blade’s rotation arrow to the saw, and tighten everything back up. That is the whole job — the only parts people get wrong are the bolt direction and the blade direction, both covered below.
When to Change Your Blade
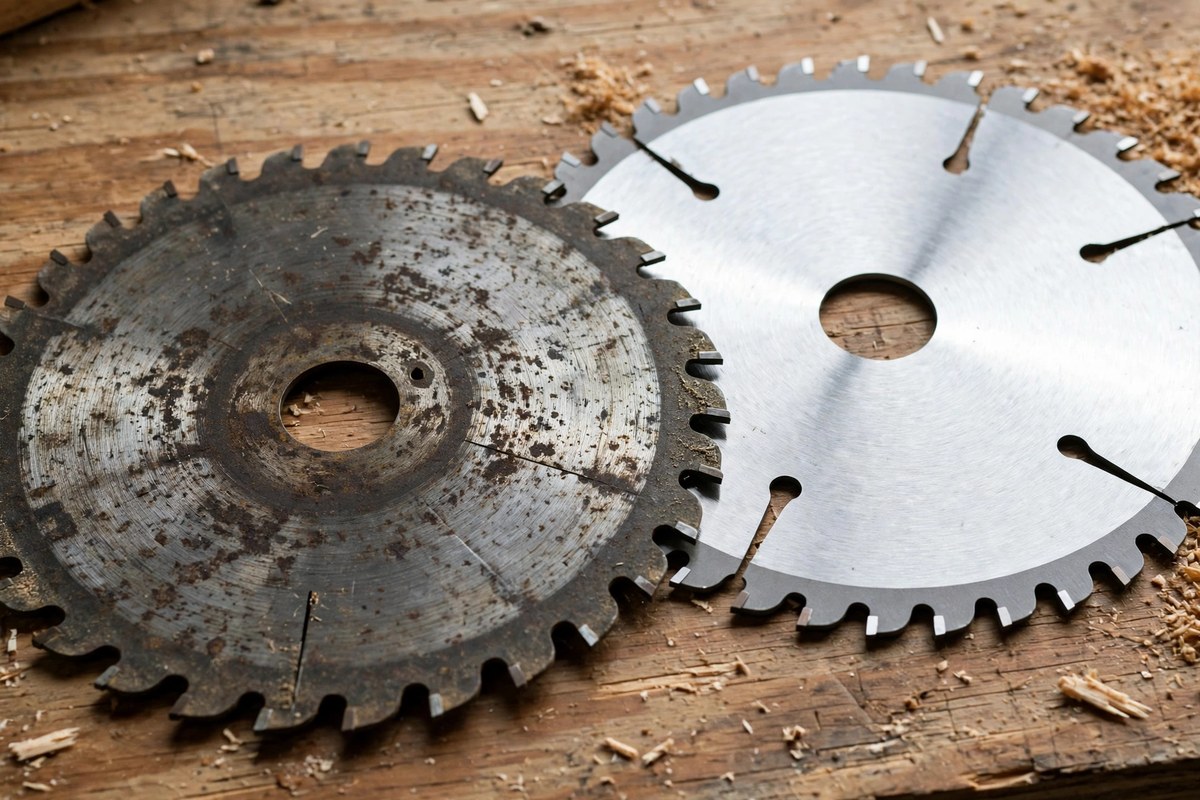
A dull blade is not just slow — it is dangerous. It burns the wood, kicks back more easily, and forces you to push the saw instead of letting it cut. Change the blade when you notice any of these signs:
- Burn marks on the cut edge. The blade is rubbing more than cutting.
- You have to push hard. A sharp blade pulls itself through the wood with light pressure.
- Rough, splintered edges on cuts that used to come out clean.
- A high-pitched whine or vibration that was not there before.
- Visible damage: missing or chipped teeth, a bent plate, or rust that will not wipe off.
For a weekend DIYer, a general-purpose blade lasts roughly 6–12 months of regular use. A framing blade cutting nails or reclaimed lumber can die in a single afternoon — that is normal, and it is why blades are consumables, not lifetime purchases.
Safety First: Do This Before You Touch the Saw
Every step below assumes the saw cannot start.
- Unplug corded saws. Do not just switch them off — pull the plug out of the outlet.
- Remove the battery on cordless saws. Take it right off the saw and set it aside.
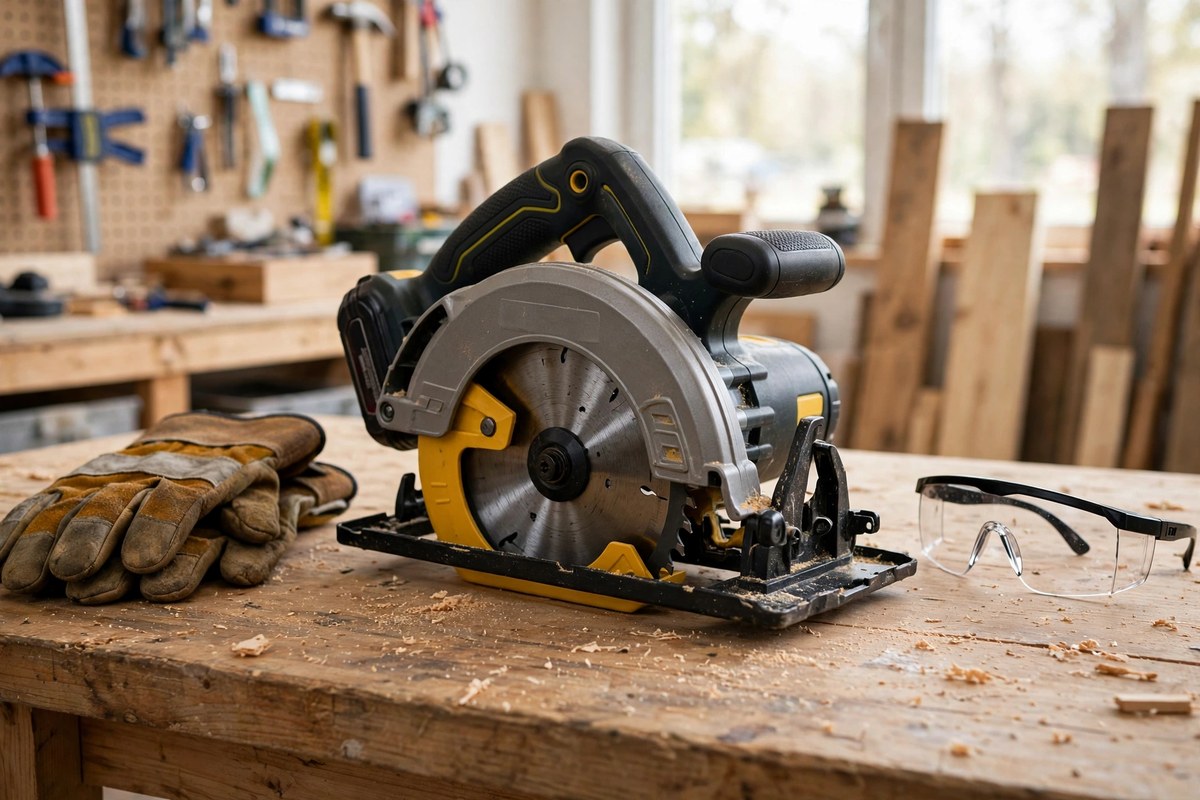
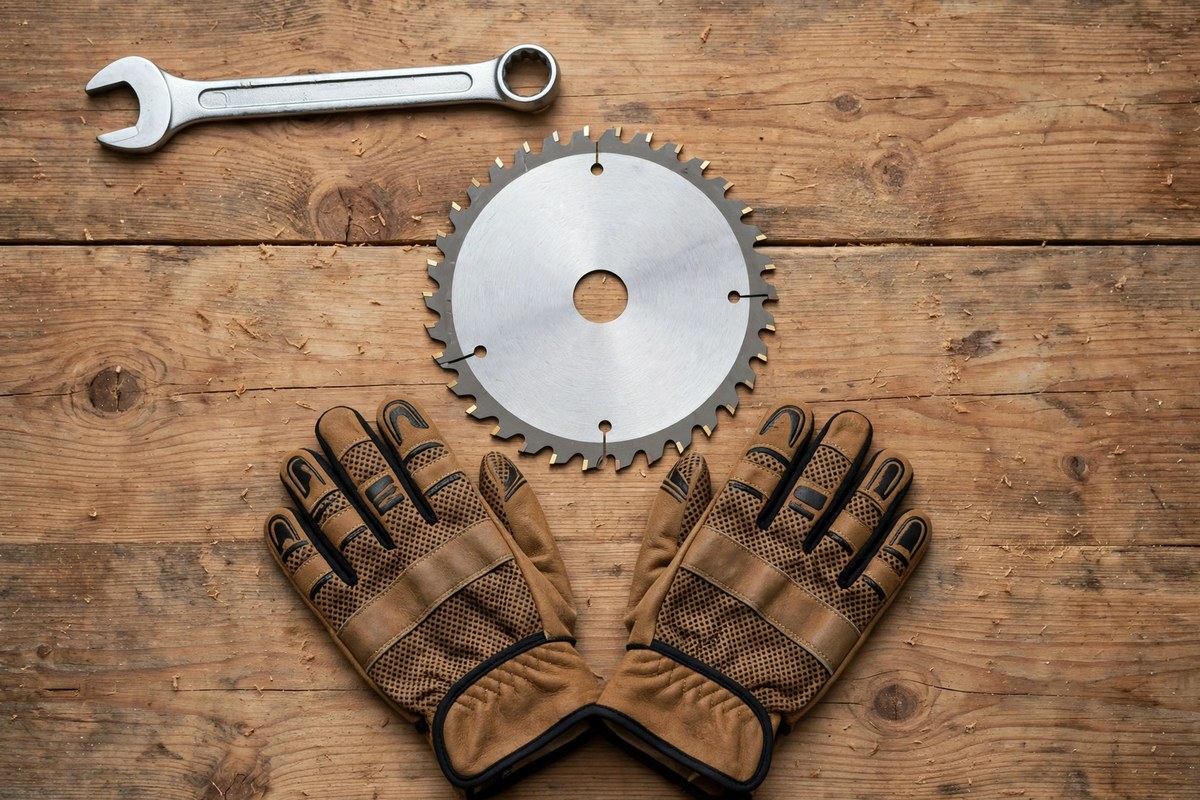
- Wear work gloves. Saw teeth are sharp even when the blade is dull, and a fresh blade is razor-sharp.
- Put on safety glasses. Loosening a bolt under tension can flick debris.
- Work on a flat, stable surface with the saw resting on its base plate, blade guard closed.
What You Will Need
Most of this is already in your toolbox or in the box the saw came in:
- The blade wrench that shipped with your saw (usually a flat, open-ended wrench stored on the saw itself). A standard adjustable wrench works too.
- A new blade in the right size for your saw — 7-1/4 inch for most full-size saws, 6-1/2 inch for compact models. Check the size printed on your old blade.
- Work gloves and safety glasses.
- A scrap of wood for the test cut at the end.
That is it. No special tools, no vise, no second person.
Step 1: Unplug the Saw and Lock the Blade
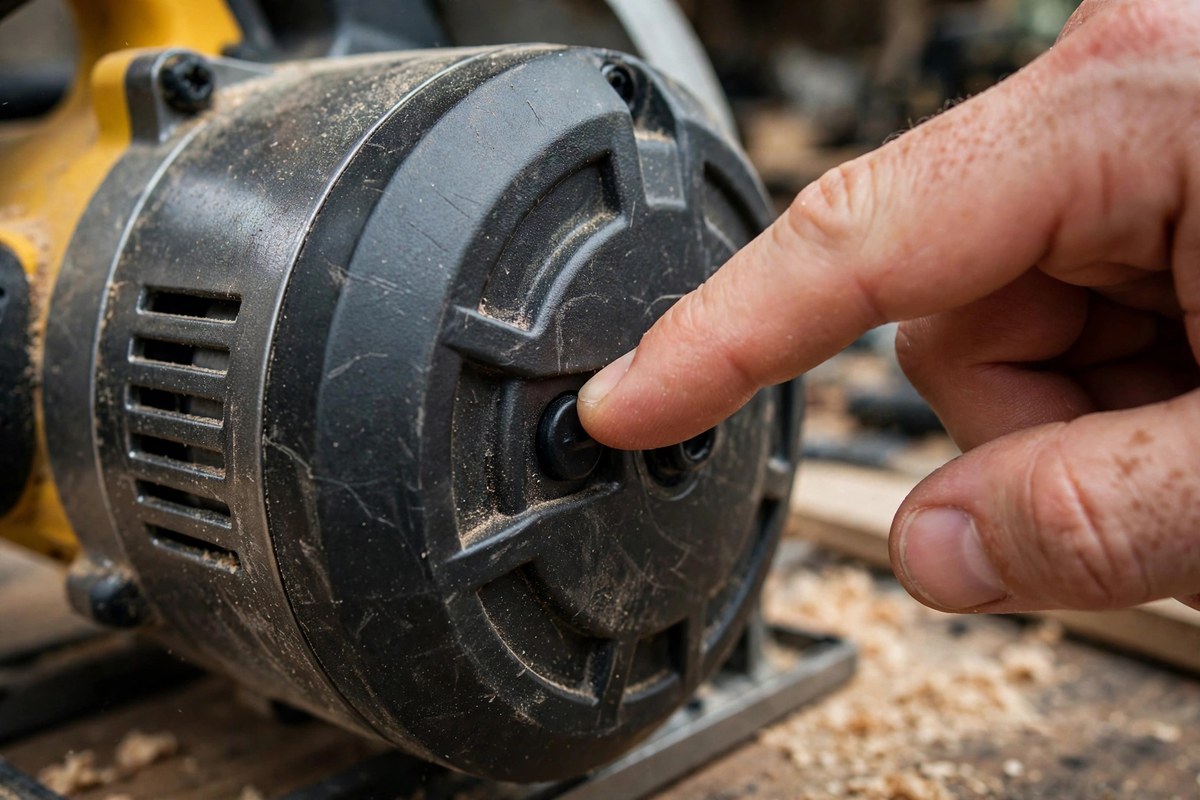
With the saw unplugged (or the battery removed), set it blade-side up on your workbench so the blade faces you. Now find the blade-lock button — a small round button on the side of the motor housing, usually near the blade guard. Press it in and slowly rotate the blade by hand until you feel the button drop in and the blade stops turning. The blade is now locked in place.
Some older or budget saws have no lock button — wedge a short piece of scrap wood between the blade teeth and the base plate to hold the blade still while you work the bolt, keeping your fingers clear of the teeth.
Step 2: Loosen the Arbor Bolt (It Turns the Wrong Way)
Here is the step that trips up first-timers. The arbor bolt — the big bolt in the center of the blade — is reverse-threaded on most circular saws. That means you loosen it by turning it clockwise, the opposite of a normal bolt. (A few saws are standard-threaded; check the arrow stamped on the blade guard or in your manual if you are unsure.)
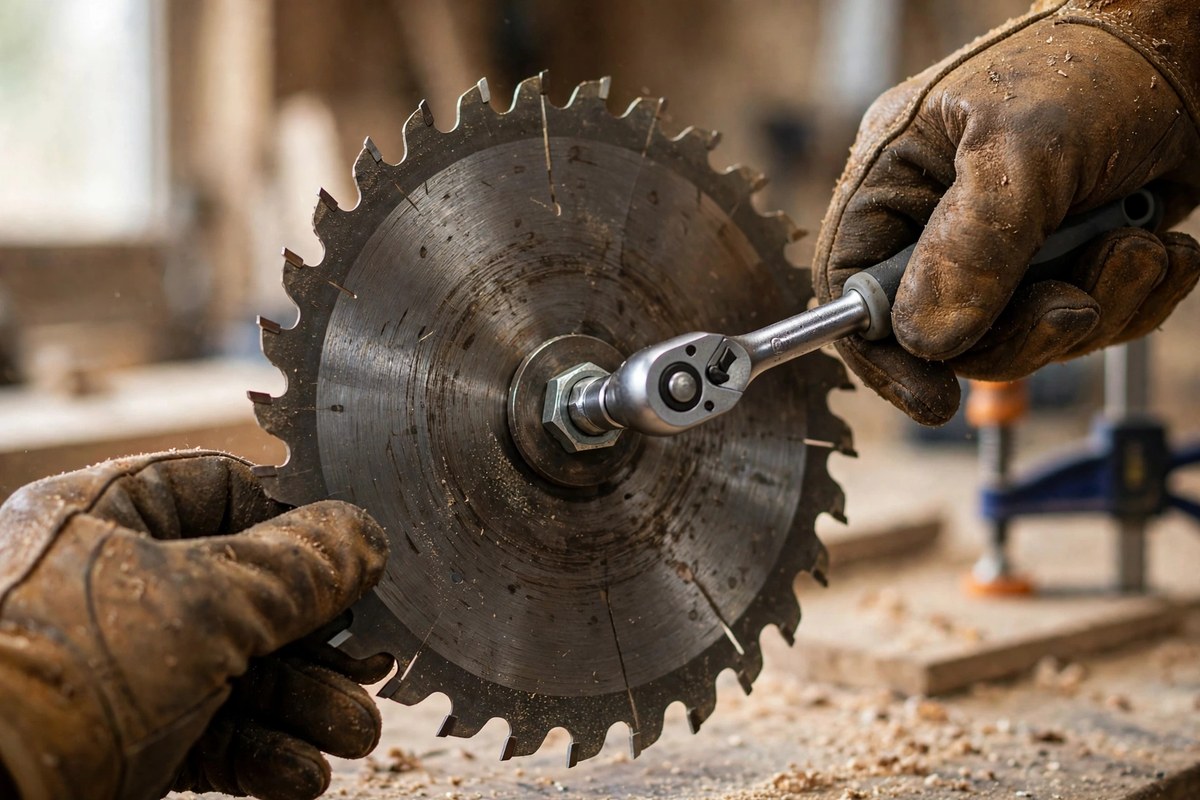
Fit the wrench onto the bolt, hold the blade lock button in, and turn clockwise with steady pressure. It may be tight — a short, firm push beats a long, wobbly pull. Once it breaks loose, unscrew it by hand and set the bolt and outer washer aside where they will not roll away.
Step 3: Remove the Old Blade
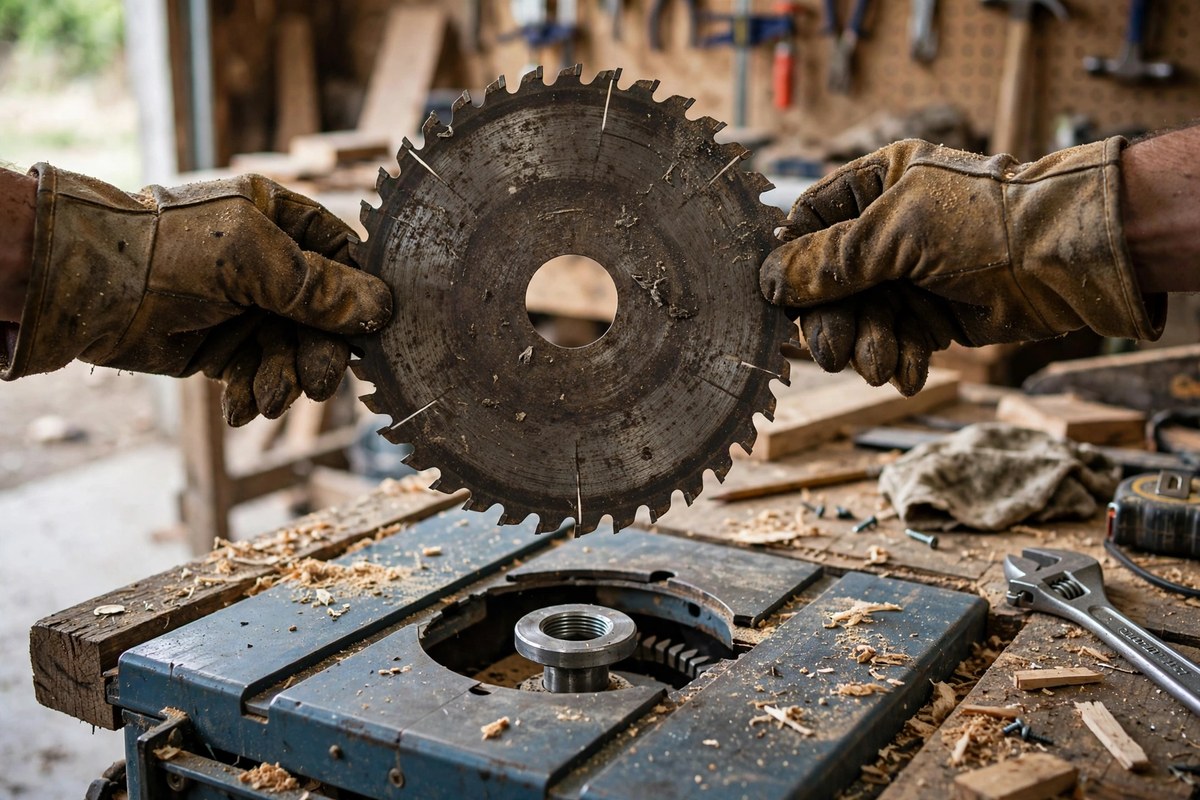
Open the blade guard — pull the retracting lever back and hold it, or lift the guard out of the way — and slide the old blade straight off the arbor. Watch how it comes off: note which way the teeth point and which side of the blade faced outward. If you are about to install the same type of blade, this is your reference.
Wipe the arbor and the inner washer with a rag — sawdust packed behind the blade stops it seating flat, and a blade that is not flat will wobble.
Step 4: Check the Direction Arrow
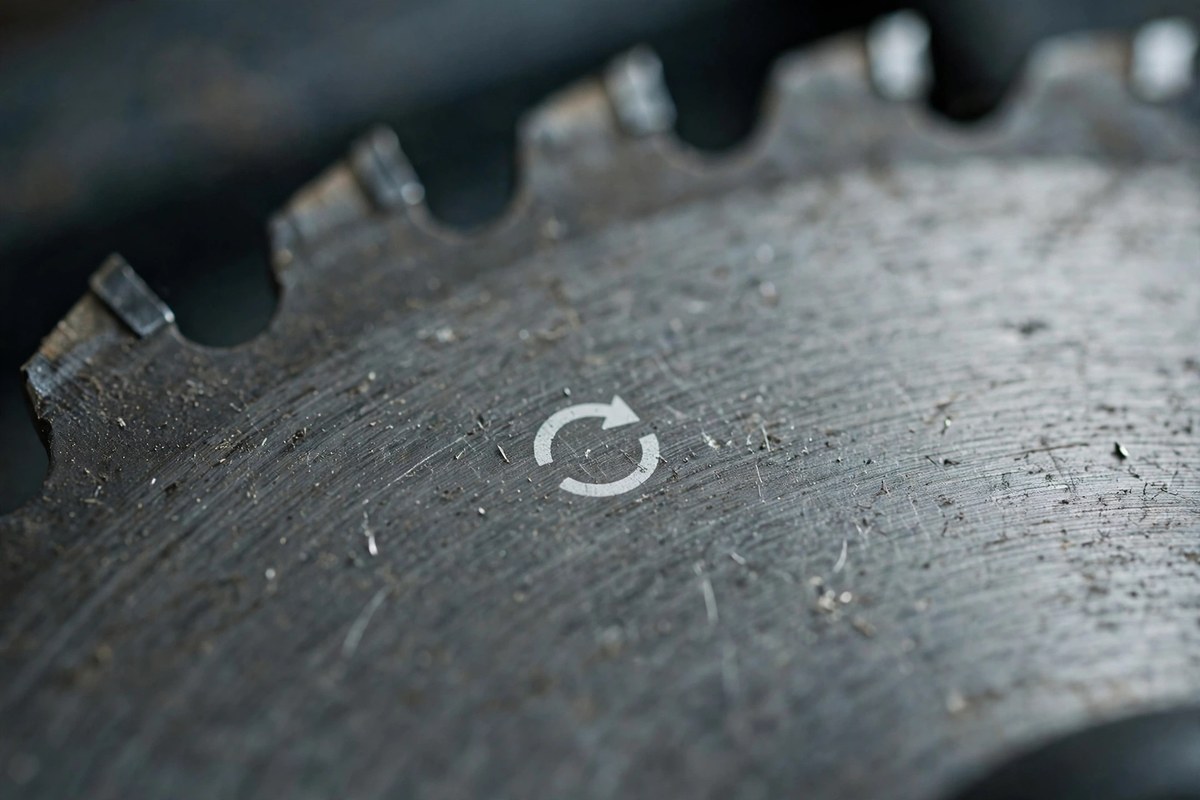
Before the new blade goes on, find the rotation arrow printed on the blade itself. It shows the direction the blade spins. Now look at your saw: there is a matching arrow stamped or printed on the blade guard or the base plate. The two arrows must point the same way when the blade is installed.
A blade installed backwards still spins and still cuts — badly. It throws sawdust toward you, cuts slowly, burns the wood, and wears out fast. If your first cut after a blade change feels wrong, check the arrow first.
Step 5: Install the New Blade
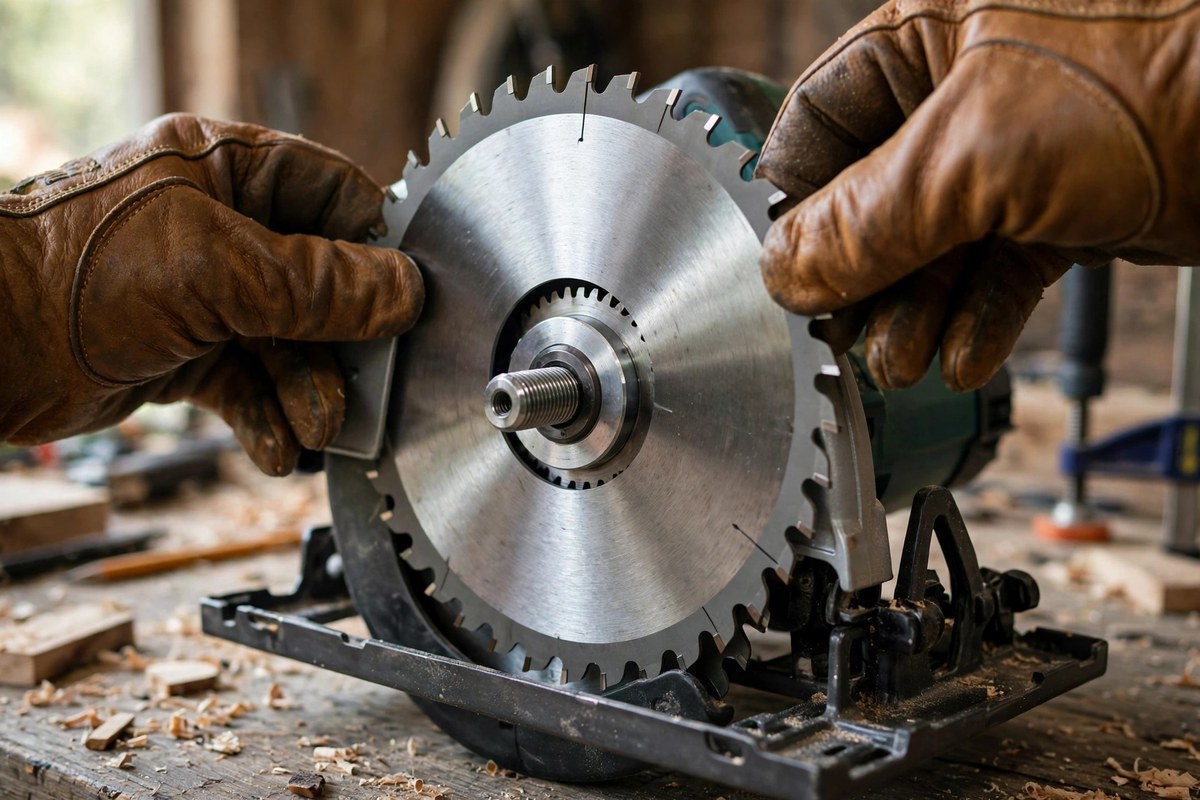
Slide the new blade onto the arbor with the printed side facing out (the same way the old one sat) and the rotation arrow matching the saw’s arrow. Make sure the blade sits flat against the inner washer and the arbor hole is centered — the blade should not rock or sit crooked.
Put the outer washer back on, then thread the arbor bolt in by hand. Turn it counter-clockwise to tighten (remember: reverse thread), then hold the blade-lock button and snug the bolt down firmly with the wrench. Tight, but do not heave on it — a firm pull with one hand is enough.
Step 6: Tighten, Test, and Make Your First Cut
Release the blade guard and let it snap back over the blade. Spin the blade by hand once to check nothing rubs. Then plug the saw back in (or reattach the battery) and run it for a few seconds with no load — a correctly installed blade spins smooth and quiet.
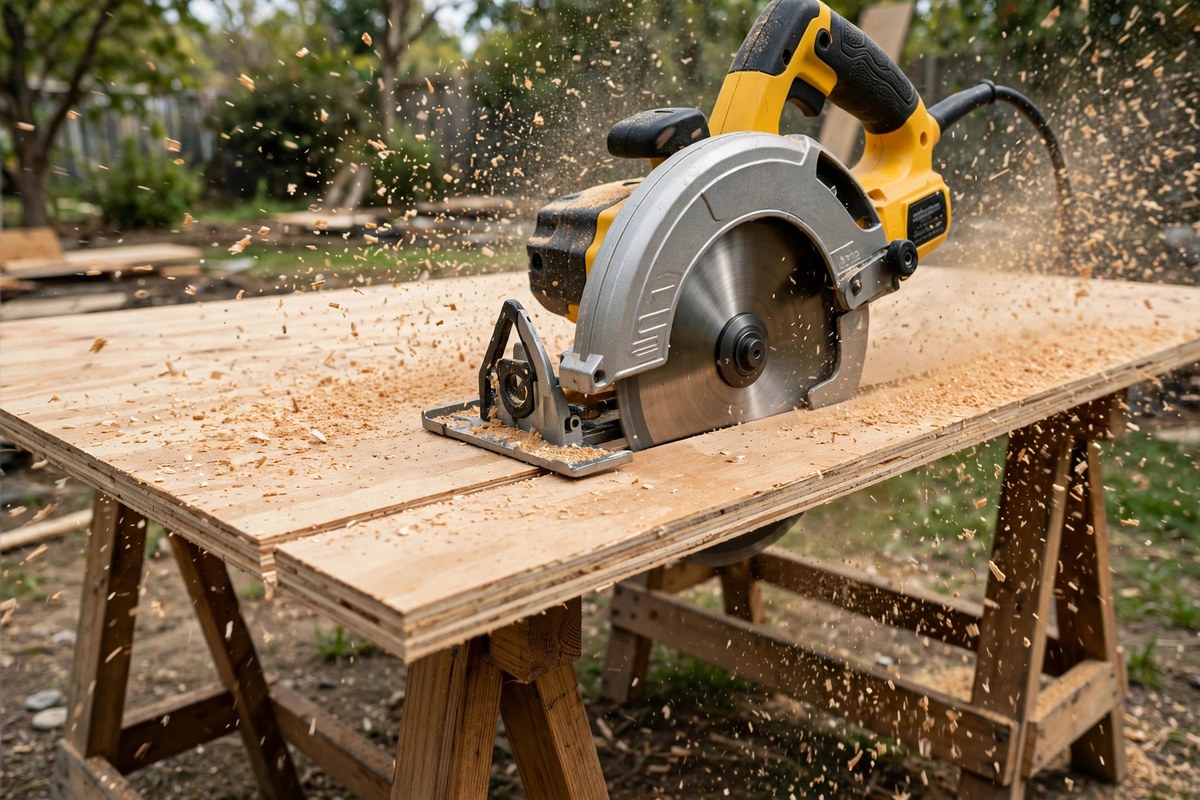
Finally, make a test cut in your scrap wood. The saw should move through the wood with light pressure and leave a clean edge with no burn marks. If it does, you are done. The whole job, start to finish, should take about ten minutes — less, the second time you do it.
Which Replacement Blade Should You Buy?
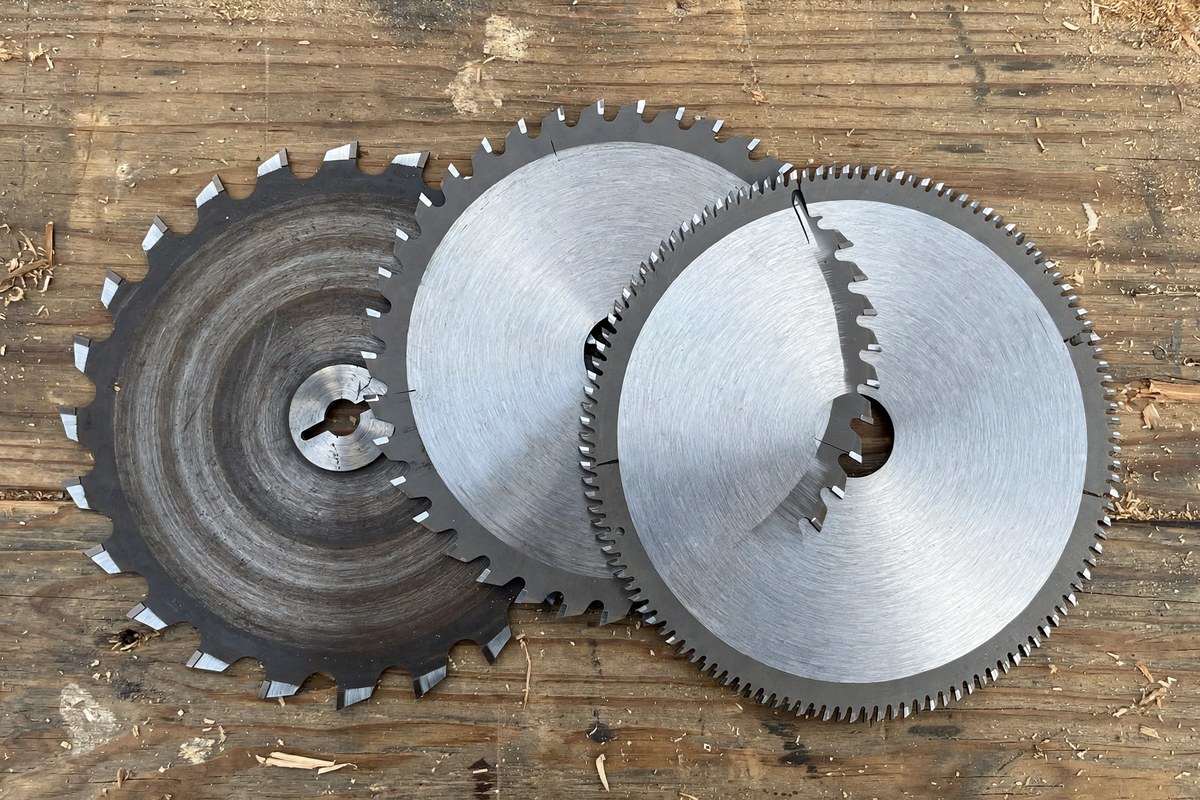
The blade you need depends on what you cut most. A general-purpose 24-tooth blade ($15–$25) is the right default for a beginner: it rips and crosscuts framing lumber, plywood, and deck boards well enough for almost any DIY project. A 40-tooth fine-finish blade ($20–$35) is worth it if you cut plywood, trim, or anything where the edge will be seen — more teeth mean a smoother cut. A thin-kerf blade is the smart pick for cordless saws, since it removes less wood and asks less of the battery.
Worth it if: you buy a name-brand blade (Diablo, DeWalt, Freud) in the $15–$35 range — the teeth stay sharp noticeably longer than the cheapest blades. Skip it if: the blade costs more than $40 and you only cut framing lumber; a mid-priced general-purpose blade does that job just as well.
If you are still deciding which saw to pair that blade with, our guide on how to choose the best circular saw for your projects walks through corded vs. cordless, blade size, and the six decisions that actually matter.
5 Mistakes That Ruin a New Blade
1. Installing it backwards. The arrow on the blade must match the arrow on the saw. Backwards blades cut badly and wear fast.
2. Forgetting to unplug the saw. The switch is the only thing between you and a spinning blade. Unplug it every time.
3. Over-tightening the arbor bolt. Firm is enough. Heaving on the wrench can warp the blade or strip the threads.
4. Cutting with a dirty arbor. Sawdust behind the blade stops it seating flat. A ten-second wipe prevents wobble.
5. Buying the wrong size. A 7-1/4-inch blade will not fit a 6-1/2-inch saw. Check the size printed on your old blade before you shop.
The Bottom Line
Changing a circular saw blade is one of the easiest maintenance jobs in DIY — ten minutes, one wrench, and two things to remember: the arbor bolt turns clockwise to loosen, and the blade’s arrow must match the saw’s arrow. A sharp blade is a safer blade, so do not put it off: if your saw is burning wood or fighting you through cuts, the blade is telling you it is time.