How to remove and replace baseboards
Remove Replace Baseboard Trim DIY Painting: The Complete 2025 Guide
Learning how to remove replace baseboard trim DIY painting is one of the most rewarding home improvement projects you can tackle yourself. Whether you’re preparing your baseboards for a fresh coat of paint, upgrading to new trim, or simply giving your home a facelift, understanding the proper techniques will save you money and give you professional results. This comprehensive guide will walk you through every step of the process, from preparation to finishing touches, ensuring your baseboard project turns out beautifully.
Table of Contents
- Why Remove Replace Baseboard Trim DIY Painting Matters
- Step-by-Step Remove Replace Baseboard Trim DIY Painting Guide
- Best Remove Replace Baseboard Trim DIY Painting Options
- Pro Tips for Remove Replace Baseboard Trim DIY Painting
- Common Mistakes to Avoid
- Key Takeaways
- Frequently Asked Questions about Remove Replace Baseboard Trim DIY Painting
- Conclusion
Why Remove Replace Baseboard Trim DIY Painting Matters
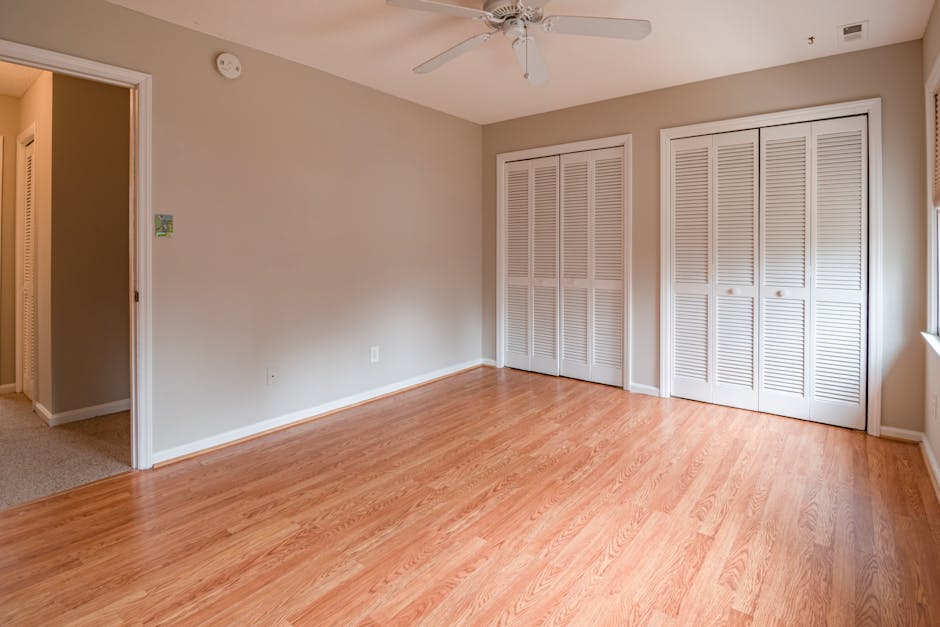
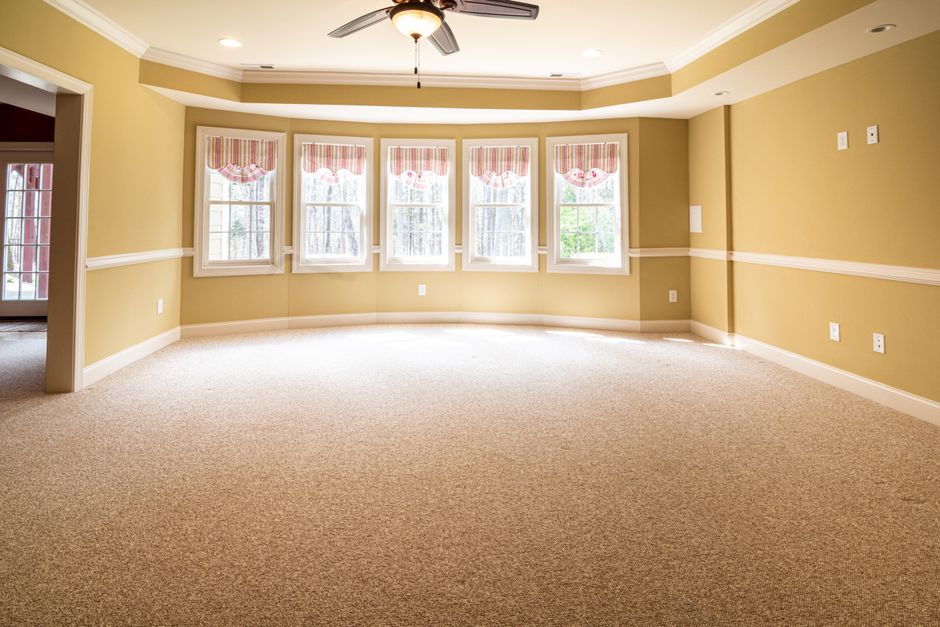
Baseboards might seem like minor architectural elements, but they play a crucial role in your home’s overall aesthetic and protection. When you remove replace baseboard trim DIY painting, you’re essentially updating one of the first things people notice when entering a room. Fresh, well-maintained baseboards can completely transform a space, making it look cleaner, more polished, and well-maintained.
The practical reasons for removing and replacing baseboards are just as important as the aesthetic ones. Over time, baseboards accumulate dust, stains, and damage from foot traffic, pet scratches, and moisture exposure. If your current baseboards show signs of water damage, warping, or severe staining, replacement is often the best solution rather than attempting repairs. Additionally, if you’re planning to repaint your walls or refinish your flooring, removing baseboards allows for cleaner lines and more professional-looking results.
Cost-effectiveness is another compelling reason to tackle this project yourself. Professional baseboard removal and replacement can easily cost $500 to $2,000 depending on your home’s size and baseboard length. By doing it yourself, you’ll only need to invest in materials and basic tools, potentially saving thousands of dollars. Furthermore, this project is genuinely achievable for DIY enthusiasts of any skill level—it requires patience and attention to detail rather than advanced carpentry skills.
Protecting your home’s foundation and walls is yet another critical reason to maintain your baseboards properly. Baseboards serve as a barrier between your walls and potential moisture damage, pests, and dust accumulation. When baseboards are damaged or improperly installed, these elements can infiltrate your walls, leading to expensive repairs down the road. By keeping your baseboards in excellent condition, you’re investing in your home’s long-term integrity and value.
Step-by-Step Remove Replace Baseboard Trim DIY Painting Guide
Preparation and Planning
Before you begin removing any baseboards, take time to prepare your workspace and gather all necessary materials. Start by clearing the room of furniture and obstacles, giving yourself plenty of working space around the perimeter. Lay down drop cloths or cardboard to protect your flooring from scratches, dust, and any accidental spills during the removal process.
Next, carefully examine your current baseboards to understand how they’re attached. Most residential baseboards are nailed into the wall studs or floor, though some may be caulked or even glued. Walk around the room and look for nail holes or evidence of adhesive to determine the best removal approach. If your baseboards are painted over, you may need to gently cut the paint seal between the baseboard and wall to prevent drywall damage during removal.
Removing Old Baseboards
Start by using a utility knife to score along the top edge of the baseboard where it meets the wall. This simple step prevents drywall damage by breaking the paint seal and separating the two surfaces. Work slowly and carefully, making multiple light passes rather than one aggressive cut. Pay special attention to inside corners and transitions between walls, as these areas are often heavily caulked.
Insert a pry bar or flat-head screwdriver behind the baseboard at each nail location. Gently wiggle and pry the baseboard away from the wall, working gradually to avoid cracking or breaking it. If you plan to reuse the existing baseboards, work even more carefully and use a wooden block between your pry bar and the trim to distribute pressure evenly. Once the baseboard begins to separate from the wall, you can move to the next nail and repeat the process.
Remove nails from the back of the baseboard using a hammer or reciprocating saw once it’s completely free from the wall. If you’re planning to save the baseboard for reuse, carefully extract nails by pulling them through from the back rather than from the front, which can cause splitting and surface damage. Inspect the wall studs and floor area where the baseboard was attached, and repair any damage with joint compound or wood filler as needed.
Preparing for New Installation
Before installing new baseboards, ensure your walls and floor are clean and smooth. Use a damp cloth to wipe away dust and debris, and let everything dry completely. If there are any low spots in the floor or wall imperfections, fill them with appropriate filler material and sand smooth once dry. This preparation step is crucial for ensuring your new baseboards sit flush and look professional.
Measure and cut your new baseboard trim to length using a miter saw or hand saw, accounting for inside and outside corner cuts. For inside corners, use a 45-degree angle cut and test fit before installing. For outside corners, create matching 45-degree cuts that will meet to form a clean corner joint. Pre-drill holes for nails to prevent wood splitting, especially near the ends of boards where splitting is most likely.
Installing New Baseboards
Begin at a corner and work your way around the room, installing one baseboard at a time. Use a stud finder to locate wall studs, and plan to drive nails into studs whenever possible for maximum holding power. If studs aren’t available, use construction adhesive in addition to nails for better support. Space your nails approximately 16 inches apart, using 2.5-inch finish nails for standard baseboard installation.
Apply a bead of paintable caulk along the top edge of the installed baseboard, smoothing it with a caulk tool or wet finger. This step creates a finished look and helps protect the joint from dust and moisture infiltration. At corners and seams, apply additional caulk to ensure a seamless, professional appearance. Allow all caulk to dry completely according to manufacturer instructions before painting.

Best Remove Replace Baseboard Trim DIY Painting Options
Material Selection for Your Project
When selecting new baseboard trim for your remove replace baseboard trim DIY painting project, you have several excellent options to consider. Pine is the most popular choice for residential baseboards due to its affordability, workability, and paintability. It’s easy to cut, nail, and finish, making it ideal for DIY projects. Pine baseboards typically range from $1 to $3 per linear foot, depending on quality and width.
Hardwood baseboards offer enhanced durability and a more upscale appearance, making them perfect if you plan to stain rather than paint. Options like oak, maple, and cherry provide beautiful grain patterns and superior resistance to damage. However, hardwood baseboards cost significantly more—typically $5 to $10 per linear foot—and require more specialized tools and skills for installation and finishing.
Medium-density fiberboard (MDF) baseboards have become increasingly popular in recent years due to their affordability and consistency. MDF provides a smooth, uniform surface ideal for painting, and it won’t warp or cup like solid wood sometimes does. These baseboards typically cost $0.50 to $2 per linear foot, making them budget-friendly while still delivering professional results. MDF is less susceptible to moisture damage than solid wood when properly sealed and painted.
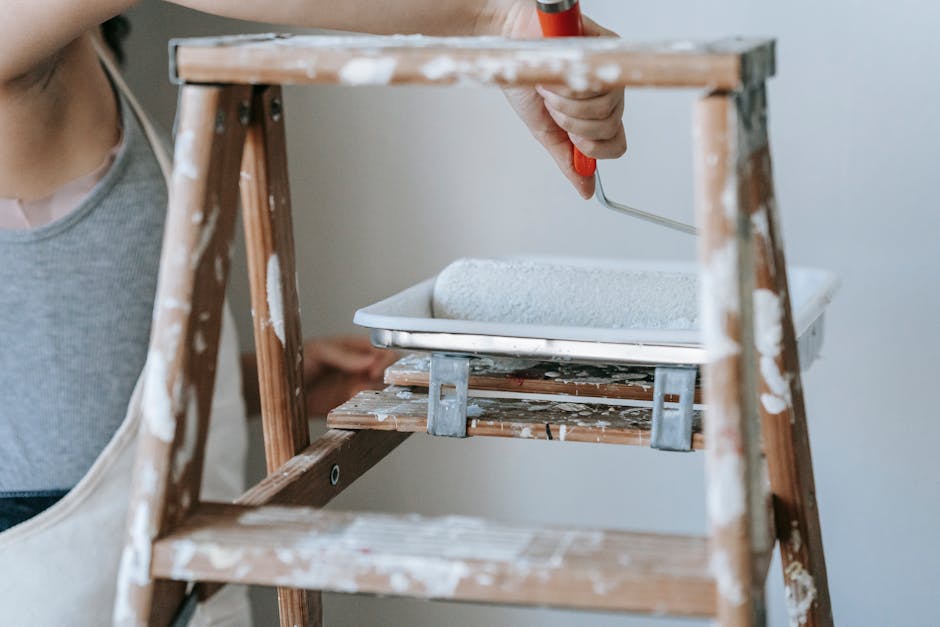
Paint Selection and Preparation
Choosing the right paint is crucial for a beautiful, long-lasting finish when you remove replace baseboard trim DIY painting. Semi-gloss or high-gloss finishes are ideal for baseboards because they’re more durable, easier to clean, and more resistant to scuffs and stains than flat or satin finishes. These glossier finishes also provide a slightly more upscale appearance and make dust less visible.
Quality paint makes an enormous difference in the final result and durability of your project. Invest in premium interior paint from reputable brands rather than budget options. High-quality paints contain better binders and pigments, providing superior coverage, durability, and color retention over time. One coat of premium paint often covers better than two coats of budget paint, actually saving money in the long run.
Before painting, prepare baseboards properly by filling any gaps or holes with paintable wood filler. Sand the entire surface with 120-150 grit sandpaper to ensure paint adhesion, and wipe away all dust with a tack cloth. Apply a primer specifically designed for wood if you’re painting over bare wood, especially if you’ve chosen a bold color. This primer layer ensures even color coverage and provides better adhesion and protection for your finish paint.
Pro Tips for Remove Replace Baseboard Trim DIY Painting
Working Efficiently and Safely
Invest in quality tools that make the job easier and produce better results. A power miter saw with a fine-toothed blade creates cleaner cuts and faster work than hand sawing. A pneumatic finish nailer allows faster installation and often produces better results than hand-nailing. Although these tools represent an investment, they significantly improve the quality of your work and reduce project time.
Use painter’s tape strategically to create clean lines between baseboards and your wall paint or flooring. Apply tape along the top edge of baseboards before painting if you want a sharp transition with your wall color. Remove tape while paint is still slightly wet for the cleanest lines—if you wait until paint is completely dry, paint can chip when removing tape. This simple trick is the secret to professional-looking results.
Work in good lighting conditions to see details clearly and avoid missing spots during painting. Position a work light or shop light to illuminate your work area brightly, casting minimal shadows. This illumination helps you spot paint drips, thin areas, and uneven application immediately so you can correct them while paint is still wet. Good lighting also makes detail work like caulking much easier and more precise.
Handling Corners and Transitions
Inside corners require careful measurement and precise angle cuts to fit properly. Use a coping saw to undercut inside corners slightly, which allows better adhesion of caulk and creates an almost invisible joint. If coping seems intimidating, simply create 45-degree miter cuts and test fit before installing—this method works well for most homes and is simpler for DIYers.
Outside corners benefit from reinforcement at the joint to prevent separation and damage from impact. After installing outside corner pieces, apply additional caulk and consider using a corner guard product for extra protection. These transparent or paintable guards protect corners from foot traffic and equipment impacts while remaining invisible once painted. This small investment prevents expensive repairs from damaged corner joints.

Common Mistakes to Avoid
Installation and Finishing Errors
One of the most common mistakes is failing to locate and nail into studs, resulting in baseboards that pull away from the wall over time. Always use a stud finder to identify stud locations, and plan your nail placement accordingly. If studs aren’t available at your desired location, use construction adhesive in addition to nails to ensure maximum holding power and prevent future problems.
Many DIYers skip the primer step and regret it later when paint coverage is poor or coverage requires multiple coats. Never skip primer when painting over bare wood or making significant color changes—it’s a crucial step that ensures professional results and saves time and paint in the long run. Quality primer costs less than premium paint, so this step is both important and economical.
Applying paint too thickly is another frequent mistake that leads to drips, runs, and uneven finishes. Thinner, multiple coats produce much better results than single thick coats. Use a high-quality brush or roller designed for trim work, maintain consistent pressure while painting, and allow adequate drying time between coats. Patience with thin, even coats is the key to professional-looking trim.
Preparation and Planning Issues
Failing to properly seal gaps and cracks before painting creates visible defects that are difficult to hide. Take time to fill all holes, cracks, and gaps with appropriate filler material before sanding and painting. This preparation step takes extra time initially but prevents frustration later and delivers dramatically better final results that look professionally installed.
Not accounting for transitions between rooms or changes in baseboard height causes visual inconsistencies throughout your home. Plan your entire baseboard project before beginning, ensuring consistency in material, height, and style throughout connected spaces. Transitions between different baseboard styles should be intentional and planned rather than accidental, maintaining visual harmony throughout your home.
Key Takeaways
- Proper preparation is essential – Clear your workspace, inspect existing baseboards, and gather all necessary tools before beginning the removal process
- Invest in quality materials and tools – Premium paint, solid wood or MDF baseboards, and quality tools produce superior results that last longer
- Follow a systematic approach – Work room by room, measure carefully, and take time with corners and transitions for professional-looking results
- Don’t skip primer – Always prime bare wood before painting to ensure even coverage, proper color, and maximum durability
- Allow adequate drying time – Rushing between steps compromises results, so follow manufacturer recommendations for drying and curing times
Frequently Asked Questions about Remove Replace Baseboard Trim DIY Painting
Q: What is the best remove replace baseboard trim DIY painting material for bathrooms?
A: In bathrooms and other moisture-prone areas, MDF or primed pine baseboards work well when properly sealed with quality primer and semi-gloss paint. Avoid unfinished wood in bathrooms as it’s susceptible to moisture damage. PVC trim is another excellent bathroom option as it’s waterproof and maintenance-free, though it’s more expensive and requires different installation techniques. Ensure you apply a high-quality semi-gloss or gloss bathroom paint to create a moisture-resistant barrier.
Q: How do I use remove replace baseboard trim DIY painting techniques on curved walls?
A: Curved walls present special challenges when installing baseboards because straight trim pieces won’t fit properly. For slight curves, you can use flexible baseboard trim designed to bend along the wall while maintaining its profile. For more severe curves, consider installing steam-bent wood trim or using flexible molding products specifically designed for curved applications. Some DIYers create curved baseboards using multiple short pieces connected with coped joints for a custom appearance.
Q: How long does remove replace baseboard trim DIY painting typically take for an average room?
A: Removing old baseboards typically takes 1-2 hours per room depending on baseboard condition and the number of nails. Installing new baseboards in an average bedroom usually requires 2-4 hours once materials are prepared and cut. Painting adds another 2-3 hours including prep, primer, and multiple paint coats. A complete project for an average-sized room generally requires 8-12 hours spread across several days to allow proper drying between steps.
Q: Should I remove baseboards before or after painting walls?
A: It’s generally better to remove baseboards before painting walls, allowing you to paint wall corners and edges cleanly without worry about protecting trim. However, if your baseboards will remain unpainted, removing them after wall painting works fine. If you’re painting walls and baseboards, remove baseboards first, paint the walls, install new baseboards, and then paint the baseboards last. This sequence ensures clean lines and professional results with minimal touch-ups.
Q: What type of nails should I use when installing new baseboards?
A: Use 2.5-inch finish nails or brad nails for standard baseboard installation into wall studs. For very high ceilings or thick baseboards, 3-inch nails may be necessary. Pneumatic finish nailers using 15 or 16-gauge nails provide excellent results and faster installation than hand-nailing. Avoid using screws unless you plan to remove baseboards later, as screw holes are difficult to hide with caulk and paint compared to nail holes.
Conclusion
Learning how to remove replace baseboard trim DIY painting is an achievable and rewarding project that transforms your home’s appearance while saving significant money compared to professional installation. By following this comprehensive guide, gathering quality materials and tools, and working methodically through each step, you’ll achieve professional-looking results that enhance your home’s value and aesthetics. Start with one room to build confidence, then expand your project throughout your home. Your newly finished baseboards will look beautiful for years to come, providing a polished finishing touch that ties your entire interior design together beautifully.
Recommended Products on Amazon
As an Amazon Associate I earn from qualifying purchases.