Router Basics: 9 Beginner Projects to Try First
A router is the tool that makes your work look like someone who knows what they’re doing made it. It rounds over sharp edges, cuts clean grooves, and carves letters into wood — all with a spinning bit and a steady hand. It is also the tool beginners fear most, and that fear is useful: a router spins at 20,000 RPM or more and deserves respect. But it is not complicated. If you can hold a drill steady, you can run a router. This guide covers the basics, then nine beginner projects, easiest first.
What a Router Actually Does
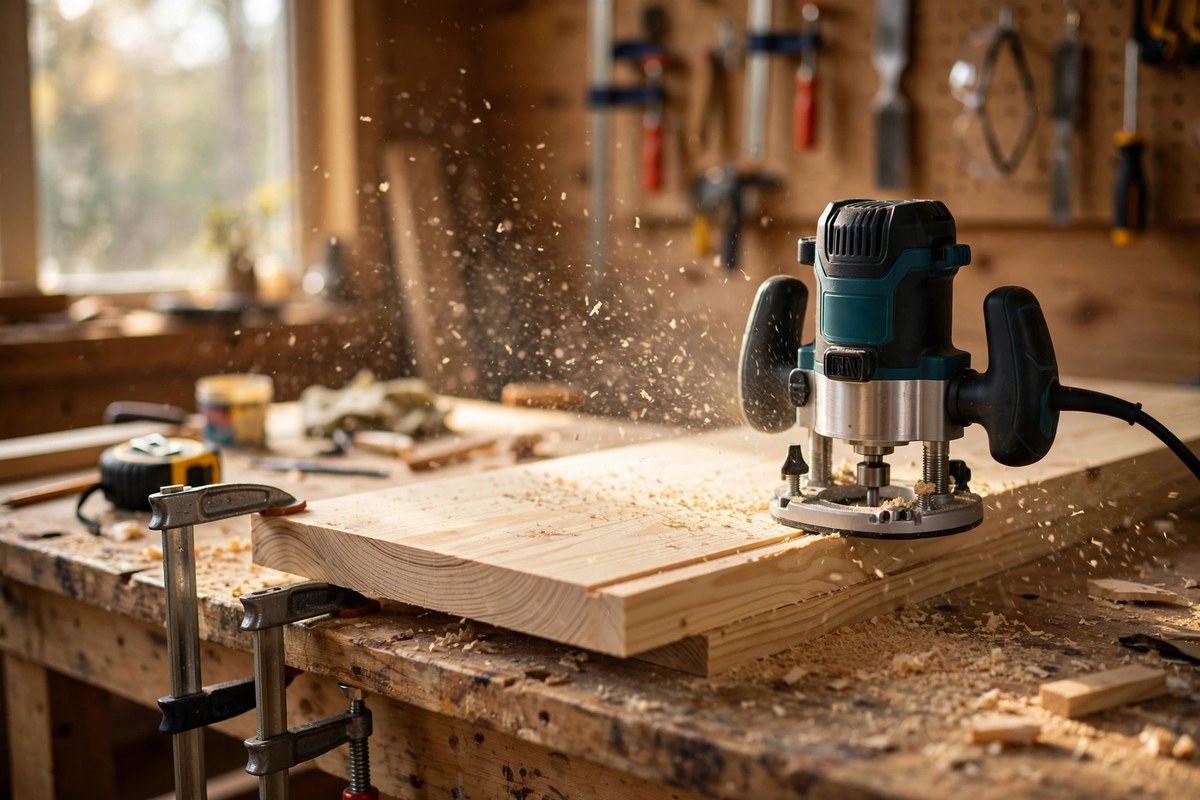
A router spins a shaped cutter, called a bit, at very high speed and removes a small, controlled amount of wood. The bit’s shape decides the cut: a straight bit cuts grooves and dados, a roundover bit softens a sharp edge, a flush-trim bit copies a shape exactly, and a chamfer bit cuts a 45-degree bevel.
What a router does not do matters too. It does not cut boards to length or rip sheet goods, and it is a poor choice for removing a lot of material in one pass. Take shallow passes — about 1/8 inch at a time in hardwood — and let the bit do the work. Worth it if you build shelves, frames, or signs. Skip it if all you do is cut 2x4s and hang pictures.
Fixed Base vs Plunge Base: Which One First?
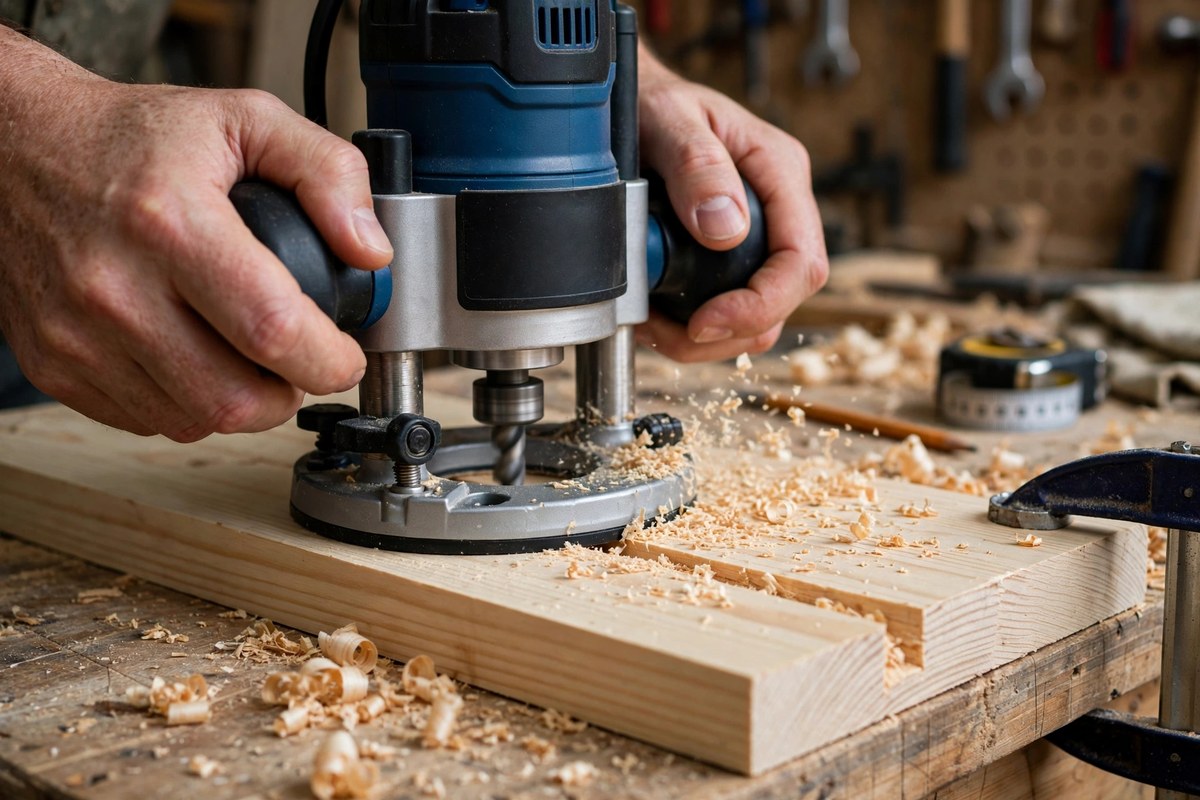
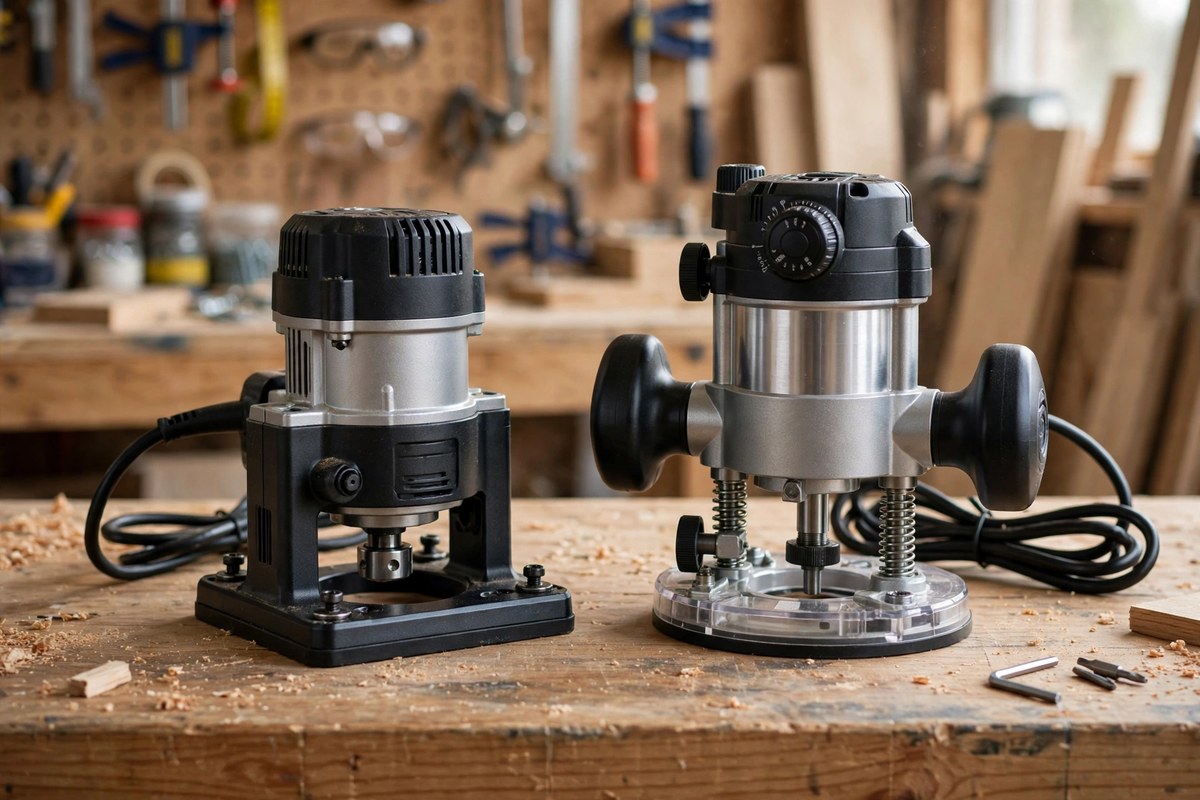
A fixed-base router holds its depth setting once and locks it in place. It is simpler, lighter, and cheaper, and it is the right choice for edge work — roundovers, chamfers, trimming — which is most of what beginners actually do. A plunge base rides on springs and lets you lower the spinning bit into the middle of a board, which you need for stopped grooves, mortises, and inlay work. Worth it if you plan to try joinery within your first year; skip the plunge base for now if your budget is tight. Our pick for a first router is a 1-1/4 HP compact router with a fixed base, typically $99–$149. A full-size 2-1/4 HP router, typically $179–$249, is worth it if you plan to mount it in a router table.
The 4 Router Bits Every Beginner Needs
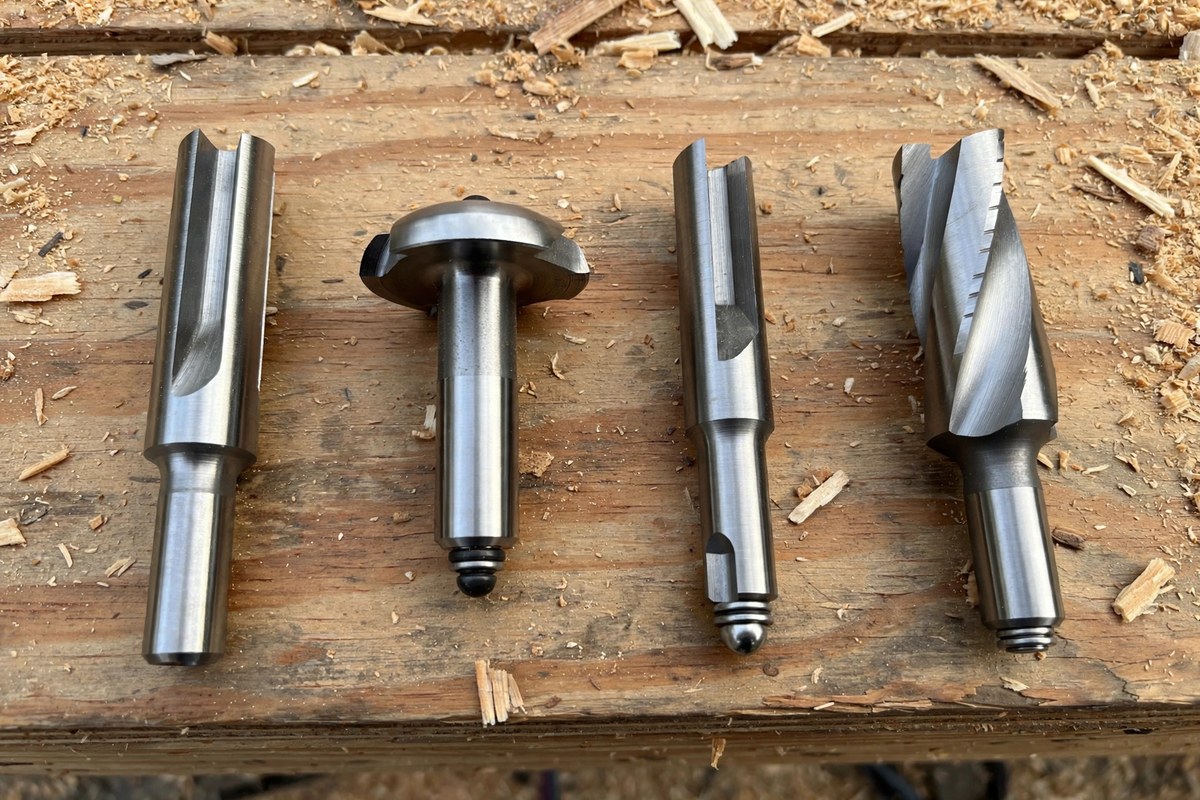
You do not need a 50-piece bit set. Four bits cover almost everything in this guide: a 1/2-inch straight bit for grooves, dados, and rabbets; a 1/4-inch roundover bit for softening edges; a flush-trim bit with a bearing for copying templates; and a 45-degree chamfer bit for a clean bevel. Decent carbide bits run $12–$25 each. Cheap bit sets look like a bargain and mostly are not: dull bits burn wood and chatter. Worth it if you buy carbide bits from a known brand. Skip it if the whole set costs less than a pizza — the steel is soft and the bearings wobble. Match the shank to your router: compact routers take 1/4-inch shanks, full-size routers take 1/2-inch shanks.
Router Safety Basics (Before Your First Cut)
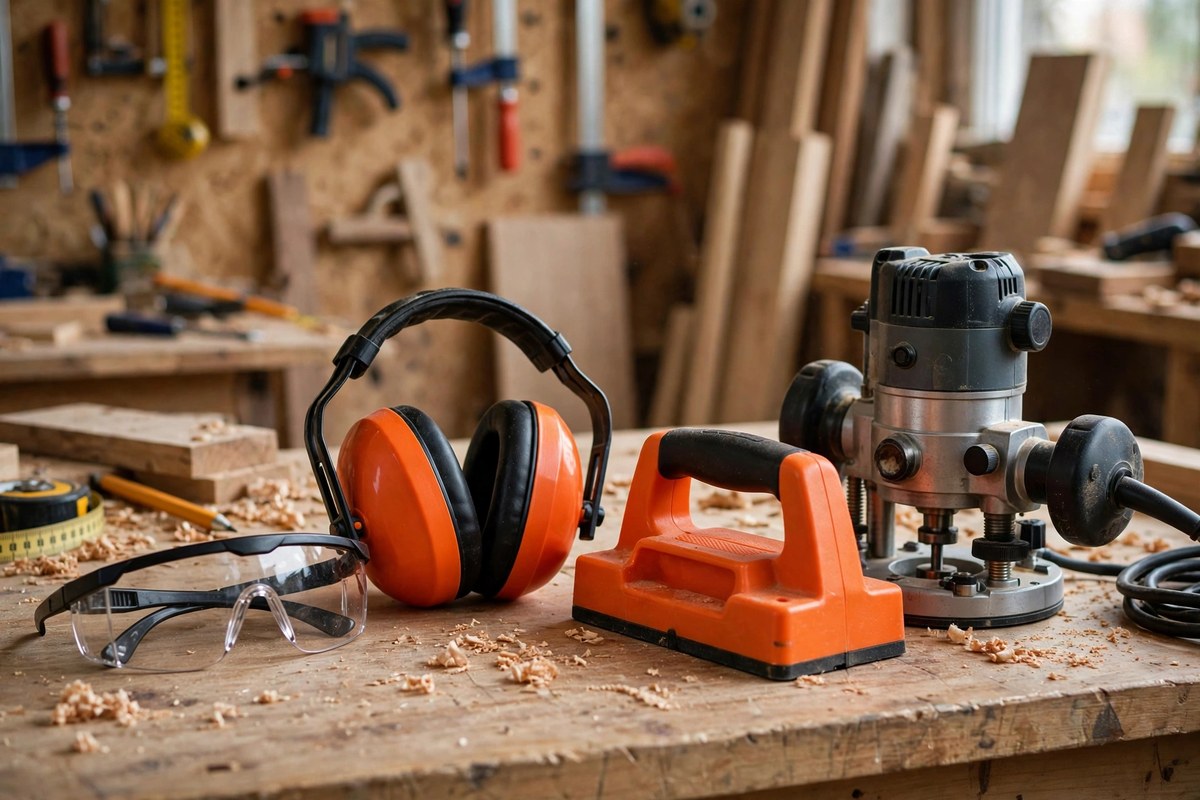
A router at 24,000 RPM will find a mistake faster than you can react, so these rules are not suggestions. Always unplug the router — or remove the battery — when changing bits. Feed against the bit’s rotation, which on an outside edge means moving left to right, so the bit pulls the router into the cut. Clamp the workpiece to the bench; never hold a small piece in your hand while routing it. Wear eye and hearing protection — a router is loud and throws chips at speed. Take shallow passes and let the bit cut; forcing it causes burn marks and kickback. Keep both hands on the router until the bit stops spinning.
9 Beginner Router Projects to Try First
These nine projects run from easiest to most ambitious, and each one teaches a skill the next one uses. You need only the four bits above, plus a straight edge for the straight cuts.
1. Round Over a Shelf Edge
The five-minute confidence builder. Take a 1/4-inch roundover bit, make one pass along each side of a shelf board, and a sharp plywood edge becomes smooth enough to run your hand along. Sand with 120 grit, then 220, and it looks like furniture.
2. Chamfer a Cutting Board
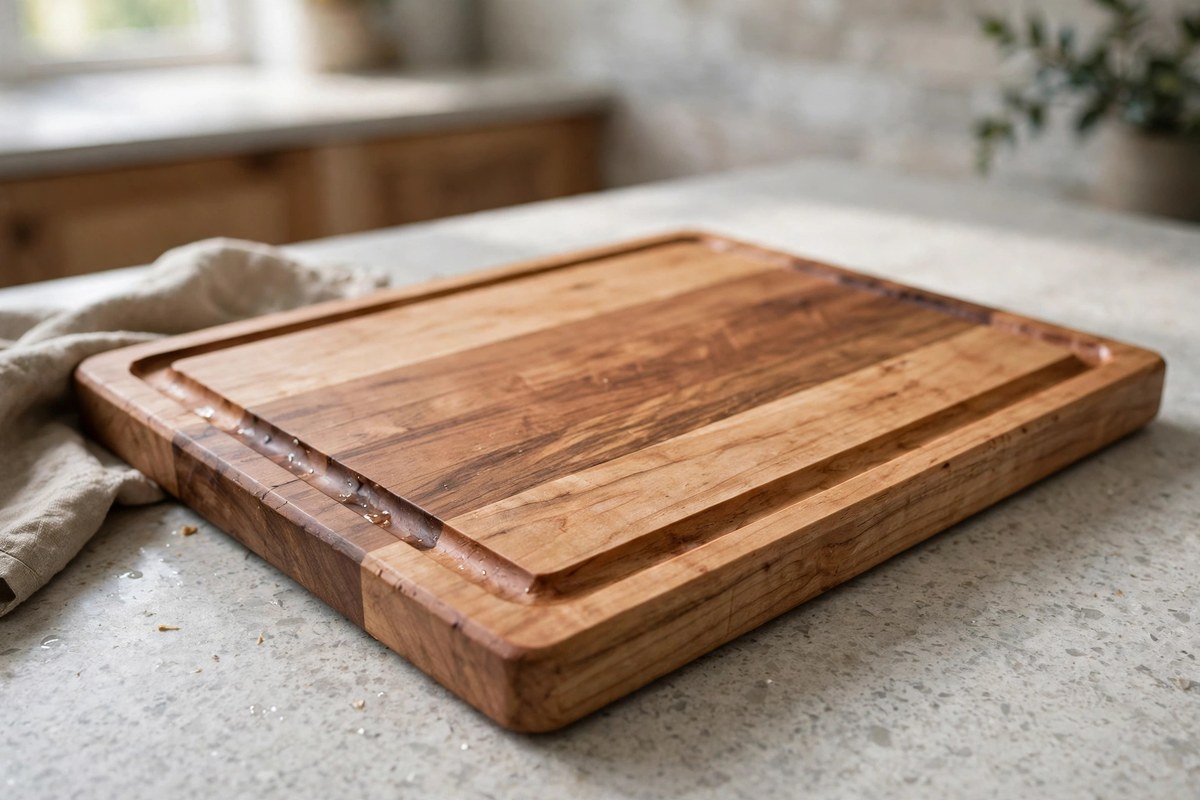
Run a 45-degree chamfer bit around the top edge of a cutting board and the board suddenly looks store-bought. Keep the feed speed steady so the bevel stays even, and finish with food-safe mineral oil. Skip the chamfer on the bottom edge if the board needs to sit flat.
3. Cut a Juice Groove in a Cutting Board
Clamp a straight edge as a guide, set a straight bit to cut about 1/4 inch deep, and run a groove around the inside of a cutting board. It catches meat juices before they reach the counter. Keep the corners rounded — square corners trap food and are hard to clean.
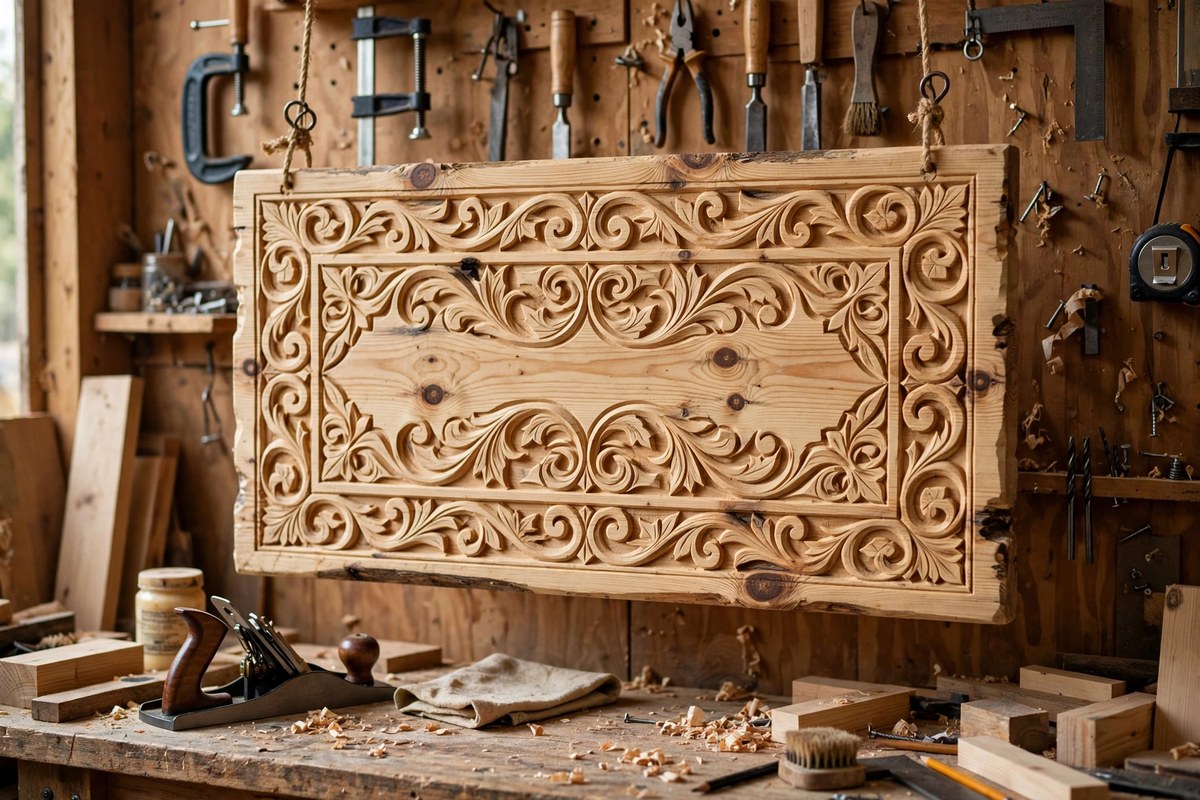
4. Carve a Simple Wooden Sign
Print your words on paper, glue the paper to a board with a glue stick, and follow the letters with a V-groove or straight bit. Sand the paper off and paint or stain the letters. Worth it if you want a gift that looks far harder than it was — a house-number sign takes about an hour.
5. Build a Picture Frame with a Rabbet
A straight bit cuts the rabbet — the small step on the inside back edge — that holds the glass and photo. Add a roundover on the outer edge, then miter the corners and glue. This project teaches the two cuts that show up in almost every frame and box you will ever build.
6. Make a Set of Coasters
Cut small squares from scrap wood, round over all four edges on the top face, and sand smooth. Four coasters take less than half an hour and use up offcuts that would otherwise go in the bin. Worth it as a first gift project — and good practice for keeping the feed speed even on small pieces.
7. Build a Serving Tray with Handles
Cut handholds into the ends of a tray board with a straight bit and a template, then round over the top edge. The handholds are just two straight slots with rounded ends, and they teach template work without the pressure of a visible joint. Add small feet underneath and it sits flat on a table.
8. Cut Perfect Circles with a Circle Jig
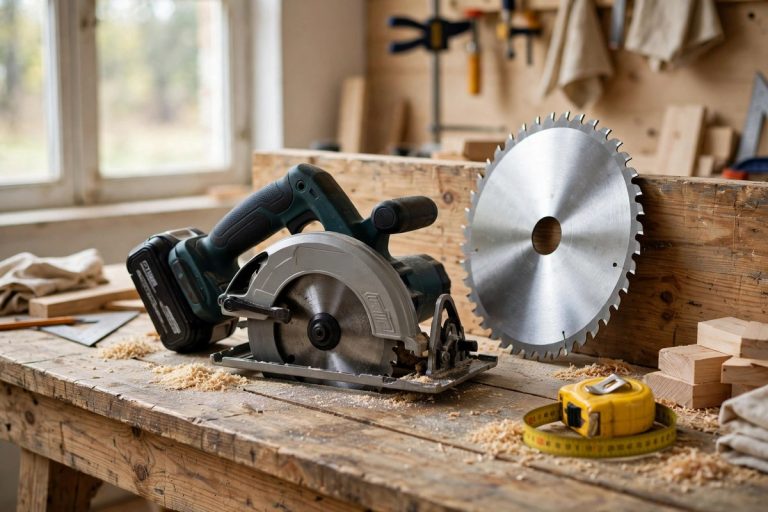
A circle jig is a strip of plywood with a pivot pin at one end and the router at the other. Swing the router around the pin with a straight bit and you get a perfect circle — a round table top, a clock face, a lazy Susan. For breaking down the sheet goods first, see our guide on how to choose a circular saw.
9. Build a Small Box with Rabbet Joints
Cut rabbets on the ends of four boards with a straight bit, glue and clamp them into a box, and add a lid with a roundover edge. It uses only the bits you already own. Worth it if you want to see whether woodworking is for you — a finished box is the proof.

What to Buy First: Our Pick
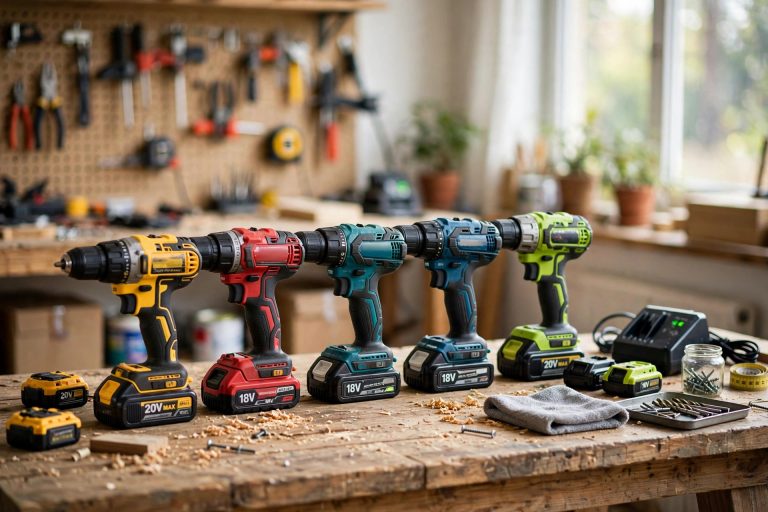
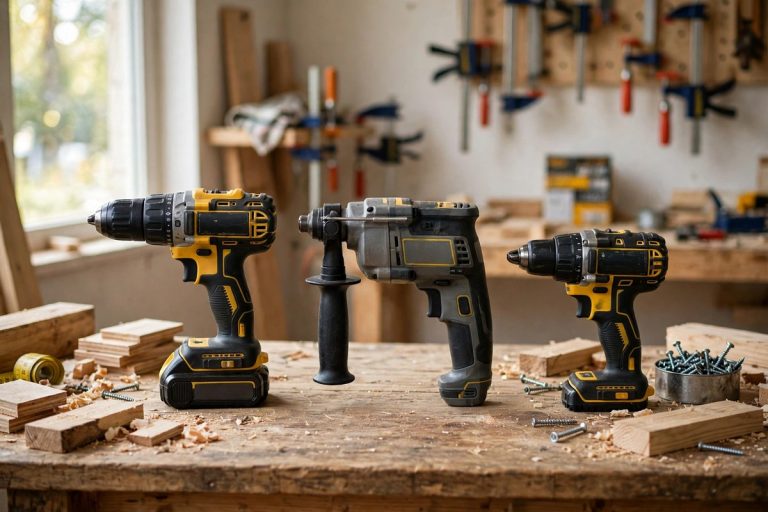
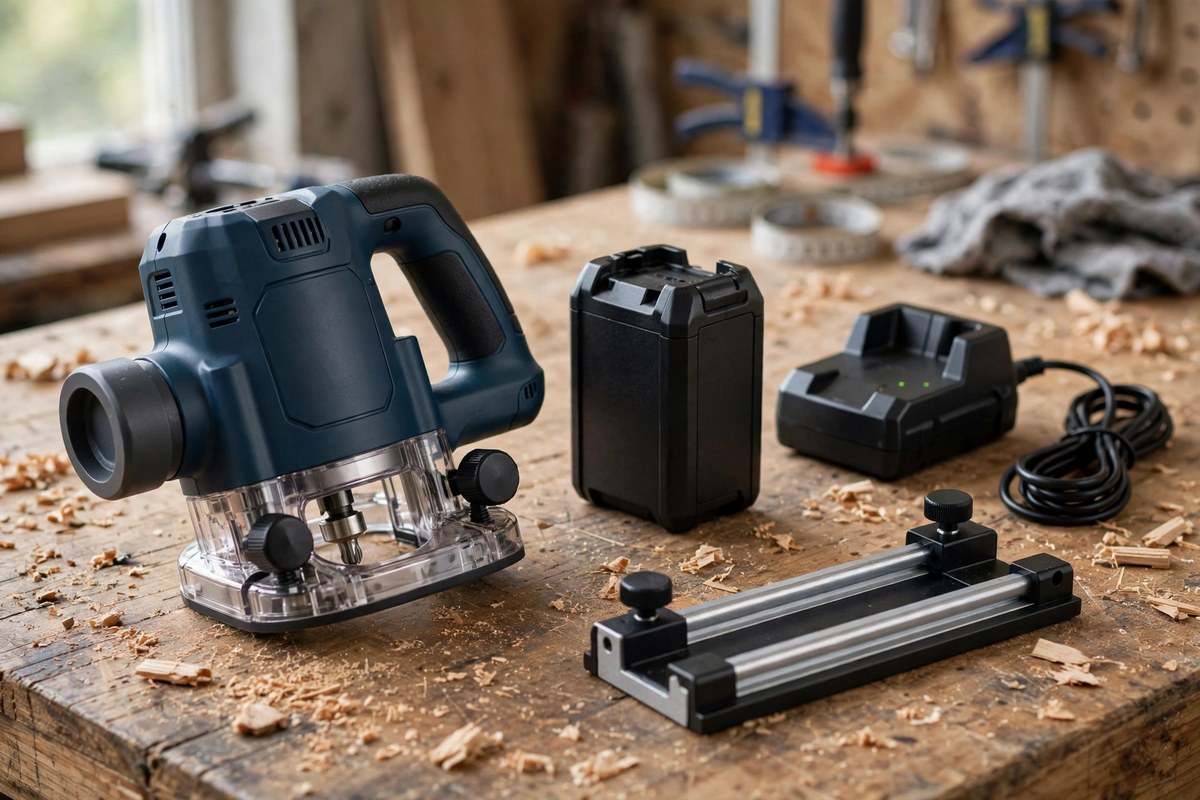
If you are buying one router, buy a compact 1-1/4 HP router kit, typically $99–$149, which usually comes with a fixed base, an edge guide, and a case. Add the four bits above and you can build every project in this guide. A plunge base, typically $60–$90 on its own, is the first upgrade when you start cutting stopped grooves. If you are still building your first tool kit, our guide to the best cordless tool combo kits under $200 covers the drill and saw that pair with a router. Worth it if you build shelves, signs, or small furniture even a few times a year. Skip it if you only need one edge rounded once.
5 Mistakes Beginners Make
First, taking too deep a cut. Deep passes burn the wood, chatter, and strain the motor — take 1/8 inch at a time. Second, routing in the wrong direction. Feeding with the rotation, called climb cutting, lets the router run away from you. Third, skipping the test cut. Always test the depth and the bit on scrap wood from the same board. Fourth, using dull or cheap bits. A dull bit burns and tears out. Fifth, not clamping the work. A moving workpiece is dangerous, and a pile of chips hides the cut line.
Frequently Asked Questions
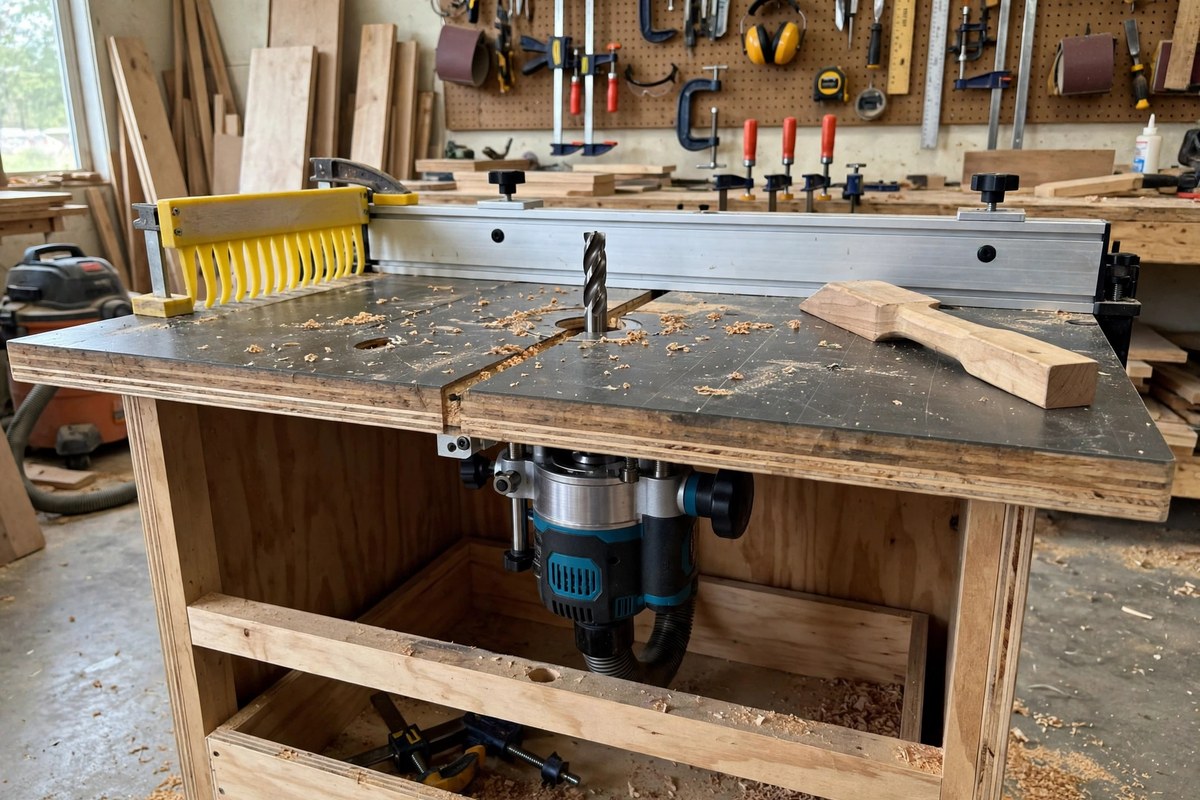
Can I use a router without a table? Yes — handheld routing covers most beginner work.
What wood is best to learn on? Pine or poplar — both are soft, cheap, and forgiving of a wobbly first pass.
Can a router replace a table saw? No. A router shapes edges and cuts grooves; it does not rip boards or cut sheet goods to size.